

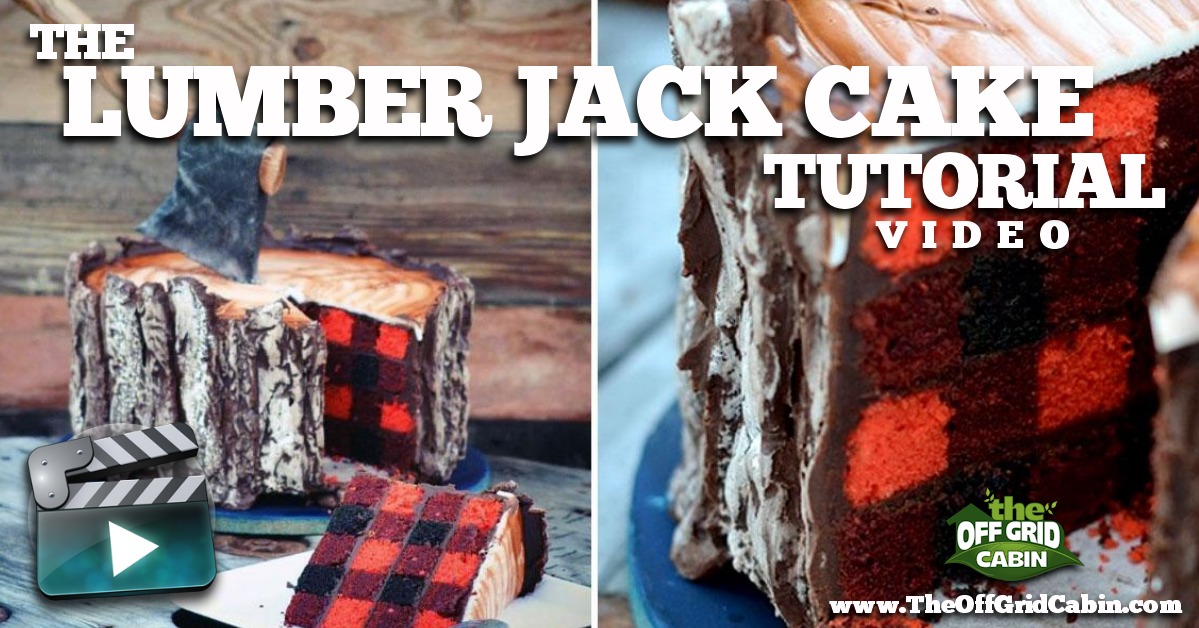
How to Make a Lumberjack Cake: A Step-by-Step Guide for Beginners
Learn how to make a lumberjack cake with this easy tutorial. This cake is moist, fluffy, and filled with plaid-patterned layers of vanilla and chocolate cake. It’s perfect for birthdays, holidays, or any day you want to treat yourself.
What is a Lumberjack Cake?
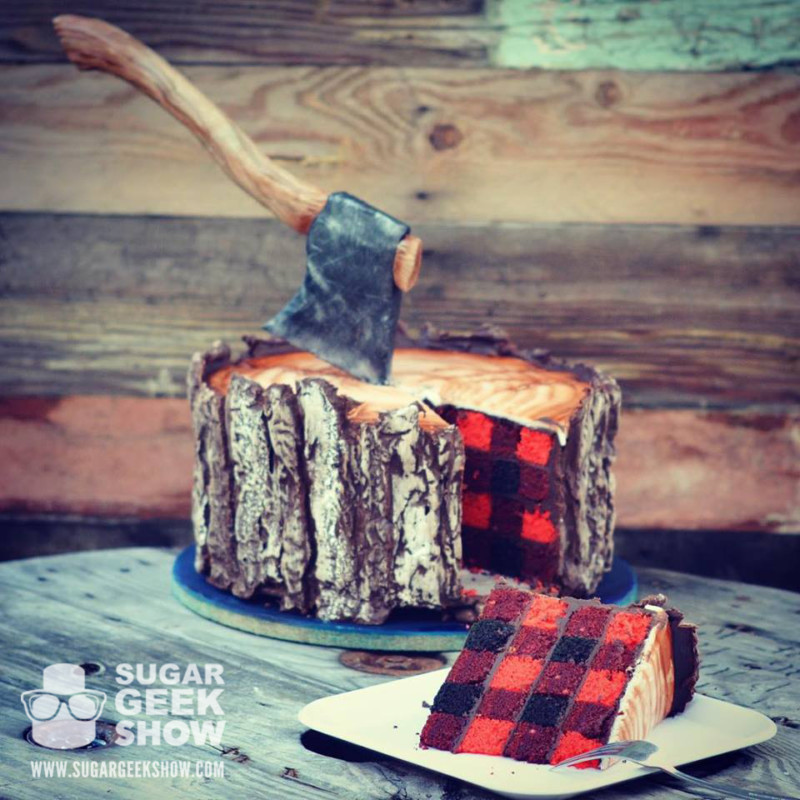
A lumberjack cake is a cake that looks like a lumberjack’s shirt, with plaid-patterned layers of vanilla and chocolate cake. It’s also known as a checkerboard cake, a plaid cake, or a gingham cake. The origin of the lumberjack cake is unclear, but some sources say it was invented in the 19th century by a baker who wanted to impress his lumberjack customers. Others say it was popularized by the TV show “The Great British Bake Off” in 2015.
Whatever the history, the lumberjack cake is a delicious and impressive dessert that you can make at home with some basic ingredients and tools. You don’t need any special pans or cutters to create the plaid effect. All you need is a round cake pan, a knife, and a ruler. You can use any cake recipe you like, as long as it makes two 9-inch round cakes. You can also customize the colors and flavors of your cake to suit your preferences.
Ingredients You’ll Need
To make the basic cake portion of a lumberjack cake, you’ll need the following ingredients:
- 2 9-inch round vanilla cakes
- 2 9-inch round chocolate cakes
- 4 cups of buttercream frosting (any flavor)
- Food coloring (optional)
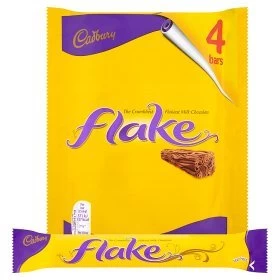
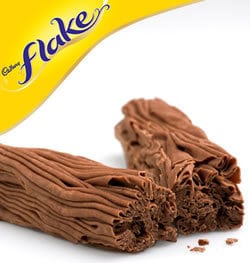
- Cadbury Flake chocolate candy bar (we get our Cadbury Flake Bars on Amazon here)
You can use your favorite cake recipe or a boxed cake mix to make the cakes. You can also use any frosting you like, such as cream cheese, ganache, or whipped cream. If you want to add some color to your cake, you can use food coloring to tint the frosting or the cake batter.
How to Make a Lumberjack Cake
Making a lumberjack cake is easier than it looks. Just follow these simple steps…
Preparing the Cake Pans
- Preheat your oven to 350°F and grease and flour two 9-inch round cake pans.
- Divide your vanilla cake batter into two equal portions and pour one portion into one of the cake pans. Repeat with the chocolate cake batter and the other cake pan.
- Bake the cakes for 25 to 30 minutes or until a toothpick inserted in the center comes out clean.
- Let the cakes cool completely in the pans on a wire rack.
Making the Cake Batter
- If you want to add some color to your cake, you can divide the remaining portions of the vanilla and chocolate cake batters into two bowls each and add a few drops of food coloring to each bowl. Mix well until the color is uniform.
- Pour the colored cake batters into the remaining two cake pans and bake them for 25 to 30 minutes or until a toothpick inserted in the center comes out clean.
- Let the cakes cool completely in the pans on a wire rack.
Baking the Cake Layers
- Once the cakes are cooled, remove them from the pans and level the tops with a knife or a cake leveler.
- Using a ruler and a knife, cut each cake into four equal wedges. You should have eight vanilla wedges and eight chocolate wedges.
- Arrange four wedges of alternating colors on a cake board or a large plate, forming a circle. Use a thin layer of frosting to stick them together.
- Repeat with the remaining wedges, forming another circle on top of the first one. Make sure to align the colors so that they form a plaid pattern.
- Cover the entire cake with a thin layer of frosting, sealing in the crumbs. Refrigerate the cake for 15 minutes to let the frosting set.
Decorating the Cake
- Tint the remaining frosting with food coloring if desired. You can use different colors for the top and the sides of the cake, or use the same color for a uniform look.
- Using a piping bag and a star tip, pipe rosettes or swirls on the top of the cake, covering the entire surface.
- Using a spatula or a knife, spread the frosting on the sides of the cake, creating a smooth or textured finish.
- Refrigerate the cake for at least an hour to let the frosting harden.
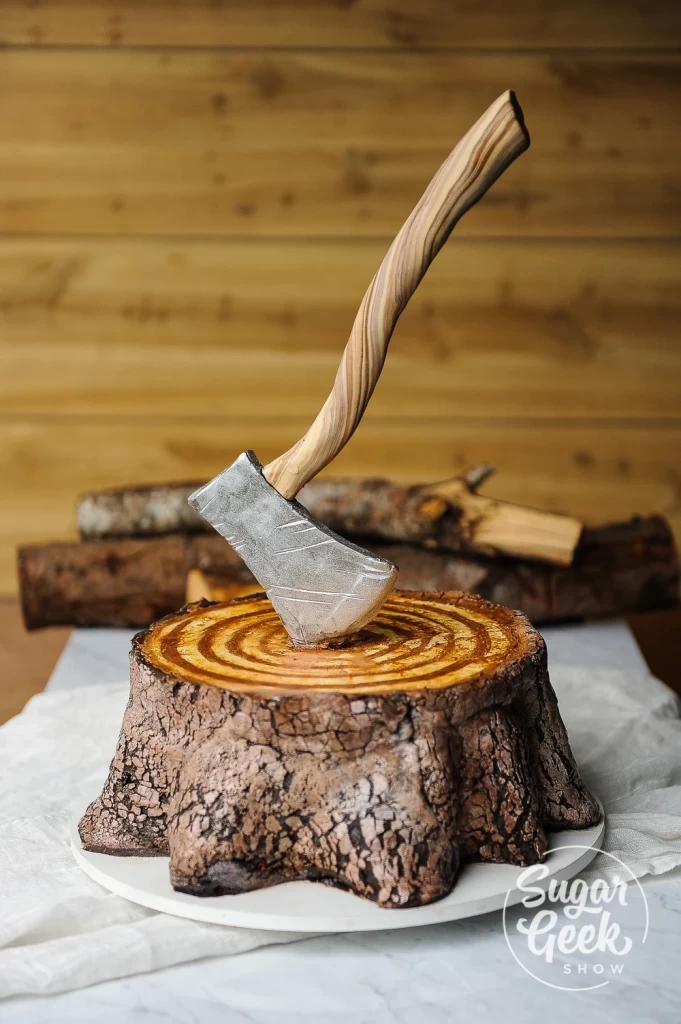
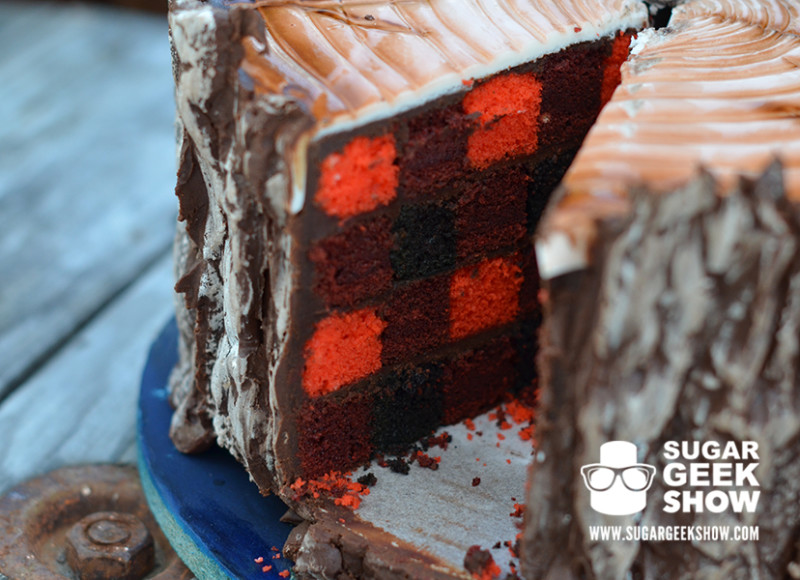
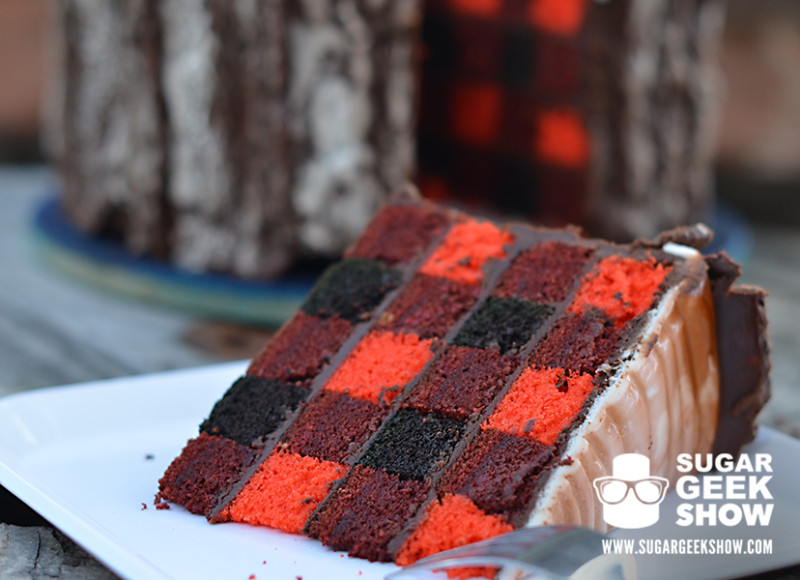
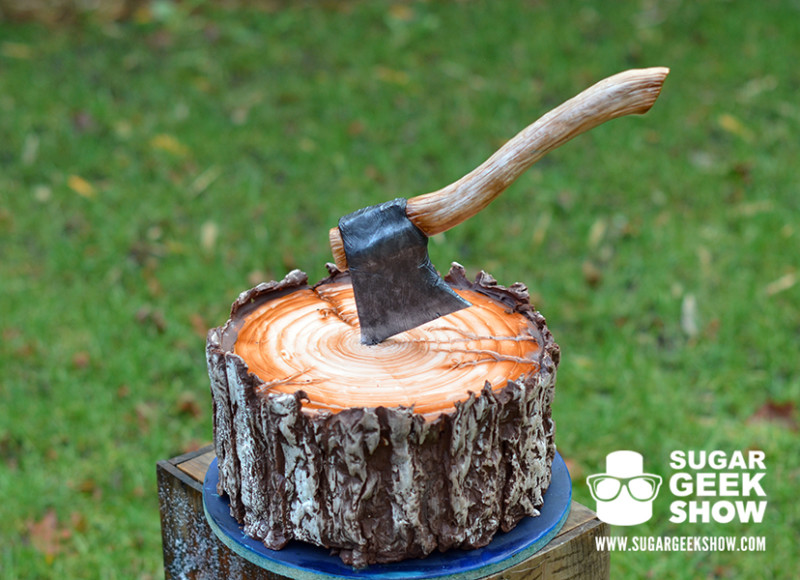
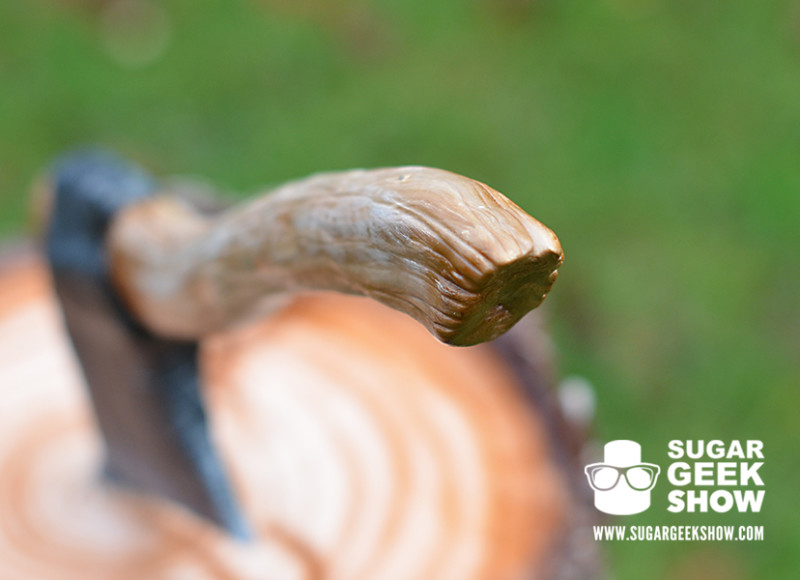
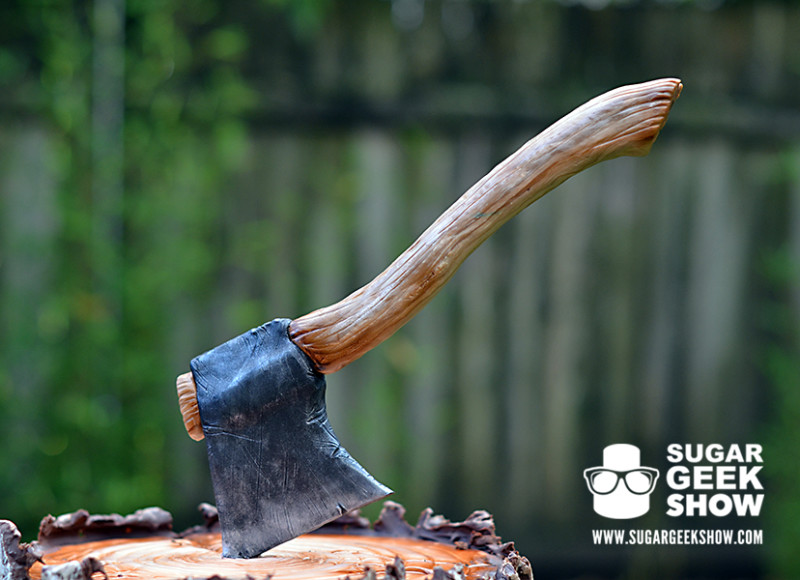
SugarGeekShow, another amazing baker first tackled the lumber jack cake and here’s the photos of her results.
Tips and Tricks
Here are some tips and tricks to help you make a perfect lumberjack cake:
- To make the cutting process easier, you can use a round cookie cutter or a glass to cut out circles from the center of each cake, and then cut the remaining cake into wedges.
- To make the plaid pattern more visible, you can use contrasting colors for the cake layers and the frosting, such as red and white, blue and yellow, or green and brown.
- To make the cake more festive, you can add some sprinkles, candies, or edible decorations on top of the frosting, such as mini marshmallows, chocolate chips, or nuts.
- To make the cake more moist and flavorful, you can brush some simple syrup, jam, or liqueur on the cake layers before assembling them.
- To make the cake more stable and easier to slice, you can insert some wooden skewers or dowels in the center of the cake, cutting them to the same height as the cake.
Conclusion
Enjoy Your Lumberjack Cake!
You’ve just learned how to make a lumberjack cake with this simple tutorial. This cake is a great way to impress your guests and treat yourself to a delicious dessert. You can serve it as it is, or with some whipped cream, ice cream, or fruit on the side. Enjoy your lumberjack cake and share your photos with us on social media!
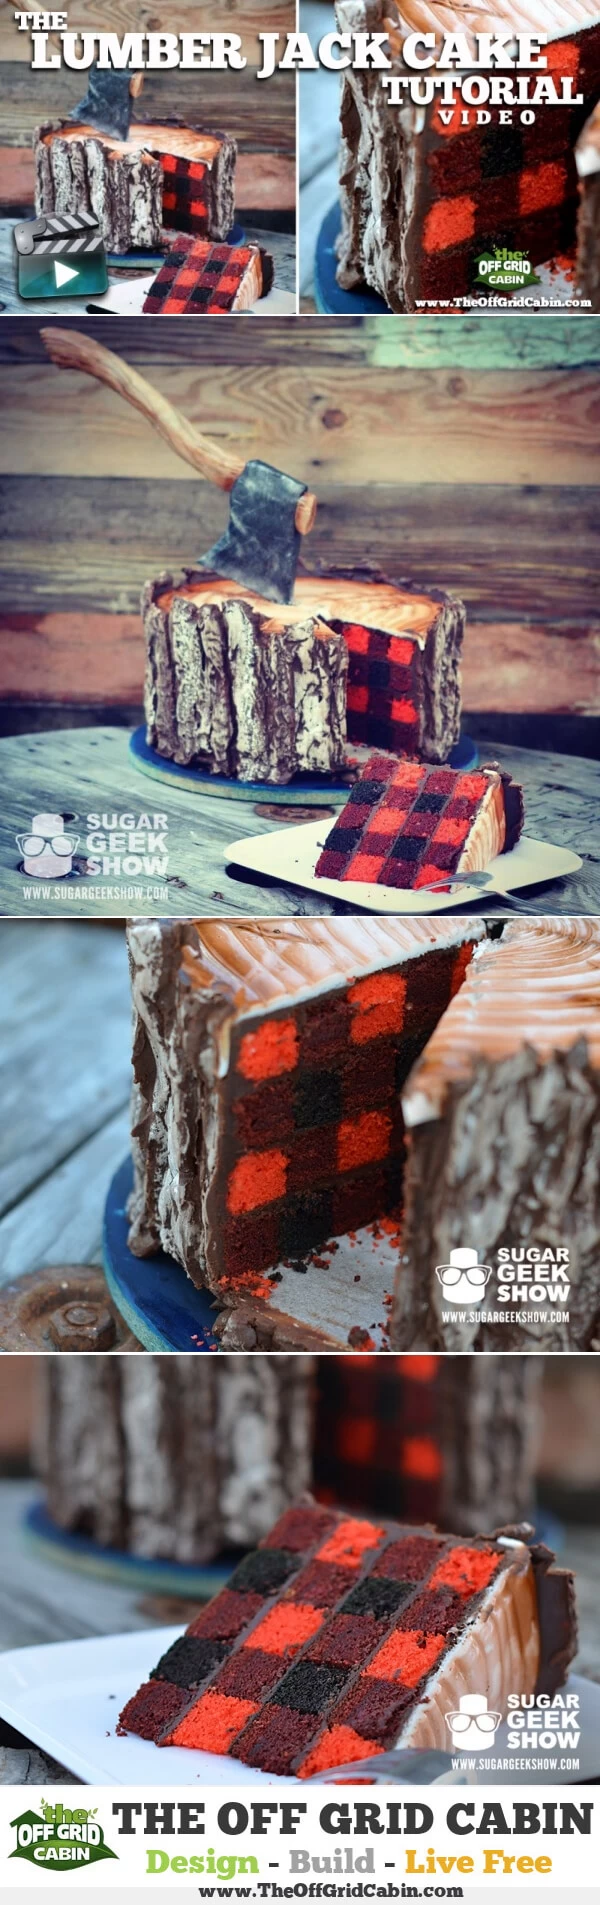
SugarGeekShow also made a fantastic video of making the lumberjack cake. Please drop in to visit her and support her amazing work :)
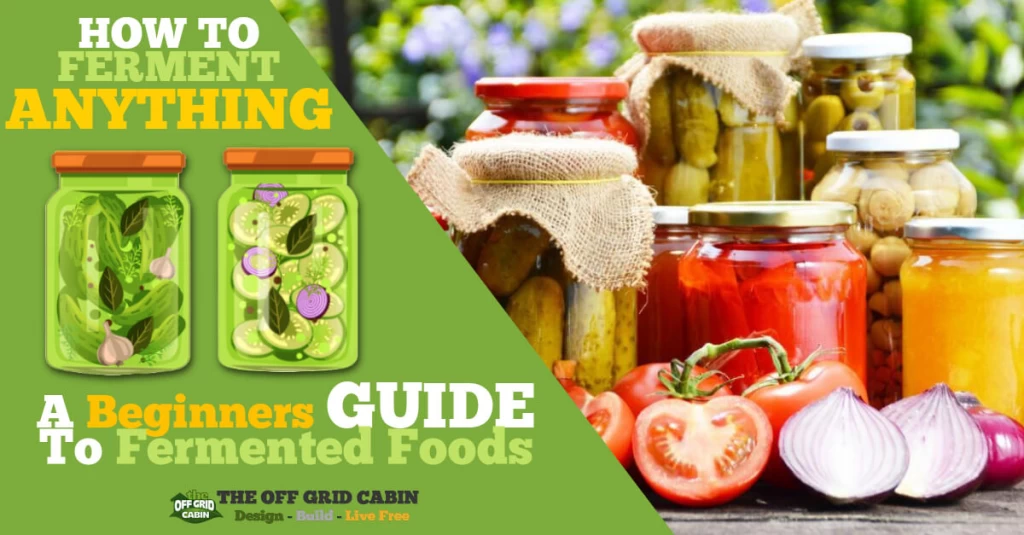
If you liked this tutorial, you might also like our recent post about learning how Ferment Anything: How To Master The Ferment. Except… lumberjack cake of course!

how to clean solar panels
How to Clean Solar Panels: A Step-by-Step DIY Guide As you already know, residential and off-grid solar systems are amazing sources of renewable energy that are quickly growing in popularity. The large flat [...]

earthship
What Is an Earthship and How It Can Help Save the Planet Imagine living in a home that is completely self-sufficient, eco-friendly, and comfortable. A home that grows its own food, collects its [...]

3-way-switch-wiring
3-Way Switch Wiring: A How to Comprehensive Guide Here at the off grid cabin we’ve done our fair share of electrical work including 3-way switch wiring. We’ve done all the internal and external [...]

solar generator
How To Find The Best Solar Generator Impact-Site-Verification: c336f89e-c692-4afd-99d9-0150f7329466 When we first cleared the land to build our off grid home back in 2016, we started with one of those small 700 watt [...]
Off Grid Heating
The Best Off Grid Heating Methods Introduction To Off Grid Heating If you're Living off the grid already or planning to in the future, you already know how important it is to have [...]

off grid appliances
The Best Off Grid Appliances for Off Grid Living Introduction To Off Grid Appliances Living off the grid can be a rewarding and fulfilling experience, but it also comes with some challenges. One [...]


I made the lumberjack cake this past weekend and it turned out great. But when I cut the pieces they fell apart into squares. What is your opinion on why this would happen? I am thinking I could put more icing between layers but not sure if that would solve the problem.