


Ferment Anything: How To Master The Ferment
DIY Fermented Foods: A Fun and Easy Way to Boost Your Health
Here’s Our Beginner’s Guide To The World Of Lacto-Fermentation

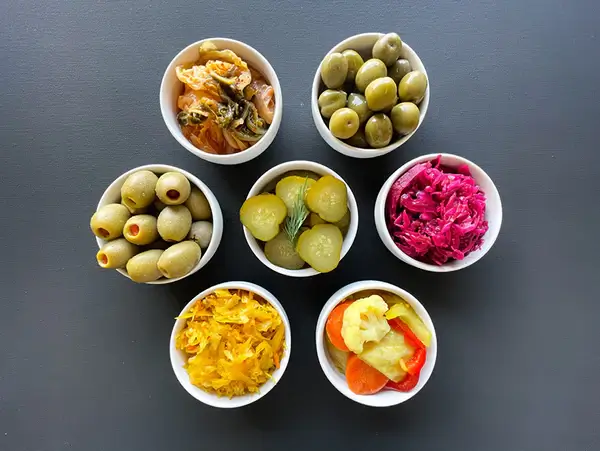
Fermentation is an ancient and natural process of preserving and transforming food with the help of microorganisms such as bacteria and yeast. Fermented foods are not only delicious and nutritious, but also beneficial for your gut health and immunity.
Preserving foods is an essential component to living off-grid and/or being a homesteader. However, you don’t want to rely on canning alone as a food preservation method. When you ferment food it’s not only incredibly simple to do but boasts some truly amazing health benefits. I’ll show you how to ferment just about anything at home with some simple steps, equipment and some MUST KNOW tips to guarantee delicious success.



Table Of Contents
- Ferment Anything: How To Master The Ferment
- The Health Benefits of Fermenting Foods
- What You Need to Start Fermenting
- OUR Top 5 “FERMENTATION INSPIRATION” Books
- The Farmhouse Culture Guide to Fermenting
- The Noma Guide to Fermentation
- The Art of Fermentation
- Wild Fermentation
- So… What You Can Ferment?
- How to Ferment Anything in 5 Easy Steps
- 1. Prepare Your Food
- 2. Pack Your Food
- 3. Weigh Down Your Food
- 4. Ferment Your Food
- 5. Store Your Food
- Fermenting Tips and Tricks
- FAQs
- How do I know my food is done fermenting?
- Can I eat too much fermented foods?
- Conclusion
The Health Benefits of Fermenting Foods


I was a canner. Yup! I knew about fermentation but always thought it was too mysterious, difficult to pull off and knew nothing about the health benefits.
But… what the fermentation process does to food… is pure magic.

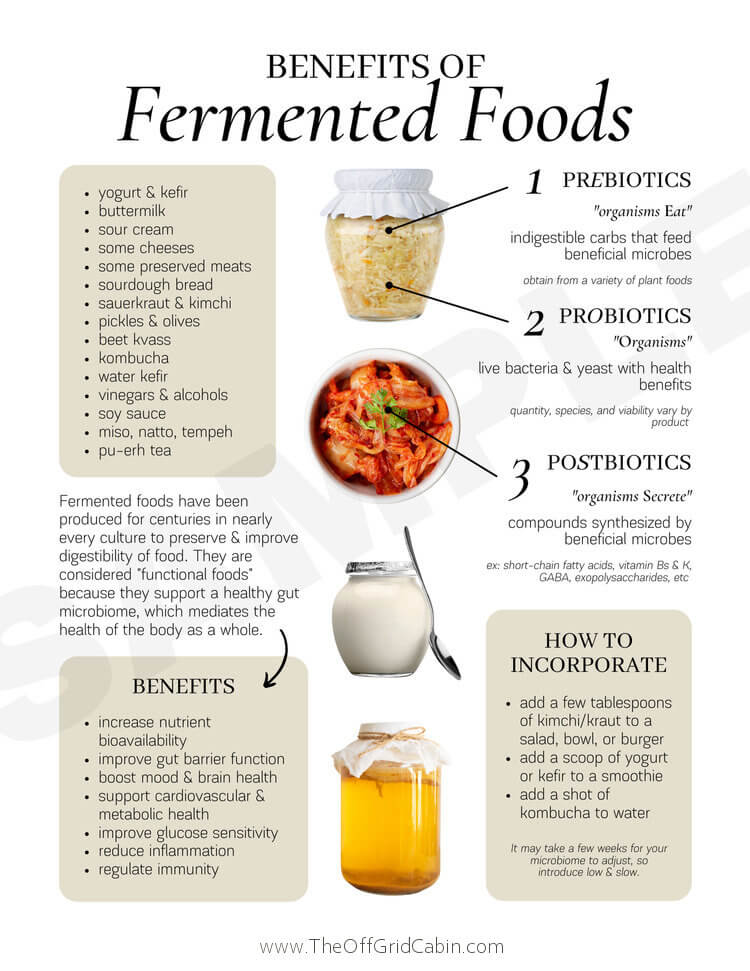
So what exactly is lacto-fermentation and why is it so beneficial for us?
Fermenting foods is a process that involves the breakdown of carbohydrates by microorganisms such as bacteria and yeast. These foods have a distinctive tart flavor and are highly rich in probiotics, which are beneficial bacteria that can improve your gut health and immune system. Some examples you are probably familiar with are yogurt, cheese, sauerkraut, kimchi, kombucha, and miso. These foods may also have other health benefits, such as enhancing the absorption of nutrients, supporting weight loss, reducing the risk of cardiovascular disease and diabetes, and improving mood and skin health. What’s really great is that you only need a few forkfuls of these super foods once a day to gain all their health benefits. FUN FACT: The resulting state of a fermented food is actually HEALTHIER than in its original state!
What You Need to Start Fermenting
The best part is that you probably already have the supplies to get started and/or they are always close by and readily available at any grocery store.

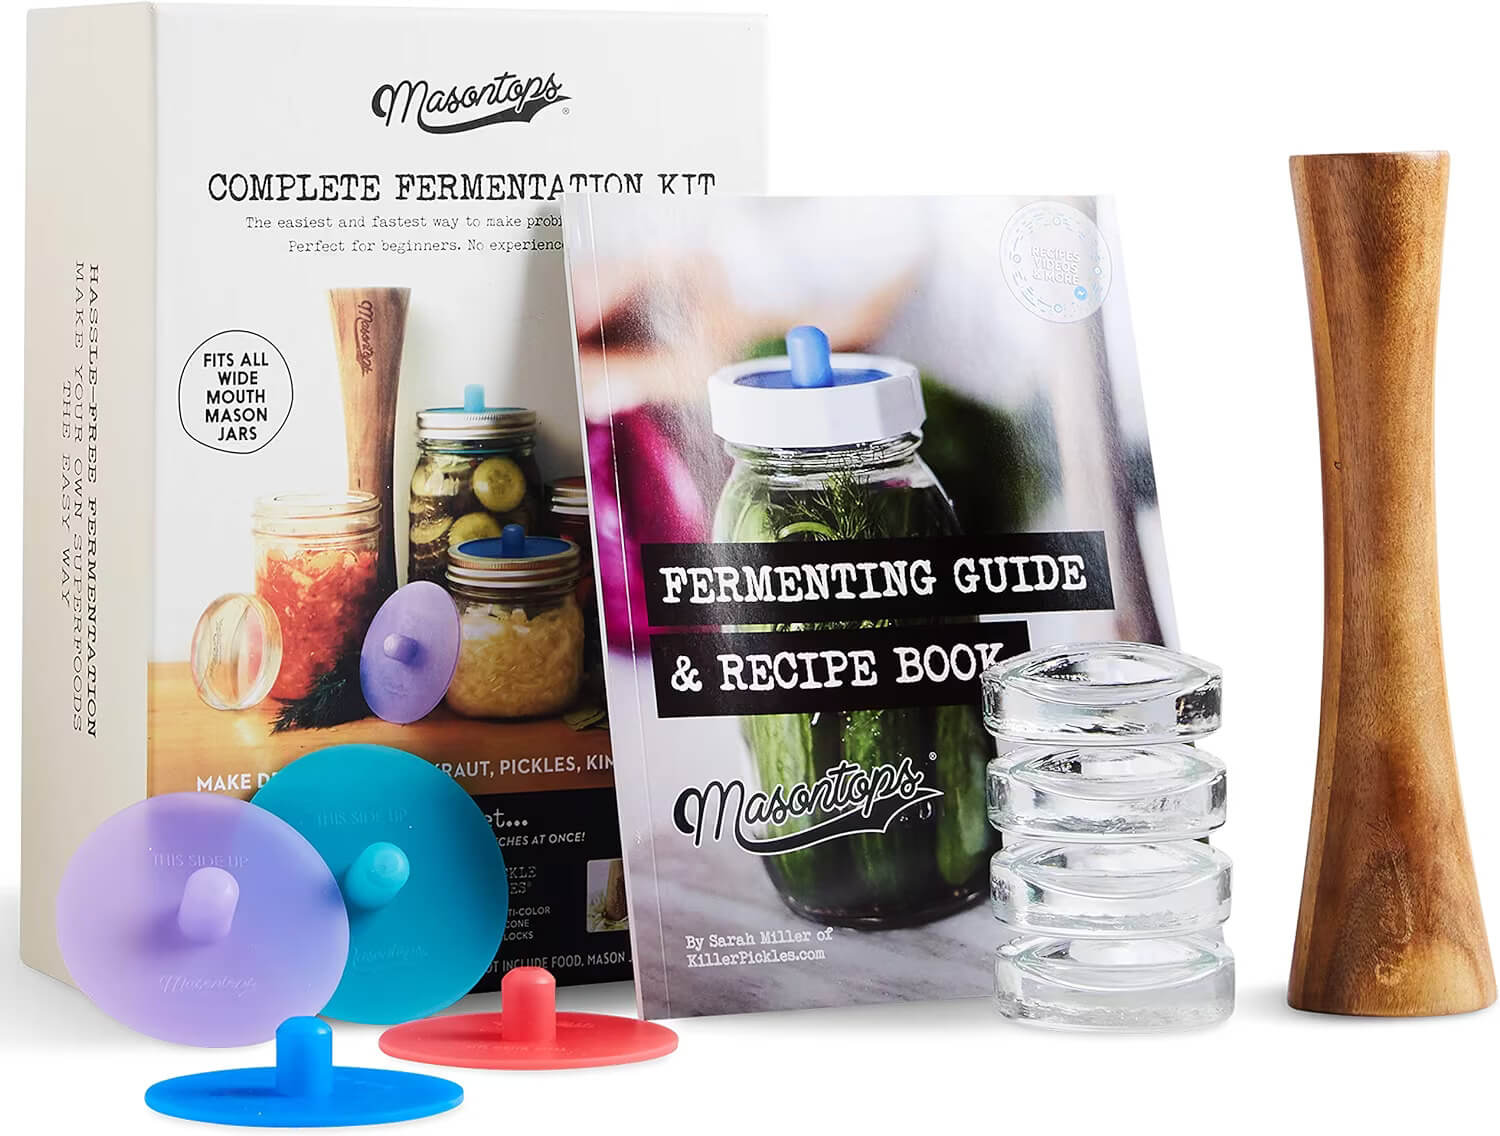
Want to take your foods to the tastiest level possible and practically guarantee success right from the start? Then we recommend a few items that will make your fermenting journey much easier, less messy and give your taste buds a kick in the pants! To start, you will need the following items:
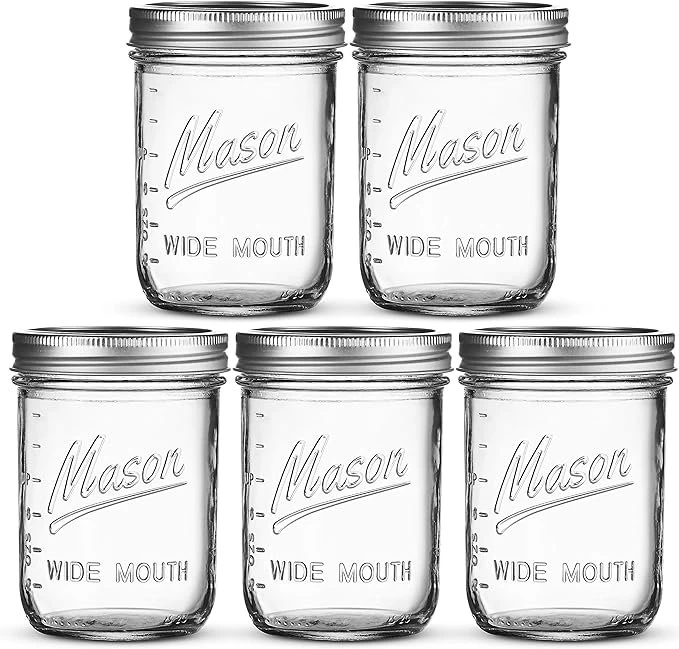
- A glass jar or ceramic crock with a lid or a cloth to cover it. Always avoid metal or plastic containers as they can react with the acids and possibly leach chemicals into your food. The best vessels are made of wood, ceramic, or glass. We recommend wide mouth mason jars.

- Lids and Airlocks are what seal your foods from the outside world during the fermentation process. They serve an important role in keeping the food protected from molds and other airborne bacteria. Some even serve as an automatic vent to relieve the CO2 pressure that builds up as a result of the process. There are several types of lids specifically designed for large mouth mason jars. Regular canning lids Silicone Airlocks also called “Pickle Pipes” Fermentology Airlocks And our favorite the Nourished Essentials Lids


- A weight keeps your food submerged under the brine. This is critical to preventing any portion of the food breaching the surface which could lead to mold. You can use a clean stone, a plate, or a zip-lock bag filled with water as a weight. Our preferred method is to use these glass weights.

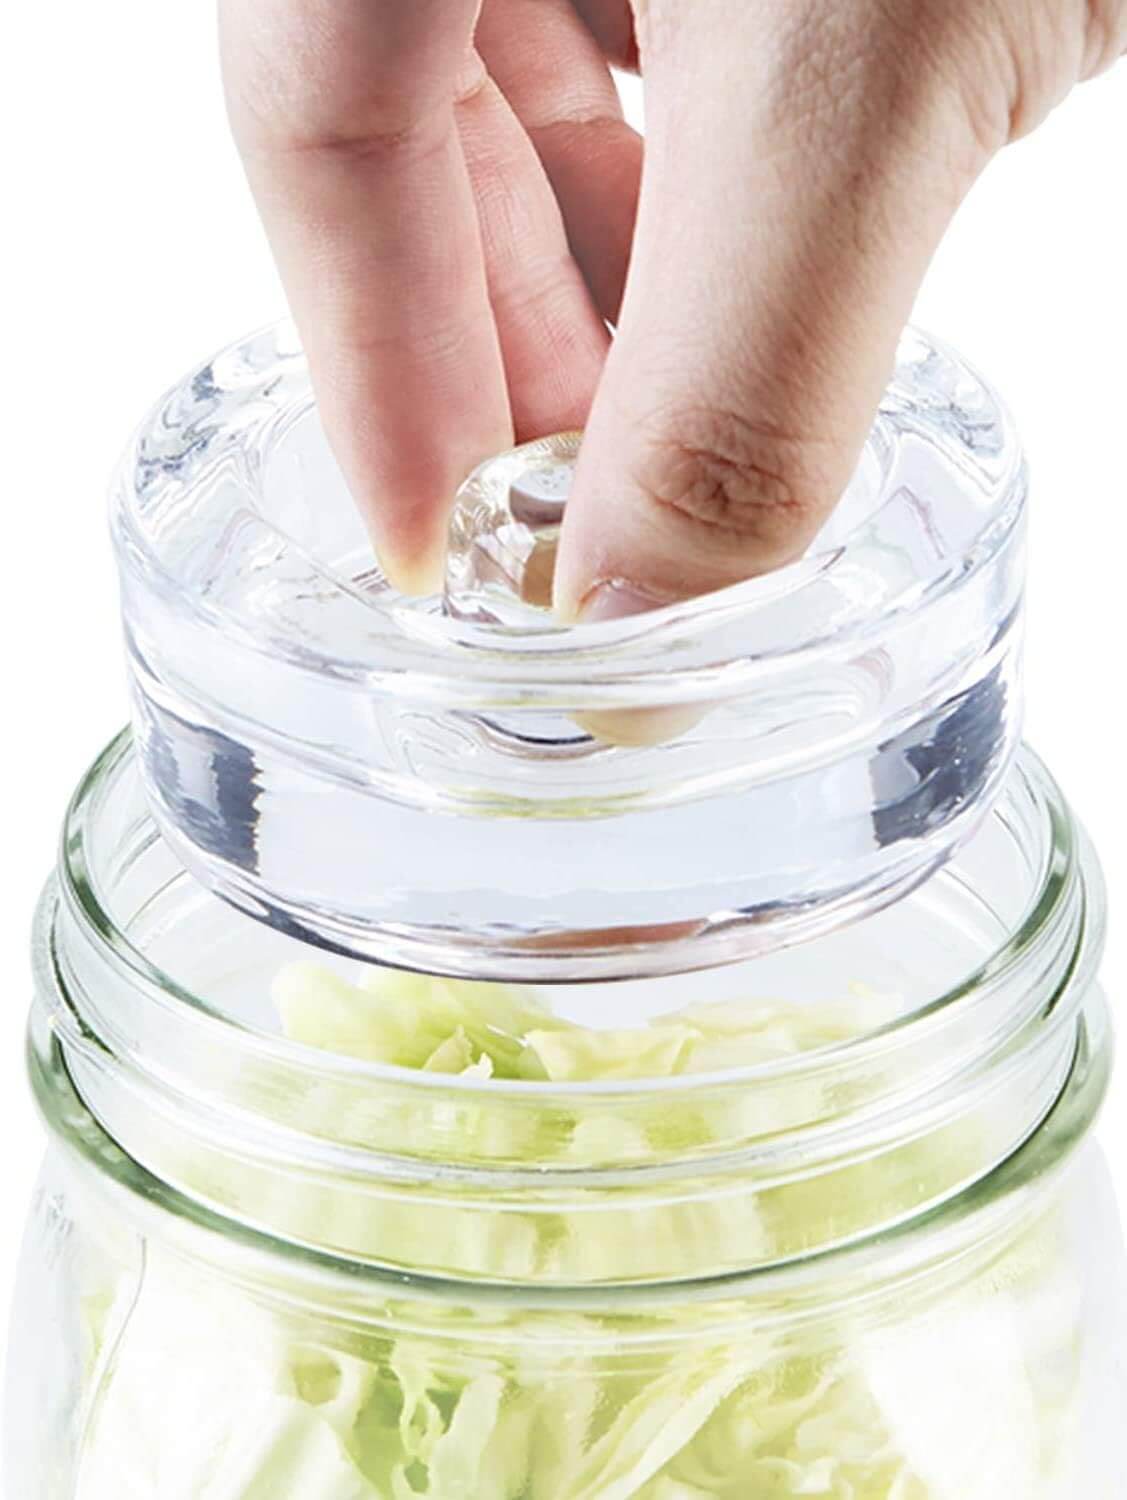
- A starter such as salt, sugar, whey, or a commercial culture. Salt and sugar are the most common and easy starters as they create an environment that favors the good bacteria and inhibits the bad ones. Whey is the liquid that separates from yogurt or cheese and contains live cultures that can speed up the process. Commercial cultures are packets of specific strains of bacteria or yeast that you can buy online or in health food stores. They can give you more consistent and predictable results, but they are not necessary for most ferments. Be sue and use the proper salt. More on that later.


- The tamper (muddler) efficiently pounds and packs veggies down into the brine releasing a buildup of CO2 which can speed up the fermentation process. It’s also much easier than trying to shove a spoon or fork into your sauerkraut and trying to get every bit below the surface.


- A knife, a cutting board, a grater, a peeler, and a bowl to prepare your food.
- A wooden spoon, a funnel, and a measuring cup or spoon to mix and transfer your food and brine.
Last but not least is what we call…
OUR Top 5 “FERMENTATION INSPIRATION” Books

The Farmhouse Culture Guide to Fermenting

The Noma Guide to Fermentation

Fermented Vegetables

The Art of Fermentation

Wild Fermentation
So… What You Can Ferment?


Dang near anything can be fermented! Its is a wonderful activity because you can experiment with almost anything. You don’t need to worry about scientific measurements, but just trust your instincts and senses.
You really can use almost any type of food. Some of the most popular and easy ones to begin with are:
- Vegetables: You can use almost any vegetable you like, such as cabbage, carrots, cucumbers, radishes, onions, garlic, peppers, cauliflower, broccoli, beets, turnips, etc. You can also mix different vegetables together or add herbs and spices for more flavor. Some of the most common vegetables are sauerkraut, kimchi, pickles, and relish.
- Fruits: such as apples, pears, grapes, berries, citrus, pineapple, mango, etc. You can also add spices, honey, or sugar for more sweetness. Some of the most common fermented fruits are apple cider, fruit vinegar, and chutney.
- Grains: such as wheat, rye, oats, rice, quinoa, millet, etc. You can also add water, milk, or yogurt to make them more moist and creamy. Some of the most common fermented grains are sourdough, porridge, and granola.
- Beans and legumes: such as soybeans, chickpeas, lentils, black beans, kidney beans, etc are great. You can also add spices, herbs, or vegetables for more flavor. Some of the most common fermented beans and legumes are tempeh, miso, natto, hummus, and bean paste.
- Dairy: products such as milk, cream, cheese, yogurt, kefir, butter, etc. You can also add fruits, nuts, or honey for more flavor. Some of the most common fermented dairy products are cheese, yogurt, kefir, and butter.
You can use any food, whether it is raw or cooked. However, most people prefer to use raw foods, which makes it incredibly simple to do. This process is called lacto-fermentation, because it involves the growth of lactobacillus bacteria in the food. This is not related to dairy, even though the name sounds like like it might.
How to Ferment Anything in 5 Easy Steps


You should always use ORGANIC vegetables that are raw. This is because they are not treated with chemicals that can harm the living ferments and contain more good/live bacteria needed for the process. The quality of your vegetables WILL affect the quality as well. If you use low-quality vegetables, you will NOT get the best results possible.
Don’t feel like you have to have a separate jar for every veggie. Go ahead and combine some delicious combinations of veggies like carrots, radish, turnip, parsnip, cauliflower, parsley, peppers and beets!
The basic steps are:
1. Prepare Your Food
Wash, peel, chop, grate, or slice your food as desired. You can also leave some foods whole, such as cucumbers, grapes, or eggs. The smaller the pieces, the faster the fermentation will be. You can also add salt, sugar, spices, herbs, or other flavorings to your food at this stage.
2. Pack Your Food
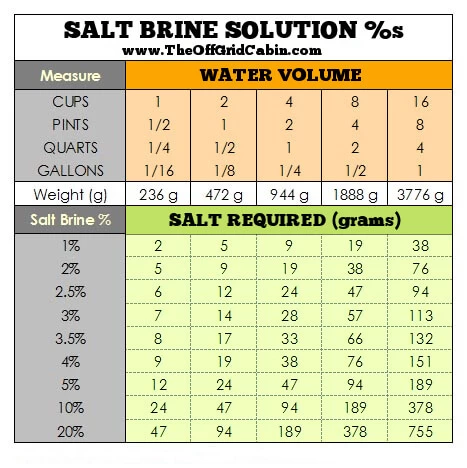
Transfer your food into your vessel(s) of choice and pack it tightly, leaving some space at the top for the brine and the gas that will be produced. You can also add some water, whey, or a commercial culture to your food to help start the process. If you are using salt or sugar, you can dissolve them in some water first and then pour the brine over your food. Make sure your food is completely covered by the brine. If not, you can add more water or brine until it is. Some basic rules for using a salt solution (brine) Always use chemical free salt such as pure sea salt, Kosher salt, or Himalayan salt. These salts kill off the bad bacteria’s we do not want in our foods. However, the good bacteria we DO WANT (lactobacillus) loves a low to medium salty environment. Keep the good, kill the bad. Your brine solution should be between a 2% brine solution and as high as 6%. A rule of thumb I use is 2% for all veggies EXCEPT pickles and peppers. Pickles can be fermented using a 4% brine solution and peppers can go slightly higher 5%-6%. To calculate exactly how much salt you need…

3. Weigh Down Your Food
Place a glass weight or a smaller jar filled with water on top of your food to keep it submerged under the brine. This will prevent mold and spoilage from forming on the surface. You can also cover the jar or crock with a lid or a cloth to keep out dust and insects. If you are using a lid, make sure it is not too tight as the gas that will be produced during fermentation needs to escape. You can also use an airlock, which is a device that allows the gas to escape but prevents air from entering the jar or crock.
4. Ferment Your Food
Store your jar or crock in a cool and dark place, such as a cupboard, a pantry, or a basement. The ideal temperature is between 18°C and 22°C (64°F and 72°F). Avoid direct sunlight, heat, or cold as they can affect the process. Check on your food every day or every few days and taste it to see how it is progressing. You can also smell it, look at it, and listen to it to see if it is bubbling, fizzing, or changing color. Depending on the type of food, the starter, and the temperature, fermenting can take anywhere from a few days to a few weeks or even months. The longer you ferment, the more sour and complex the flavor will be. You can stop the process when ever you are happy with the taste and texture of your food.
5. Store Your Food
Once your food is ready, you can enjoy it right away or store it in the fridge for later. Fermented foods can last for several weeks or months in the fridge, as the cold temperature slows down the whole process. You can also can or freeze your foods for longer storage, but this will kill the beneficial bacteria and enzymes in them. You can eat your foods as they are or use them as ingredients in other dishes, such as salads, sandwiches, soups, sauces, dips, etc.
Fermenting Tips and Tricks


Here are some tips and tricks to help you ferment successfully and safely:
- Use fresh and organic food as much as possible, as they will have more natural bacteria and less pesticides or chemicals that can interfere with the process.
- Use filtered or spring water, as tap water can contain chlorine or fluoride that can kill the good bacteria or inhibit the process.
- Use sea salt or Himalayan salt, as table salt can contain iodine or anti-caking agents that can affect the flavor or color of your food.
- Use clean and sterilized jars, crocks, weights, and utensils, as any dirt or contamination can cause mold or spoilage in your food.
- Use glass, ceramic, or wood containers and utensils, as metal or plastic can react with the acids or leach chemicals into your food.
- Keep your food submerged under the brine at all times, as any exposure to air can cause mold or spoilage on the surface. If you see any mold, scum, or foam on the surface, you can skim it off and discard it. If the mold is too deep or the food smells bad, you should throw it away and start over.
- Burp your jar or crock every day or every few days, as the gas that is produced can build up pressure and cause the lid to explode or the jar to crack. You can do this by slightly opening the lid and letting the gas escape, then closing it again. You can also use an airlock, which will do this automatically for you.
- Taste your food every day or every few days, as the process is not exact and depends on many factors, such as the type of food, the starter, the temperature, and your personal preference. You can stop the fermentation when you like the taste and texture of your food.
- Label your jar or crock with the date and the type of food, as this will help you keep track of the time and avoid confusion with other batches you may have on the go.
- Experiment with different foods, starters, flavors, and timings, as this will help you discover new and exciting tastes and combinations.
FAQs
How do I know my food is done fermenting?
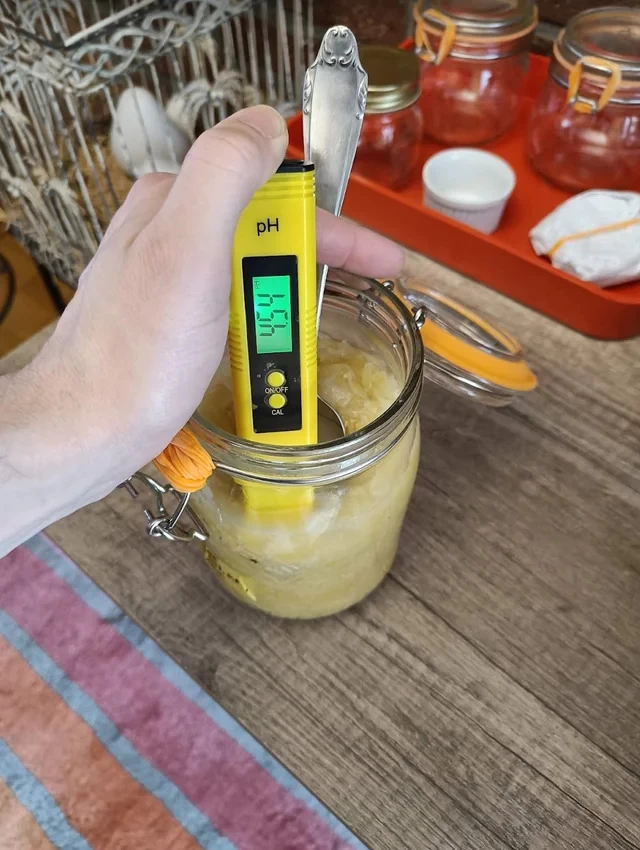
The best way to know when your food is done is to taste it and see if you like it. You can start sampling your foods after a few days and keep tasting it until it suits your preference. It should have a nice flavor. If you want it to be more sour, let it stay at room temperature longer. The longer you leave it out, the more probiotics, lactic acid, and enzymes it will have. But it will also change the flavor. When you are happy with the taste, put your ferment in the fridge. You can also confirm the PH level of your brine solution using either PH test strips or a PH meter. You’re looking for a PH of 4.6 or lower. We use this particular PH tester ourselves.

What about if I see mold in my jar or on my food?
As you spend more time making these foods, you’ll eventually have a case of mold on the surface of the brine or on a piece of exposed food above the surface. Usually a result of a vegetable or two floating to the surface and being exposed to oxygen. mold. There are two different types of mold you may come across… One is actually a yeast called Kahm Yeast.


While Kahm yeast is not ideal, it is not actually harmful. So it’s ok to eat a ferment contaminated with Kahm yeast. Simply skim off this layer and move the vessel to the fridge to slow/prevent the regrowth. The other is mold just like you’re imagining. That’s bad and yes, toss it. It’s easier to make a fresh batch than it is to consume questionable food.

Can I eat too much fermented foods?
Well, eating too much fermented food can also have some drawbacks. If you’re new to eating these foods or overindulged in a heaping bowl of sauerkraut you could end up with intestinal gas, bloating, or other digestive discomforts. This is because as you have learned these foods contain probiotics, which are live bacteria that can change the balance of your gut microbiome. If you introduce too many probiotics too quickly, your gut may not be able to adjust and may react negatively. Therefore, it is advisable to start slowly and gradually increase your intake of fermented foods, especially if you are new to them. You can also listen to your body and see how you feel after eating them. If you experience any unpleasant symptoms, you may want to reduce your consumption or try a different type of food. There is no official recommendation on how much fermented food you should eat, but some nutritionists suggest eating them at least once a day while others suggest three to four times a day. In the beginning, just don’t over do it. You and your gut will find a happy place.
Conclusion

Fermenting is easy, fun, and rewarding. You can make your own delicious and nutritious foods at home with some simple veggies and the steps we’ve shared. Just follow our tips for optimal results every time. We hope we’ve peaked your interest in trying it on your own. So, what are you waiting for? Get started today and enjoy the amazing fizzy world of fermentation!

Your Turn…
P.S. If you enjoyed this post about How to Ferment Anything: A Beginner’s Guide to DIY Fermented Foods then why not share it.
Share This Story, Choose Your Platform!
It’s how we keep growing our off grid community here and lets us know we’re posting the right kind of info you’re looking for.
Here’s a special Pinterest PIN for all our Pinterest fans out there!
Let us know what you think in the comment section below.
And be sure to join the rest of the off grid community here and follow along with the build of our cabin!
We’ll update the Building The Cabin section every time we complete a new phase of the build so be sure to check in and watch the progression.
Here are some resources we used in our research on how to ferment foods
- homesteadingwhereyouare.com
- plantables.ca
- souschef.co.uk
- naturalchef.com
- asyouarenutrition.com
- gettyimages.com
- bodyecology.com
- peacefuldumpling.com
- wellandgood.com
- sbs.com.au
- get-base.com
We do use affiliate links here on our site. This doesn’t change the price of anything for you but simply gives us a few cents as a kickback for sending Amazon some traffic from our blog. We thank you ahead of time if you do end up buying anything through one of those links.


