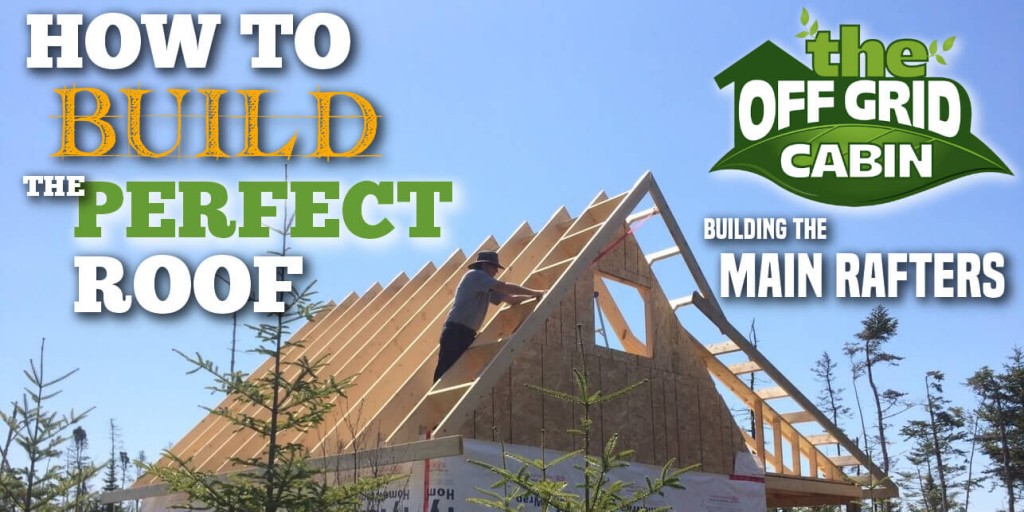
Building The Perfect Cabin Roof Part 2 of 5
All our rafter tips & tricks are “on the house.”
Today is day #11 of the cabin build and we’ll carry on with our quest to build the perfect cabin rafter.
Yesterday on day #10 we finished building the ridge beam.
If you need a roofing refresher before tackling the rafters have a read through our Ultimate Roof and Rafter Guide.
The Cabin Rafter Install
Our cabin roof has three sloped surfaces (seen below) which I’ll be referring to in this and future posts.
- The main rafters on the rear of the cabin.
- The main rafters on the front of the cabin
- The front deck rafters
The main cabin rafters are built using 14 foot 2x10s, are spaced at 24-inches and set at 45 degrees.
The 10 inch height of the rafter will allow us to insert 8.5 inch think R-28 EcoTouch Pink Fiberglass Insulation – 24-inch x 48-inch and still have an air gap above the insulation for free air flow.
The Rear Main Rafters
The main rear rafters have a birdmouth cut at both the top and bottom.
The Bottom of the main rafters both front and rear are secured using Simpson Galvanized hurricane ties
We left both the main cabin rafters (14 feet) and deck rafters (12 feet) at full length.
The rear rafters all installed
Front Main Rafters
The front main rafters have the birdsmouth cut at the top and the bottom sit directly on the wall top plate. The bottoms are again help in place with hurricane ties.
Because the main rafters are over lapped at the top and we simply cut off the excess length perfectly square with a skill saw using the rafter as a guide for the blade.
To secure the top of the rafter in place and ensure they are properly spaced prior to toe-nailing them in, we measured and cut blocking to fit in-between each pair.
Not only do the spacer blocks ensure proper spacing but it also helps prevent the rafter from twisting.
Below we’re finishing up the front rafters.
View from the loft into the living room.
Cleaning up the loft and prepping for tomorrow.
Finished the main rafter front and rear.
This rafter design is superior in its load bearing capabilities, cost savings, simplicity of its fabrication/installation, and ultimately your cabin’s overall stability and longevity.
That covers Building The Perfect Rafter Part II
We hope you’ve enjoyed our rafter install so far. Tomorrow on Day #12 we’ll tackle building the front deck header beam, ceiling joists and deck rafters.
Your Turn…
Please share with us your thoughts on our design.
Like we always say, we’re not home building experts. We’re building enthusiasts.
There are multiple ways to put a roof on your cabin or tiny home. This is just one of them.
However, we feel it’s the best design given our roof structure.
If you’ve found this interesting and informative please share away.
Cheers!
For our Pinterest fans we’ve created a special pin as always just for you below.
how to clean solar panels
How to Clean Solar Panels: A Step-by-Step DIY Guide As you already know, residential and off-grid solar systems are amazing sources of renewable energy that are quickly growing in popularity. The large flat [...]
earthship
What Is an Earthship and How It Can Help Save the Planet Imagine living in a home that is completely self-sufficient, eco-friendly, and comfortable. A home that grows its own food, collects its [...]
3-way-switch-wiring
3-Way Switch Wiring: A How to Comprehensive Guide Here at the off grid cabin we’ve done our fair share of electrical work including 3-way switch wiring. We’ve done all the internal and external [...]
solar generator
How To Find The Best Solar Generator When we first cleared the land to build our off grid home back in 2016, we started with one of those small 700 watt Moto Master [...]
Off Grid Heating
The Best Off Grid Heating Methods Introduction To Off Grid Heating If you're Living off the grid already or planning to in the future, you already know how important it is to have [...]
off grid appliances
The Best Off Grid Appliances for Off Grid Living Introduction To Off Grid Appliances Living off the grid can be a rewarding and fulfilling experience, but it also comes with some challenges. One [...]

