

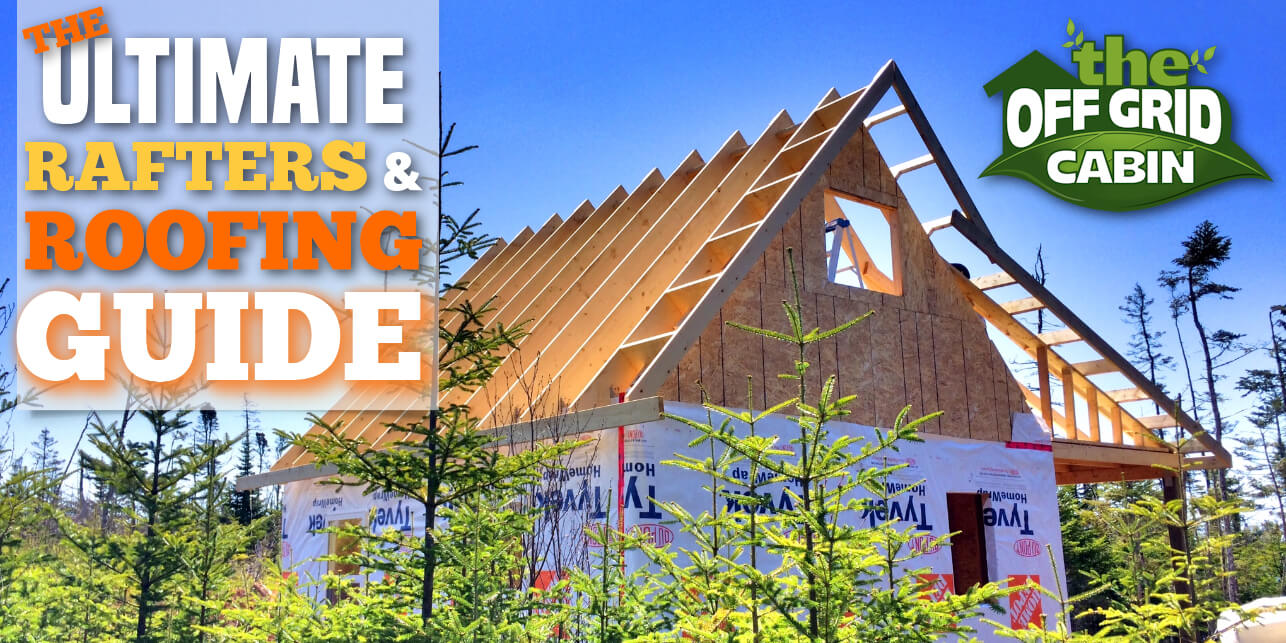
Ultimate Roof & Rafter Guide
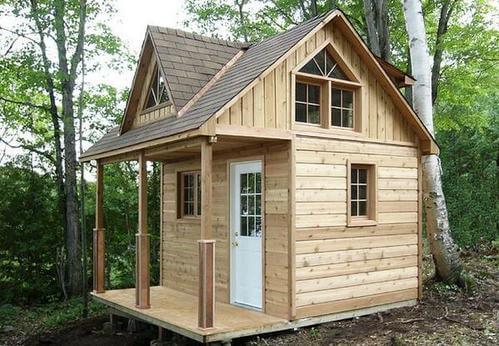
It’s one of the key visual and functional external finishes that can either make or break your cabin’s success. Having a roof over your head is one of the most important elements of your home, and you need to make sure it’s well designed, properly constructed and maintained annually.

If you’ve been following our off grid cabin build then you know we’re ready to begin one of the most technically challenging and time consuming phases of the build. If you haven’t poked around the site se sure to after reading this. You’ll find a complete beginners guide to going off grid as well as a full breakdown of our solar system.
The rafters/trusses and roof components not only protect you from the elements and transfer dead/live loads to the ground but serve to structurally tie the foundation and wall framing together.
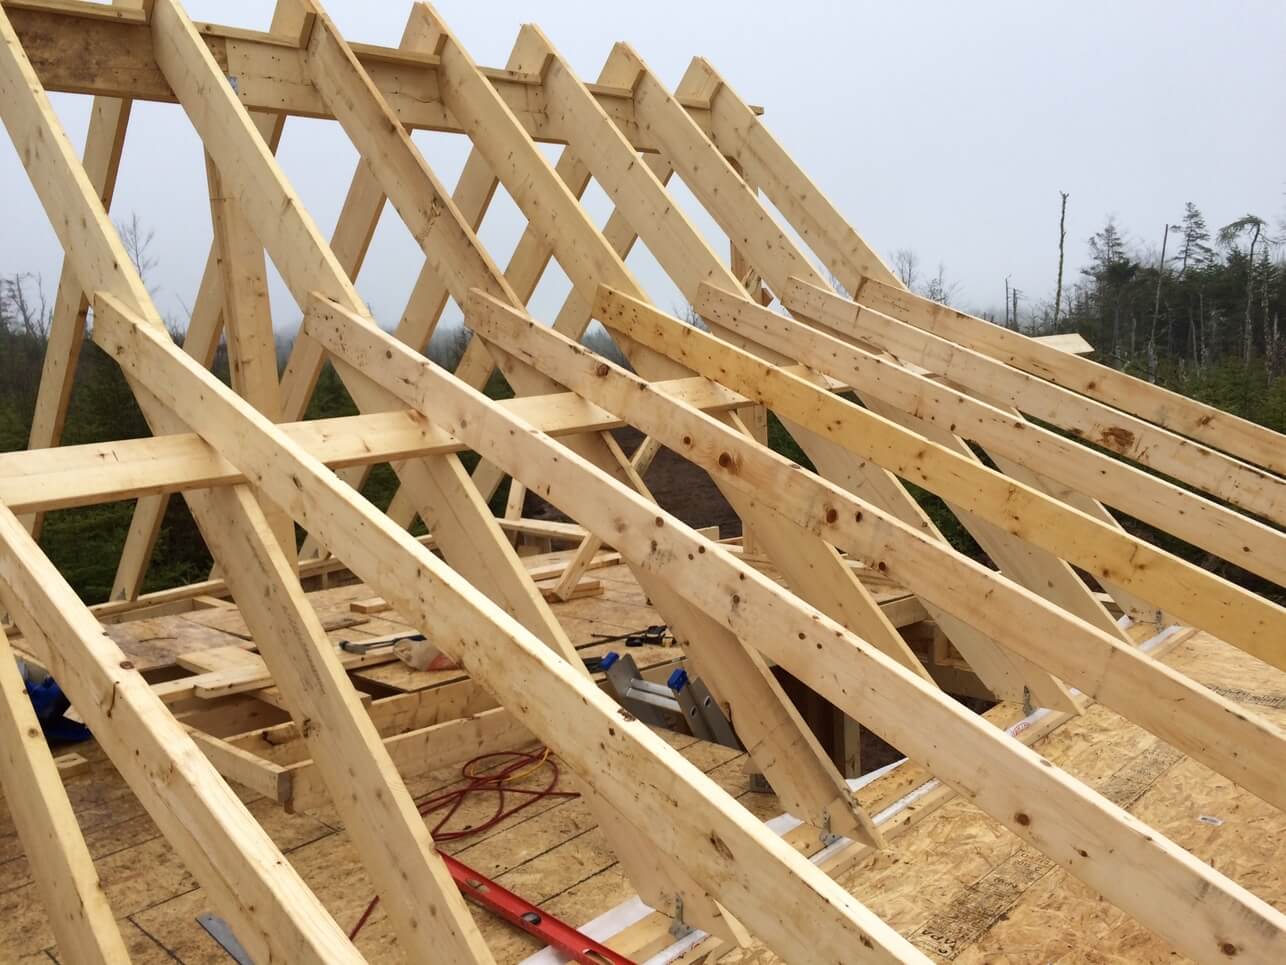
Our cabin uses a rather unique rafter system. And we’re going to teach it to you in the next few posts.
We’ve implemented this particular rafter design for the following reasons.
- We want to attain as much floor space as possible in the loft.
- We want to have standing head room in the loft and not have to hunch over.
- We want a cathedral ceiling in the main living room without ceiling joists disturbing the open concept.
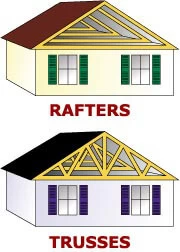
If you don’t have a loft, or a vaulted cathedral ceiling, and prefer a traditional flat ceiling then you can pass on our rafter design and just go with either traditional rafters or trusses. Below you’ll see how either way you’re going to end up with horizontal beams running across the room. Our design eliminates those altogether.
We’ll outlined some major advantages to our rafter design and think you’ll agree that no matter what style roof you choose our rafter design is superior.
We’re not professional building experts. We’re building enthusiasts. ~ Steve Barnes
This off grid build is not meant to be a “you must do this”. It’s simply our opinions. We’re sharing our experiences and observations.
Early on we emphasized how critical it was to ensure that you build a perfectly level, square and plumb foundation. We shared with you our techniques for building the a foundation and now that it’s time to cap the cabin you’ll thank us for being too picky back then.
You’ll recall from our Hidden Secrets For How To Build The Perfect Level Foundation that if the foundation is off level by so much as an eighth of an inch that error will compound as the build continues upwards. By the time you’ve framed your walls that error can compound and potentially leave the tops of your walls (or second floor) off by several inches.
No lever, ratchet strap or sledgehammer will fix that problem.
But not to worry because we’ve covered how to build the perfect foundation and how to frame the perfect walls.
But before we dive into our rafter design and start construction let’s do a little roofing 101 to put everyone on the same page.
Roofing 101
Roof Pitch Explained
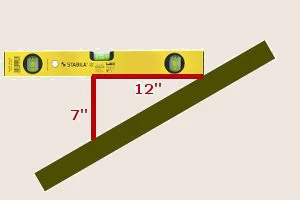
The Pitch refers to the amount of vertical measurement (rise) as compared to the horizontal measurement (run).
For example a roof that has a 7/12 roof pitch looks like this…
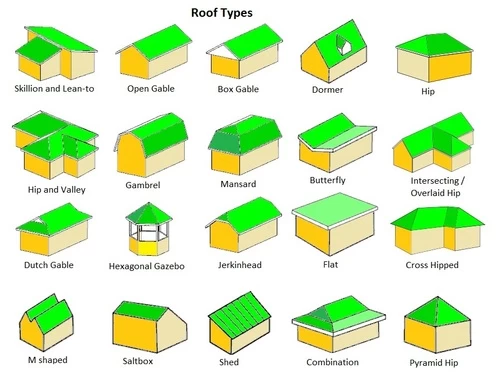
Basic Roof Designs
Your roof design should be determined back when you first designed the floor plan for your cabin. You would have decided what style structurally and geographically suits your cabin or tiny home floor plan. However, as you’ve already made clear it’s not always as simple as “what looks good”. It’s just as much about function as it is form.
There are several types of designs and each has pros and cons.
Typically you’ll want a roof that suits your geographical area but it also has to be aesthetically pleasing. No one wants a flat roof if they live in an area where snow, ice and water can become an issue. And you need to consider the effects of excessive winds on a gabled roof.
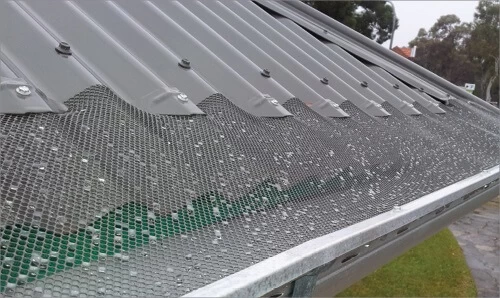
A roof can also be used to collect rain water.
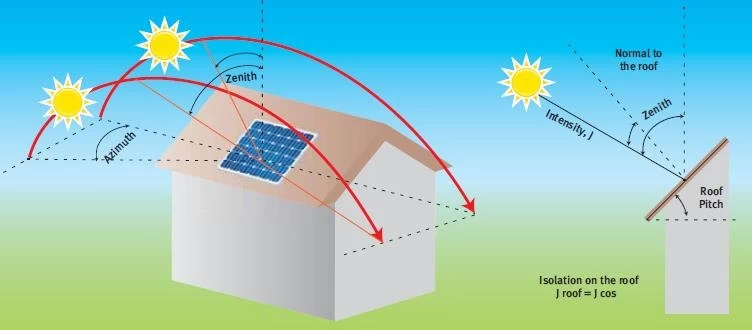
A properly oriented rooftop will also dramatically increase the efficiency of roof mounted solar panels.
The angle your solar panels are tilted in your specific latitude are critical to attaining optimum efficiency. For example our latitude here in Nova Scotia is 44.6820° N, 63.7443° W and that means we need a roof with a southern exposure at exactly 45 degrees to take full advantage of our solar panels (year round without moving them).
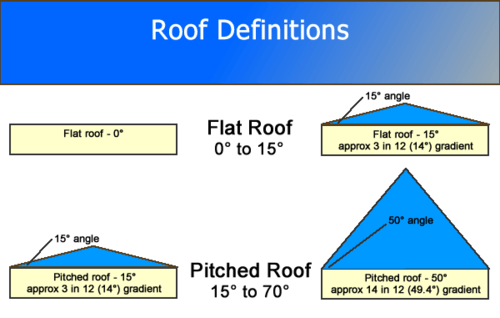
Pitched Roof
A pitched roof has one or more surfaces with a pitch of more than 15 degrees.
- Single Slope (think one high wall with a roof that slopes down to a lower wall)
- Double Slope (very common throughout the world)
- 4 Slopes (peak of roof has 4 slopes which descend to 4 corners of a square house, like a pyramid)
Pros: With a higher pitched roof snow and rain will run off more quickly and that means a drier roof. If you are planning on using shingles this is a key factor in their longevity. As well we already talked about the benefits of solar panel angle.
Cons: Higher pitched roofs in areas that are prone to high winds can have gusts get under the overhangs or deck and cause the roof to lift. We recommend using the proper braces, which we did and discuss in building our roof.
Flat Roof
A flat roof should still have enough of a pitch to allow rain to run off.
Pros: Often less building materials required. Additional space on top to enjoy the view if you have access.
Cons: Susceptible to leaking. The larger the roof area the more support posts and walls required.
Roofing Details
Most people talk about the “roof” as one component but in fact it’s comprised of several different components.
Roof: I want to you think of this as the outer skin on top of your cabin. That outer skin is comprised of the sheathing (OSB), tar paper and finally the outer protective covering (asphalt shingle, standing seam metal, wooden shake shingle, clay, tile…). Below that are the rafters or trusses.
Rafter: is a supporting beam, usually wooden, that runs from the peak of the roof to the exterior walls of the cabin. This is by far the most common method of supporting a roof.

Truss: A network of prefabricated double sloped beams bridged by a bottom brace. Trusses are the modern engineered method for supporting the roof.
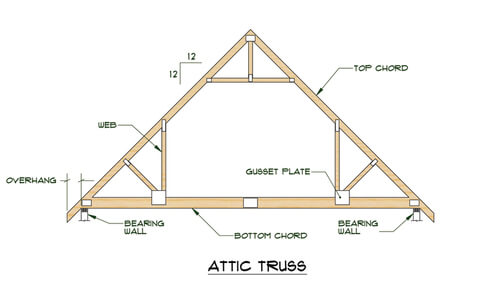
Gable: Generally a portion of the wall between the edges of intersecting roof pitches. There are several shapes of gables, which define the style of rafter/truss used, but the most common in triangle.
Check out RoofingCalc for more details on additional roof types.
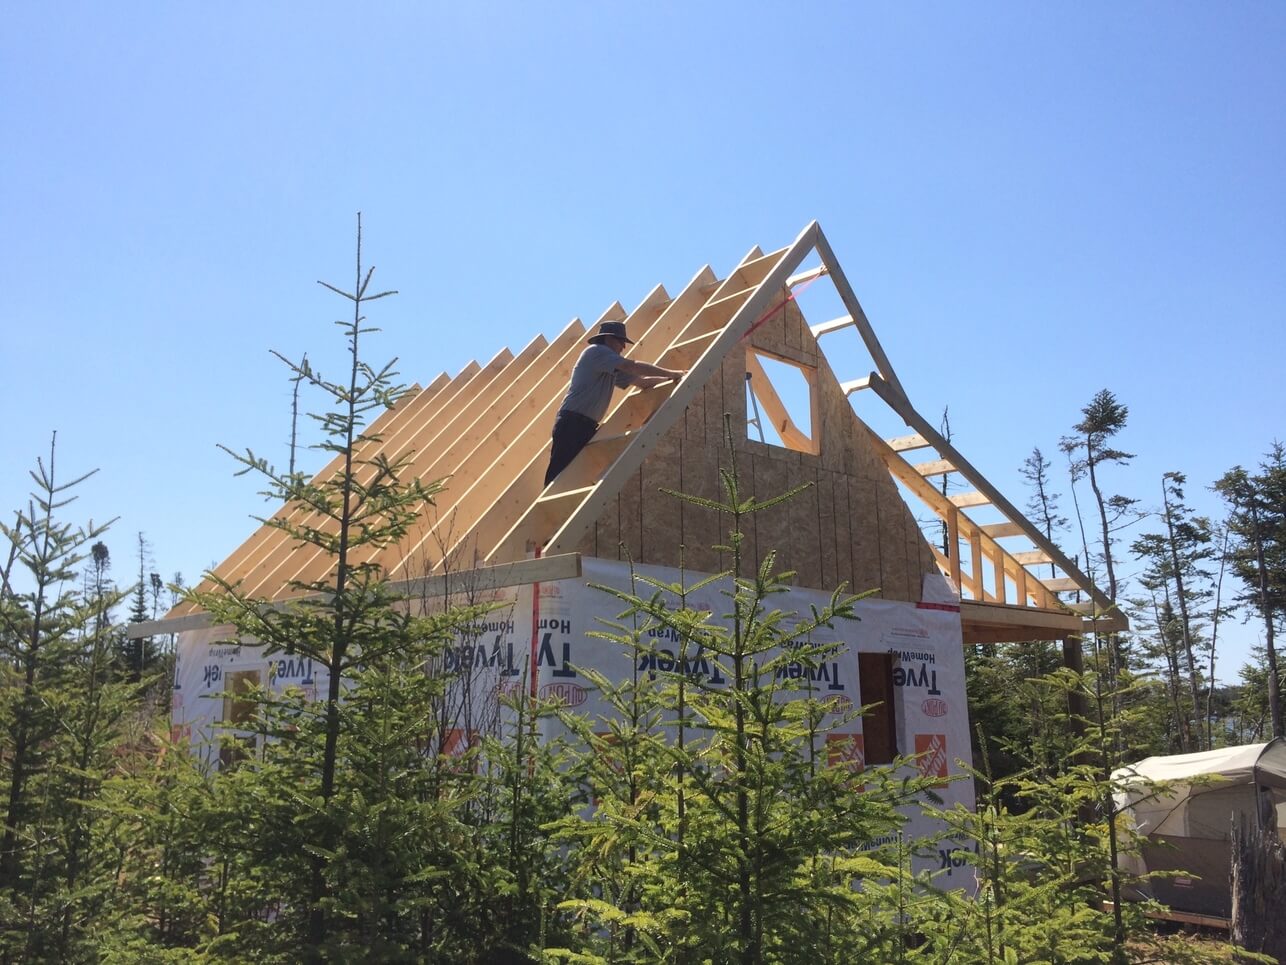
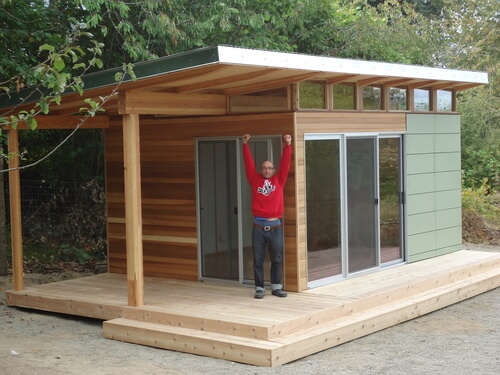
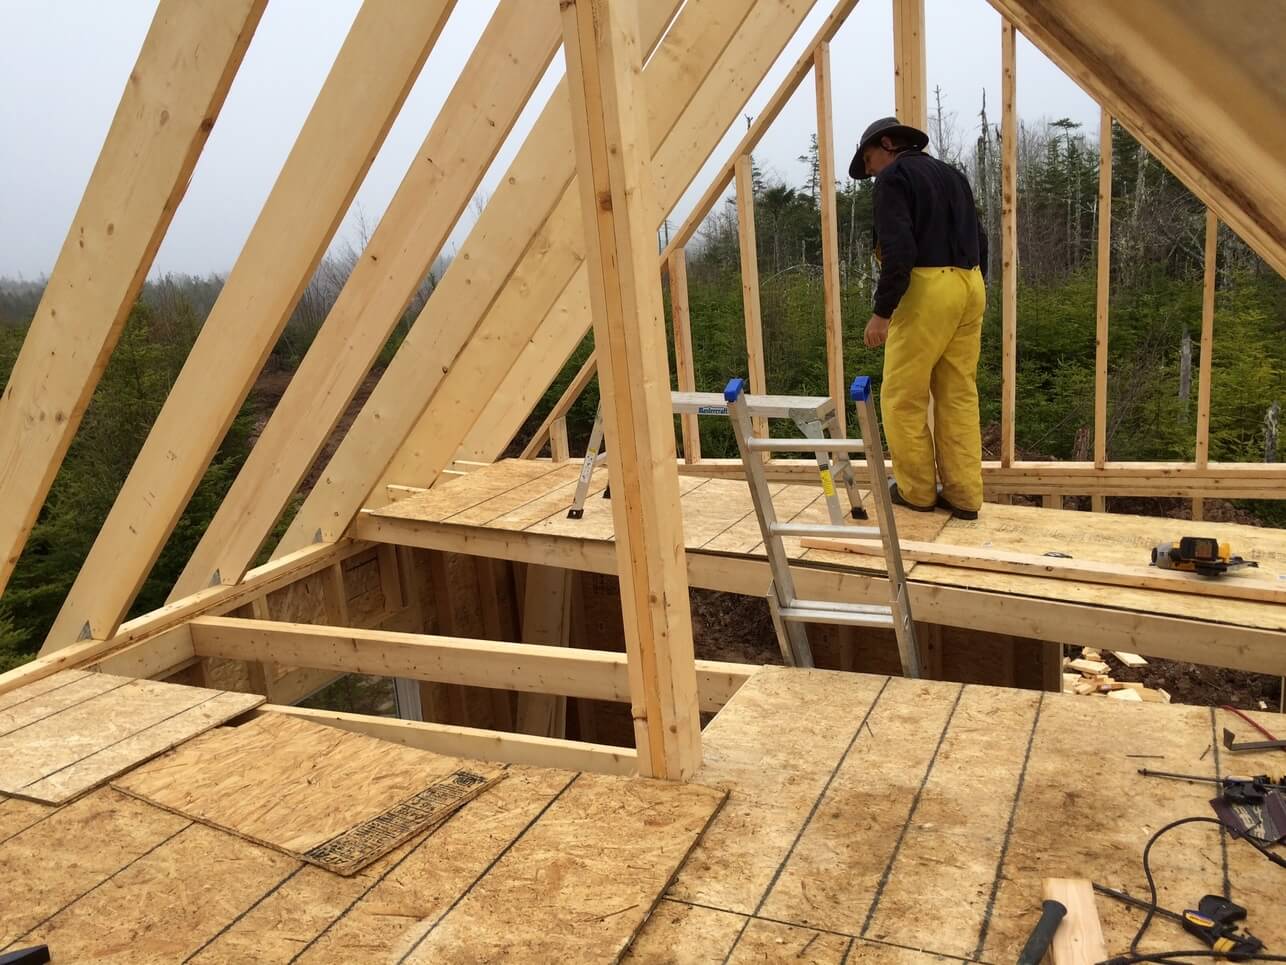
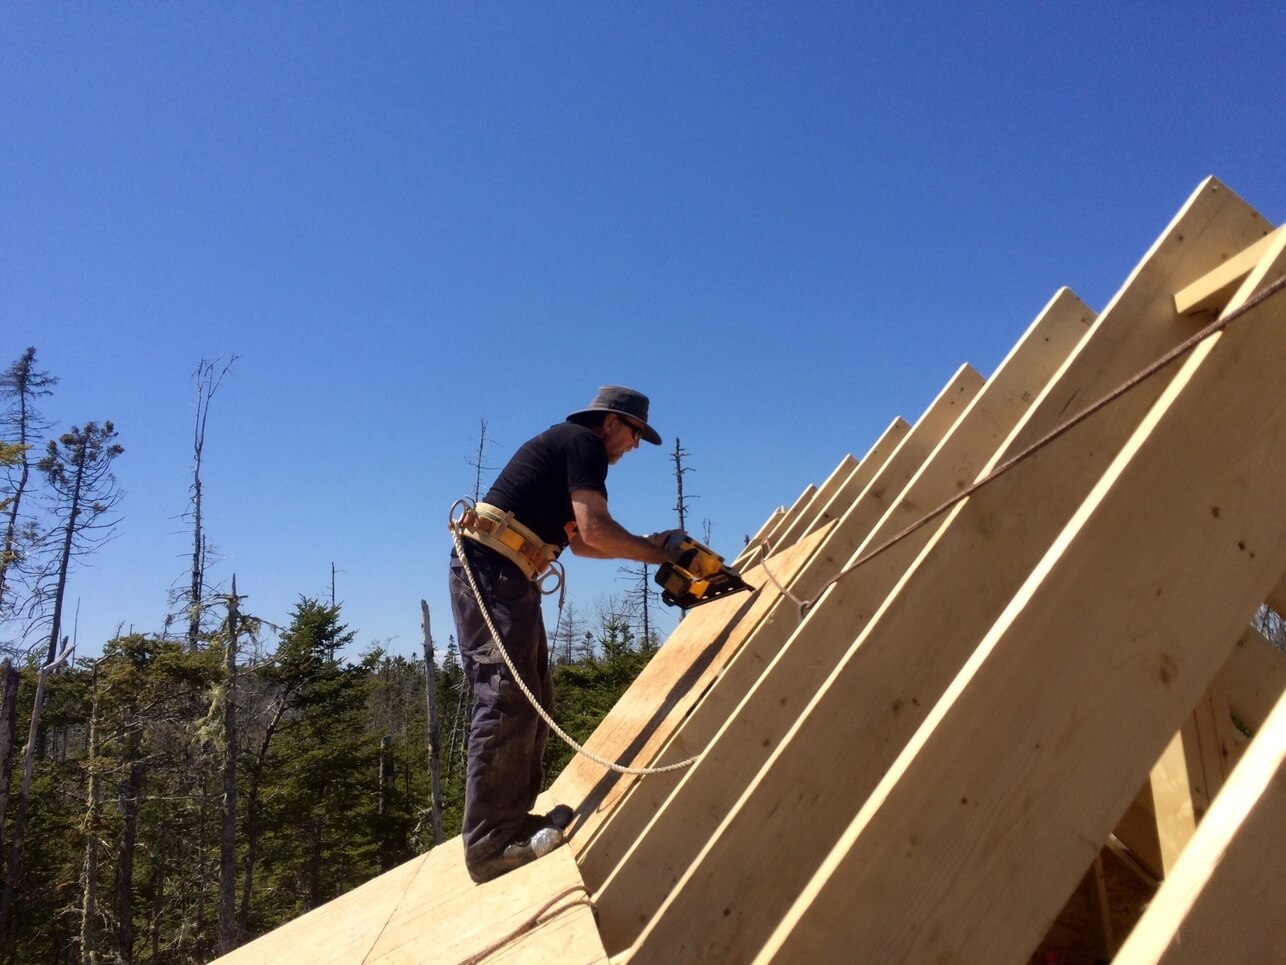
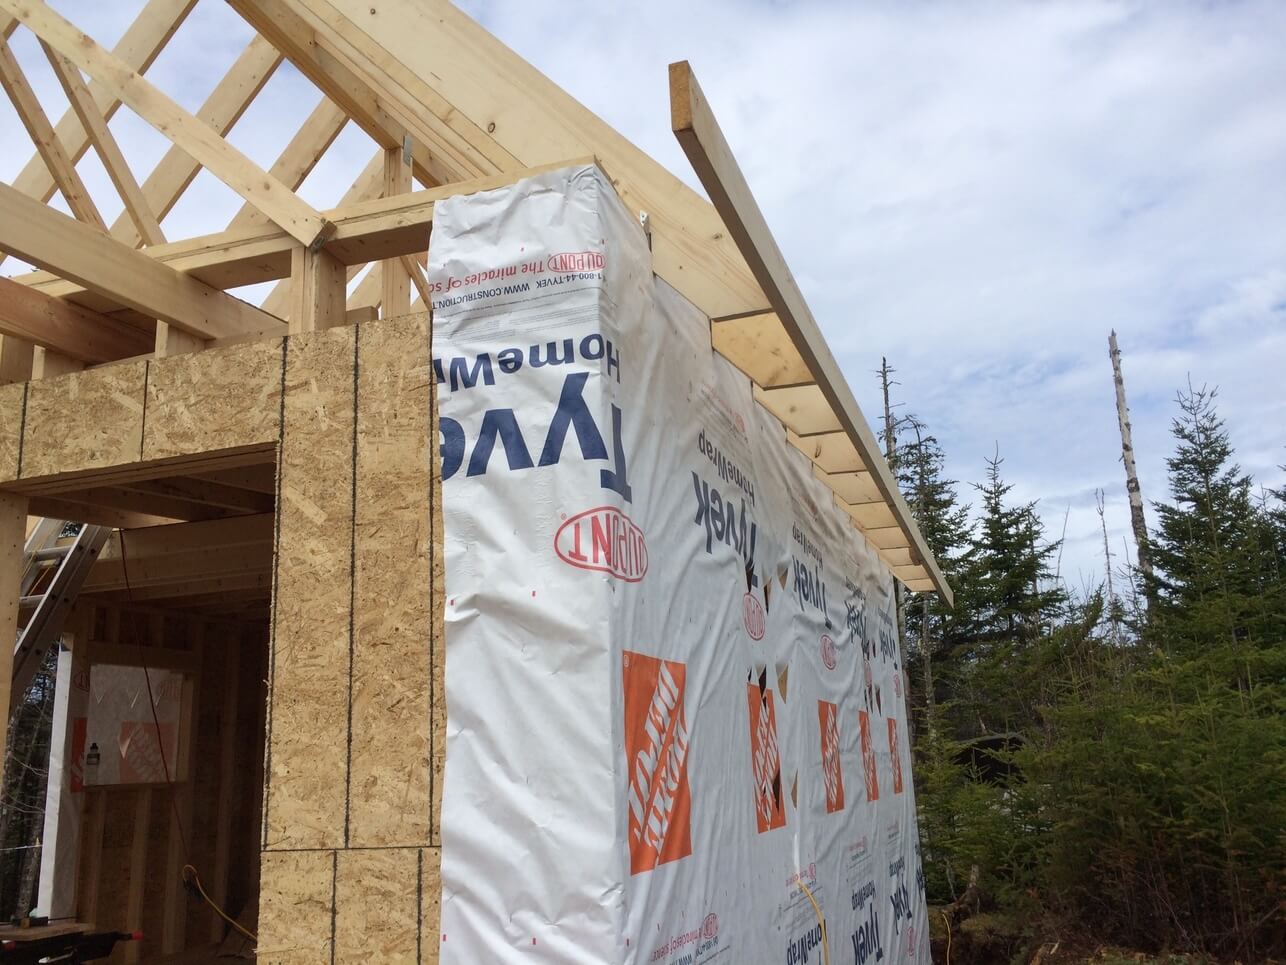
The gable portion can be framed as part of the wall or framed on top of the wall top plate. We achieved our cathedral ceiling in the living room by building the gable on top of the wall top plate. In the photo below the work platform my dad is standing on is only temporary.
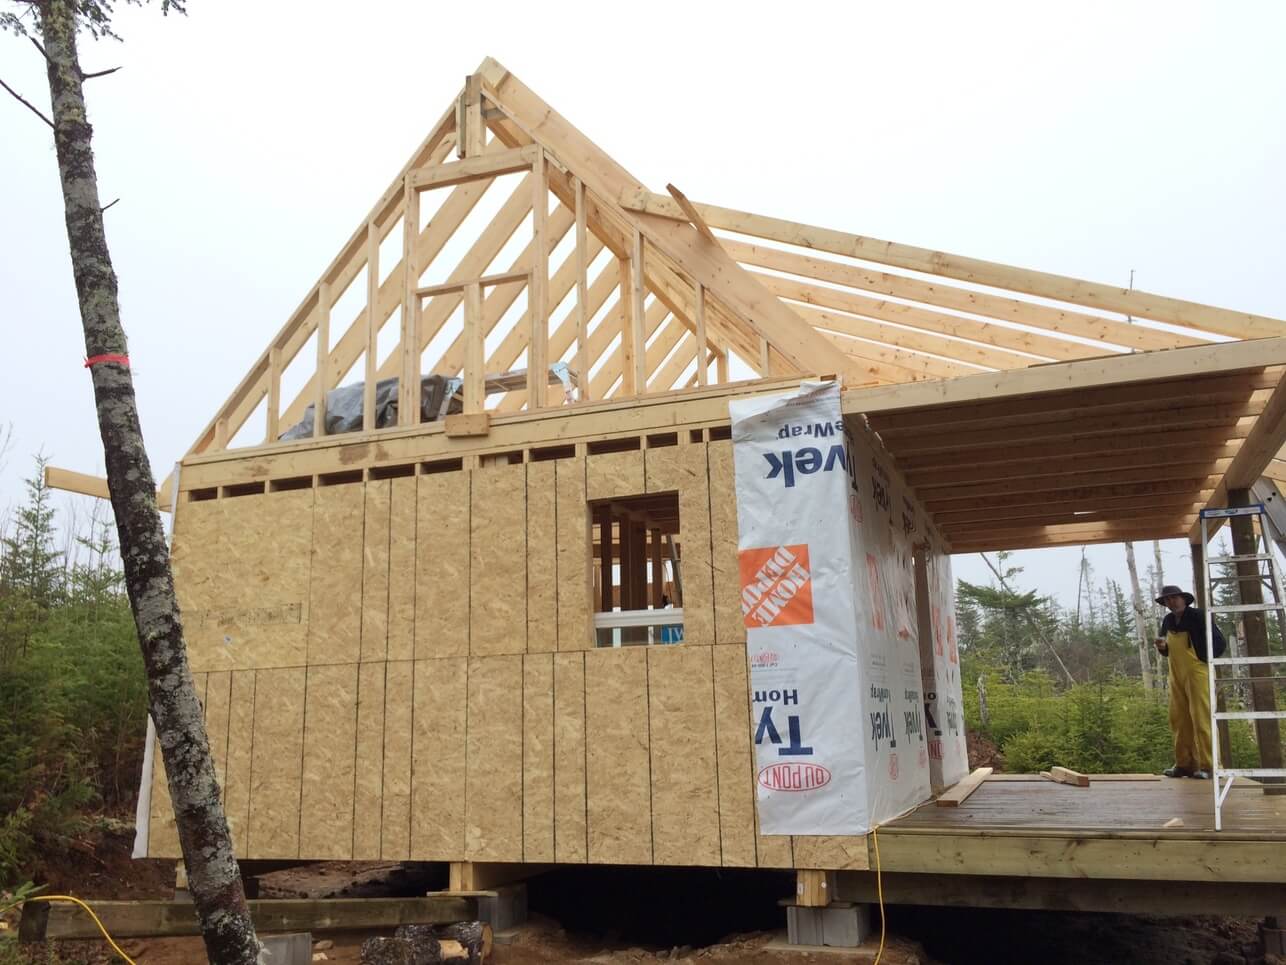
The gable on the other side of our cabin serves as the loft wall.
Dormer: This is a structure that often contains a window. It projects vertically beyond the plane of the pitched roof. It can be used to increase the usable space in a loft.
We didn’t incorporate a dormer and that’s one thing I’d like to incorporate if I build another cabin like ours. We would have an incredible view of the lake from the loft if we had built one.
So why didn’t we?
The deck rafters intersect the main roof rafters approximately half way up (on the lake facing side) and building a dormer would have added extra time that we just didn’t have. As well, we’re dealing with a metal roof which is already enough work for one person (yup, I installed the metal roof solo). We’re keeping it super simple for this build. A dormer on the back of the cabin looking into the woods didn’t seem appealing even if it would have been easier than over top of the deck. If we lived on top of a hill… now that would have been a different story.
Additional Roofing Details
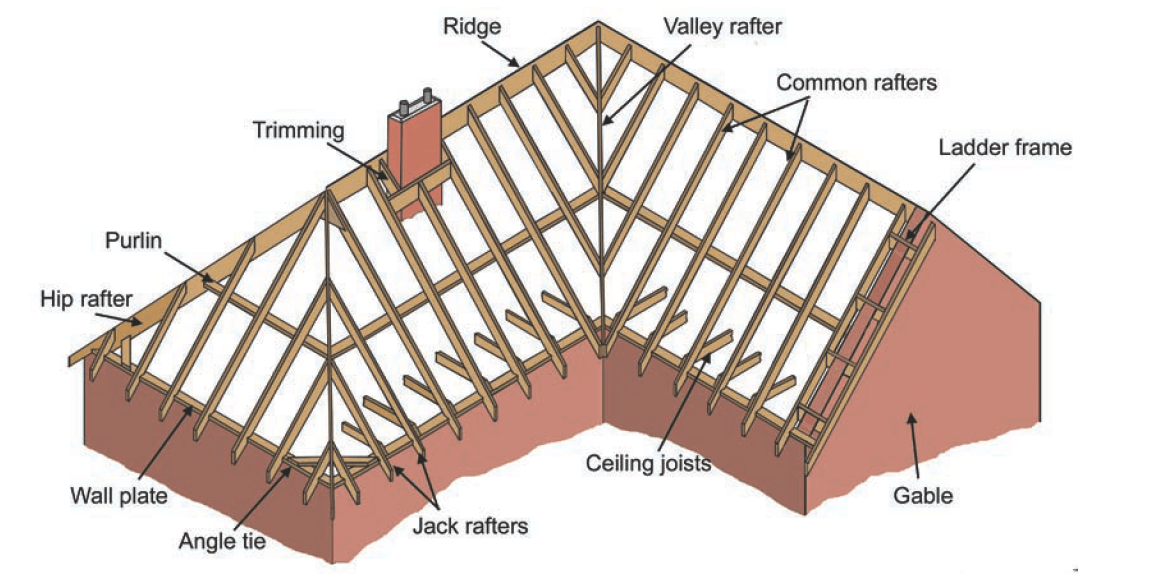
Ridge: This is the horizontal peak line of the roof where 2 slopes come together. The ridge beam is supported by the rafters/trusses/posts. In our case the ridge is supported by three posts which transfer the weight directly down to the concrete footers. More details to follow on that in the next post.
Hip: A slope with 2 descending lines from the end of the ridge beam. The bottom of the hip’s lines are usually connected to the upper corners of a wall.
Valley: This is an inverse of a ridge. Whenever 2 sloped planes meet it either forms a peak or a valley.
Sheathing: Refers to the panels that serve as the base of the slope. Sheathing is usually made up of plywood, OSB, tongue and groove, step sheathing or v-rustic.
Roof Sheathing
Eaves: Form the boards and braces that extend outwards from the upper wall to wherever a overhanging roof ends.
Roof Eaves
Fascia: Also called fascia boards are the long board(s) which run parallel to the cabin walls and “cap” the end of the rafters or ladder frame.
Fascia
Soffit: The underside of the eaves, ladder frame or deck rafters. Usually ventilated to prevent condensation from forming in the roof void and also and serves to keep critters and birds out.
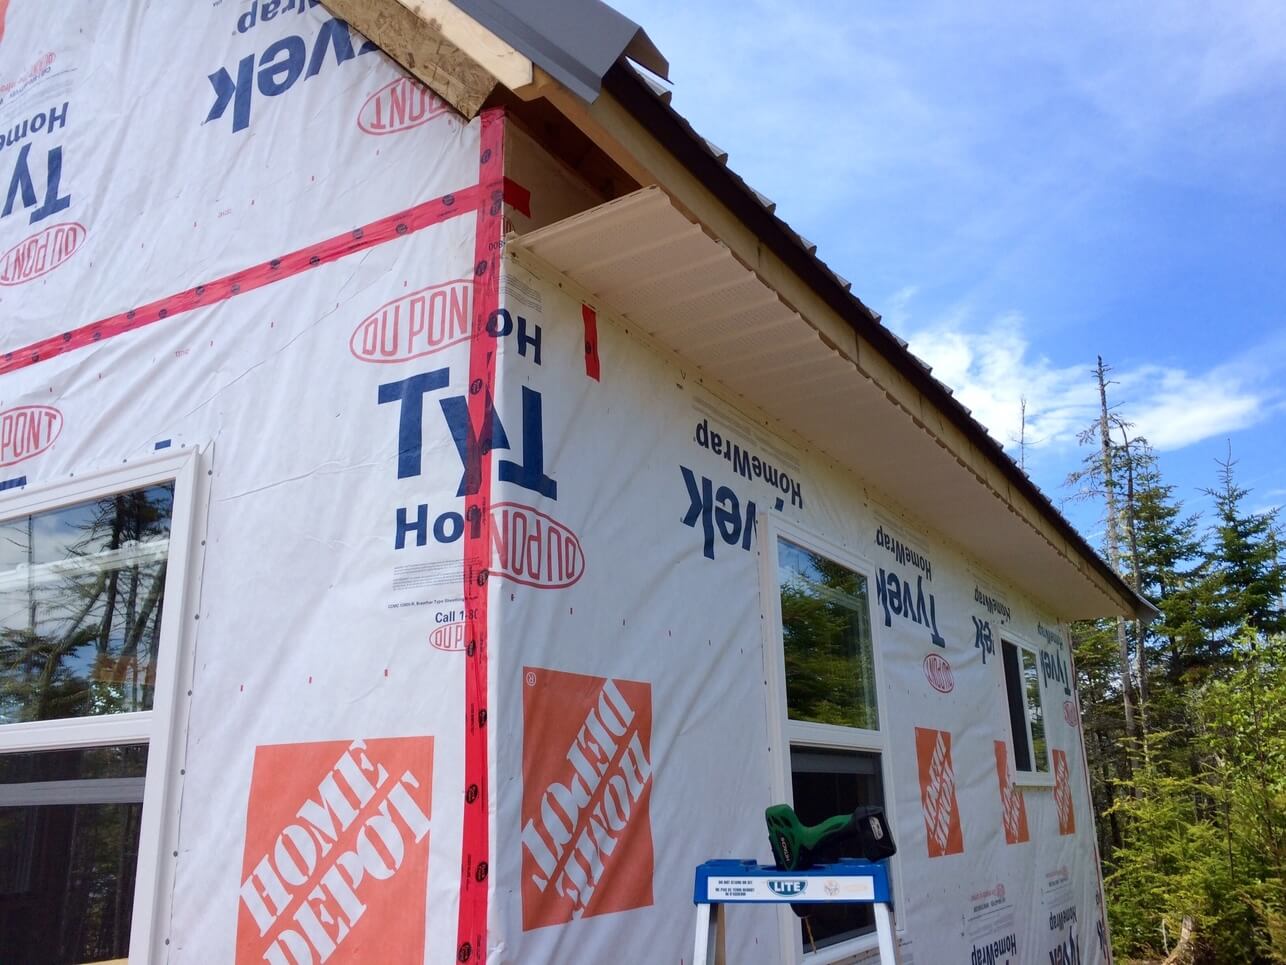
Soffit
Purlin: a horizontal beam along the length of a roof, resting on a main rafter and supporting the common rafters or boards.
Roof Purlin
That covers our Ultimate Roof and Rafter Guide.
Don’t forget to check out all our other build posts if you haven’t and if you want we also have a complete cost break down of our cabin.
Tomorrow is day #9 of the overall build. We complete the three vertical support posts as well and the ridge beam.
We’ll also go into detail about our rafter design, the pros and cons of common rafters/trusses and why we decided on our design above the others.
Your Turn…
If you’ve found this post helpful or insightful then we’d appreciate a share of two.
For all our Pinterest fans we’ve made a special pic just for you bellow.
We’ve tried hard to cover all the basics for you and we know you’re going to love the next post which covers our design, fabrication and installation of the rafters.
Cheers!


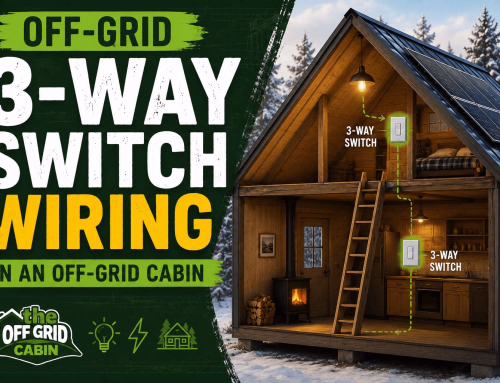
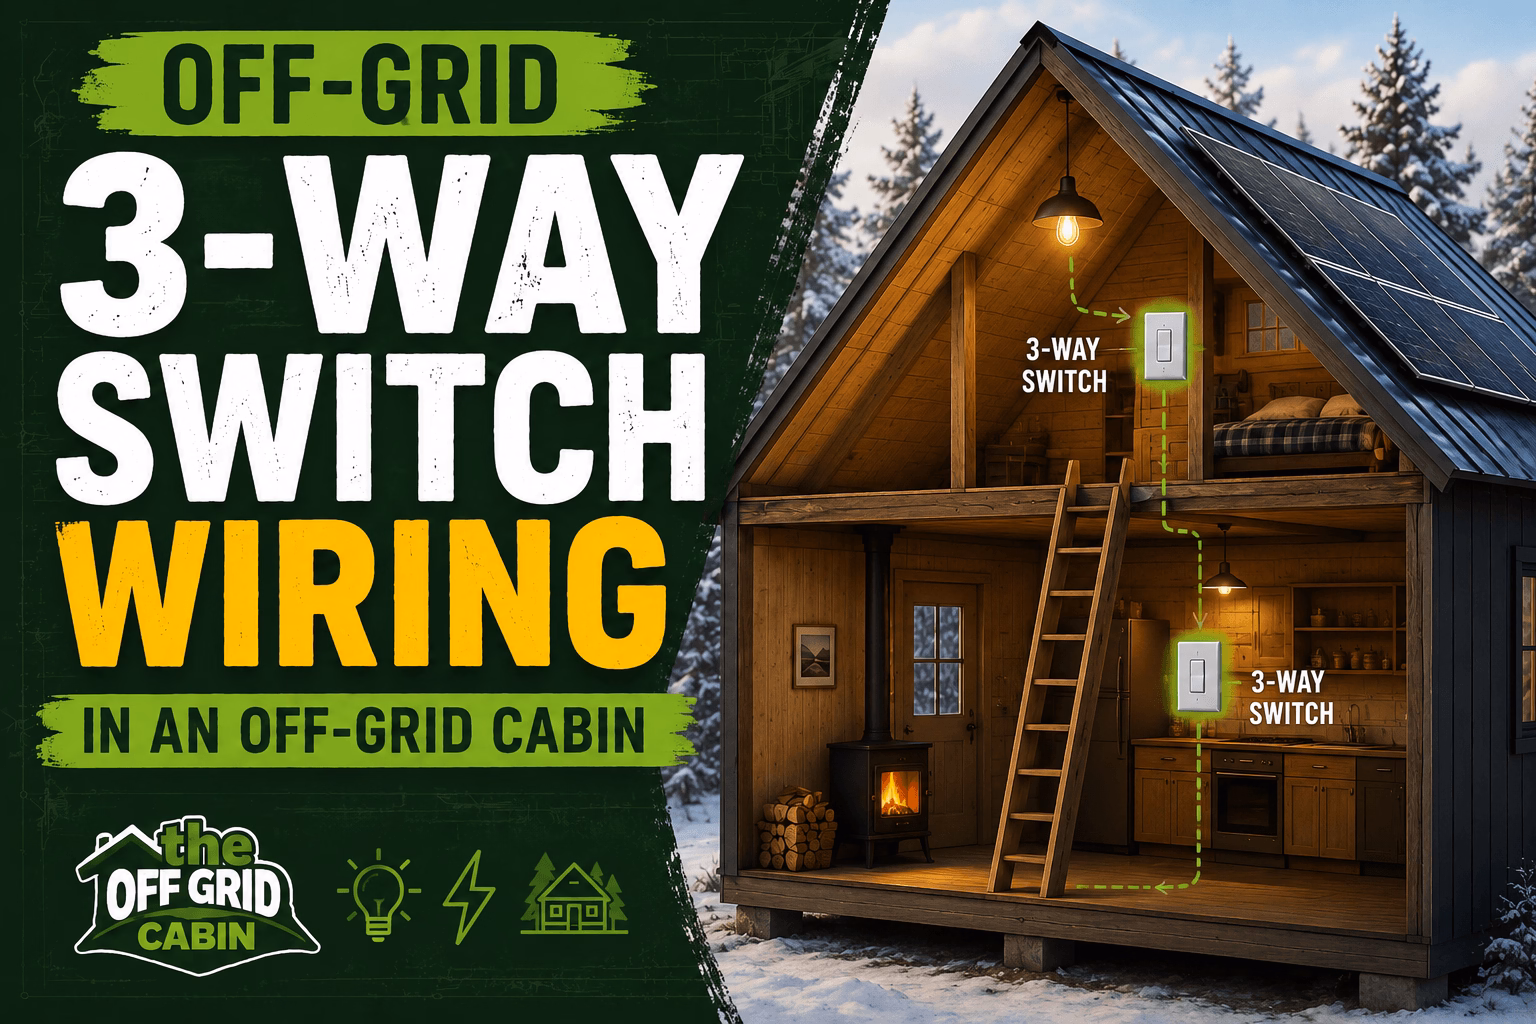
How to Wire a 3-Way Switch in an Off-Grid Cabin (Solar, Battery & Inverter Safe)
How to Wire a 3-Way Switch in an Off-Grid Cabin (Solar & Battery Systems) I’ve flown helicopters in weather that would ground most sane pilots, and I’ve stood in our cabin loft in [...]

how to clean solar panels
How to Clean Solar Panels: A Step-by-Step DIY Guide As you already know, residential and off-grid solar systems are amazing sources of renewable energy that are quickly growing in popularity. The large flat [...]
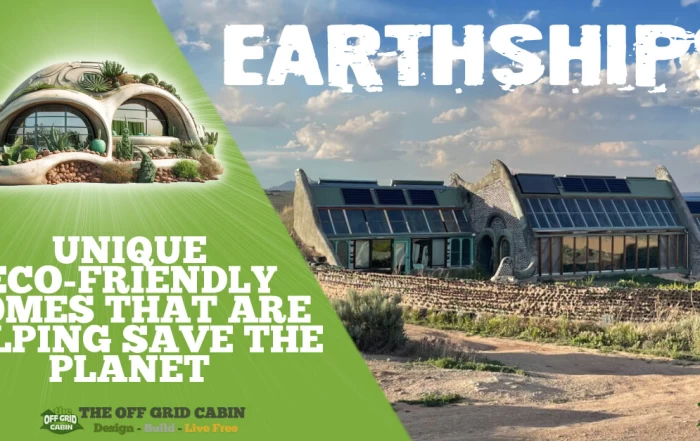
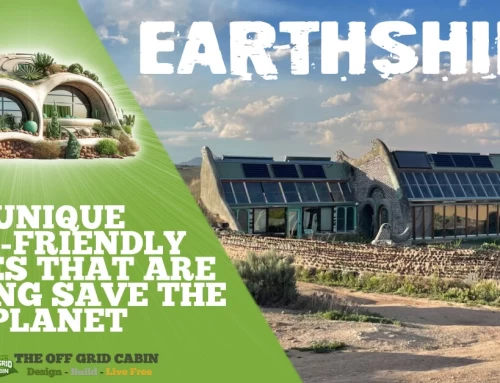
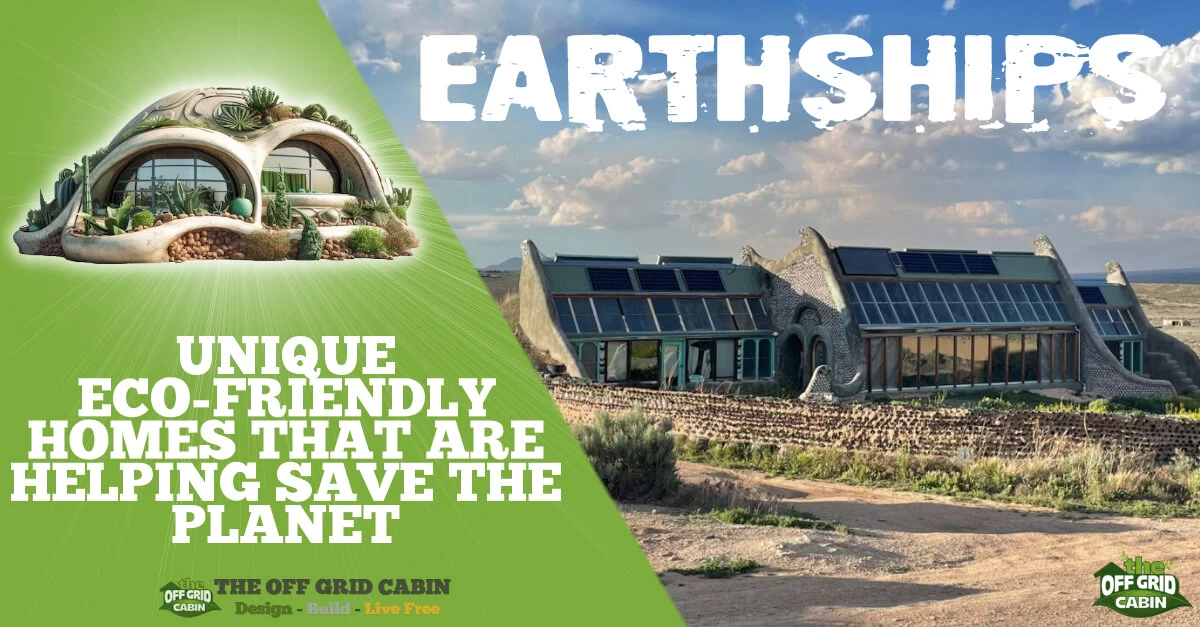
earthship
What Is an Earthship and How It Can Help Save the Planet Imagine living in a home that is completely self-sufficient, eco-friendly, and comfortable. A home that grows its own food, collects its [...]

3-way-switch-wiring
3-Way Switch Wiring: A How to Comprehensive Guide Here at the off grid cabin we’ve done our fair share of electrical work including 3-way switch wiring. We’ve done all the internal and external [...]
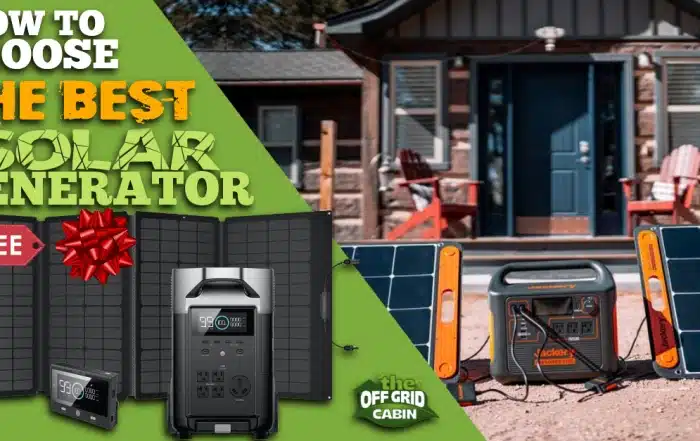
solar generator
How To Find The Best Solar Generator When we first cleared the land to build our off grid home back in 2016, we started with one of those small 700 watt Moto Master [...]

Off Grid Heating
The Best Off Grid Heating Methods Introduction To Off Grid Heating If you're Living off the grid already or planning to in the future, you already know how important it is to have [...]


hi from Cape Breton; i have always been interested in how things work and attempted to build a lot of things myself. Not expecting in 1983 that a divorce would leave me with an empty concrete block foundation in November after the marital Kent home was moved off. So i whipped up a quick roof cover, that 4 neighbours helped me put together. Your cabin construction would have been really helpful when i built in 1983. how things have evolved. So now as i do repairs i use the newer methods. thanks again for allowing us to share in your construction. All the best.
Hey there Mike! Wow, crazy background story to your build. Life can throw us some seriously screwed up curve balls can’t it!? Not always for the best but I’m glad to hear that you had help to get through some of it. Keep use in the loop of your ongoing build ok. Wishing you a much happier conclusion to the project my friend!
WOW; totally awesome guide. You folks are rocking the off grid experience.
Thanks Christopher! It’s quite the learning curve living out here but we love it and and are happy with everything we’ve built so far. Like I always say… “We’ve no off grid experts, but we’re certainly off grid enthusiasts.” :)
It was interesting to read that the pitch is the rise compared to the run in terms of roof lengths. My husband has been wanting to get some hip trusses installed in a cabin we’re thinking about building. It’s been interesting to learn about the process and all that goes into making a roof.
Hi again, Steve! We don’t plan on any internal walls, and we’re planning on doing a roof like yours, but holding it up with four support beams. What are your thoughts on that?
Should workout just fine. I believe you already mentioned in an earlier post but just make certain your posts are positioned directly overtop your foundation pads and you’ll have all the support you need and no compression.
Iam an aspiring cabin builder. What is the best cabin foundation?
Hey Bob we have the perfect foundation information for you. Here’s how we developed and built our cabin’s foundation. Its been six years and its as solid. level and plumb as the day we built it! The Secret To A Perfect Cabin Foundation