


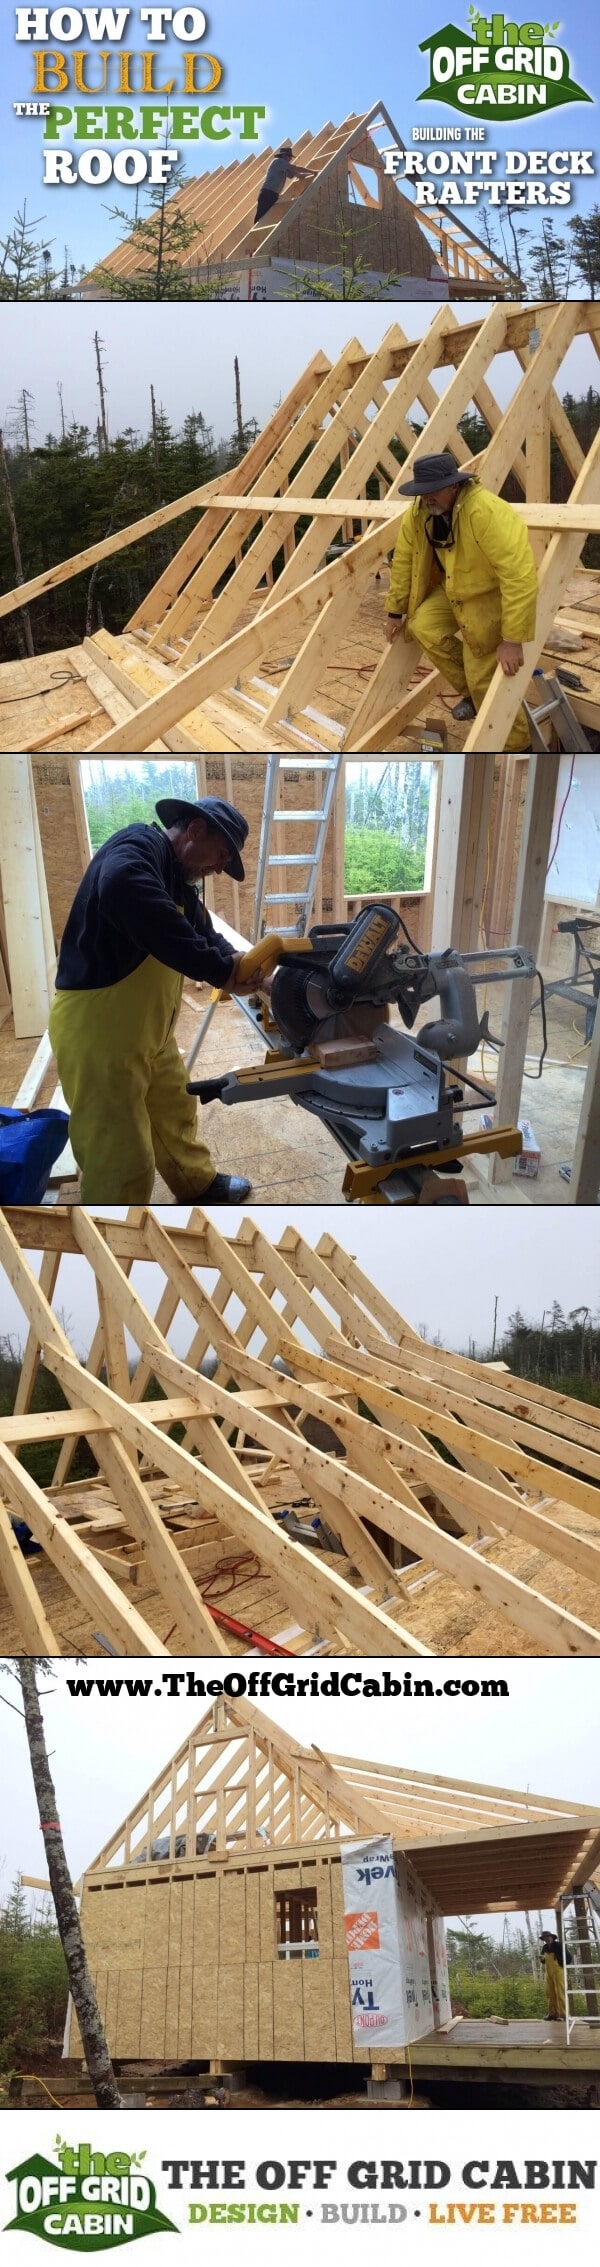
Building The Perfect Cabin Roof Part 4 of 5
How to install the perfect front deck rafter every time!
How about a Johnny Cash quote to top off this roof build.
“I like to sit on the front porch of an old cabin I built in the woods and just listen to the birds; I like to fish in the pond and I always throw the fish back.” – Johnny Cash
It’s day #13 of the cabin build and today we’re finally finishing up those front deck rafters.
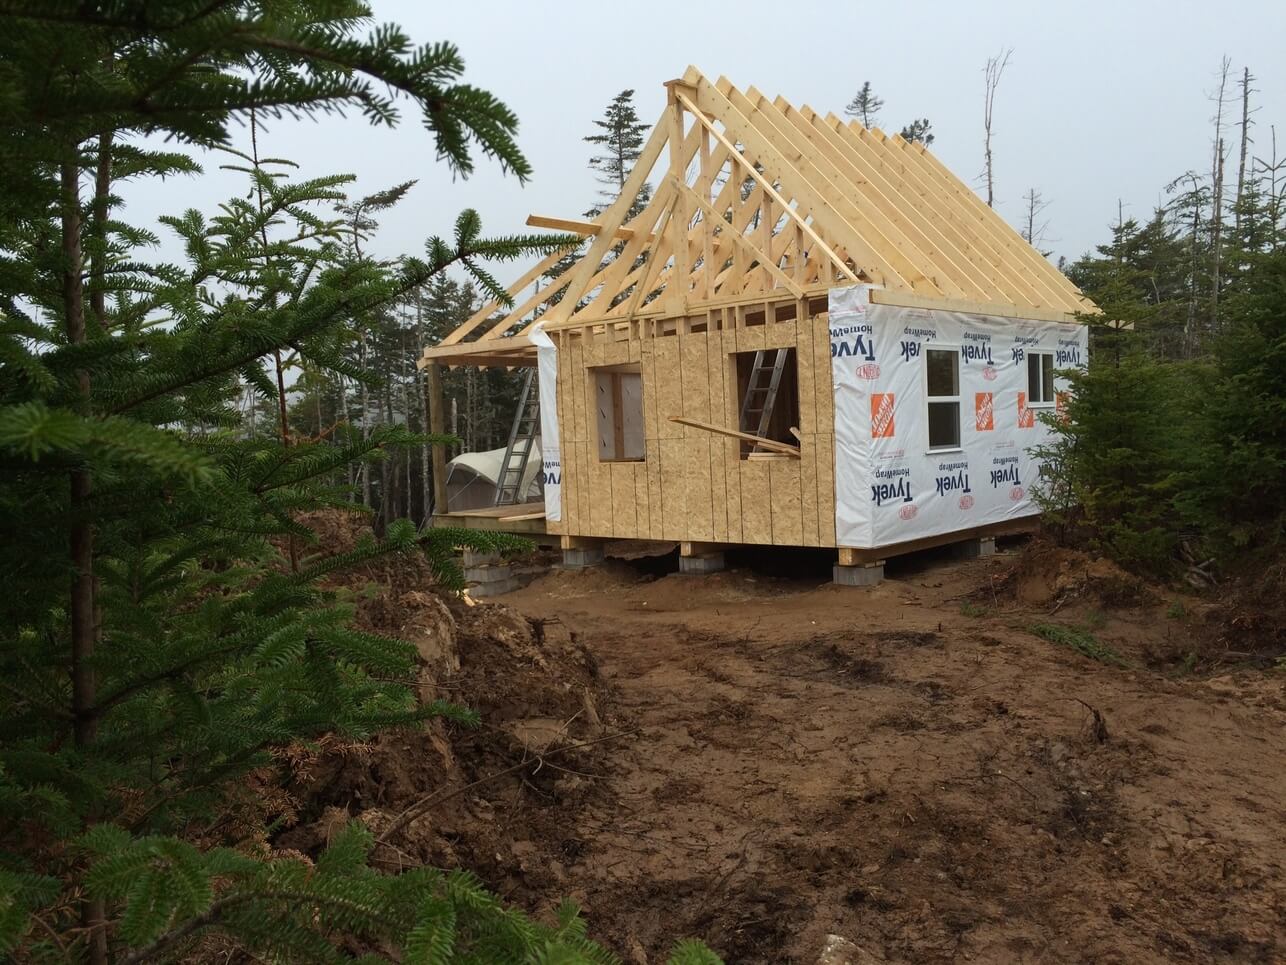
We’ll also complete the remaining exterior framing by closing in the small gable area of the living room cathedral ceiling.
The roof is a integral part of your build and requires some extra attention. Be sure to review our Ultimate Roof and Rafter Guide prior to starting your roof build. You can also quickly go back and review the entire roof build for our cabin using the following links…
- Building the main support posts and ridge beam
- Building the main cabin rafters
- Building the front deck header and joists
If you’re brand new to our site and just landed here then you’re welcome to head back to the beginning of the cabin build here or better yet subscribe and we’ll send you a personal update every time we hit a building milestone. Plus, we’ll take you back to day #1 of our cabin project and give you the entire building process.
Front Deck Rafters
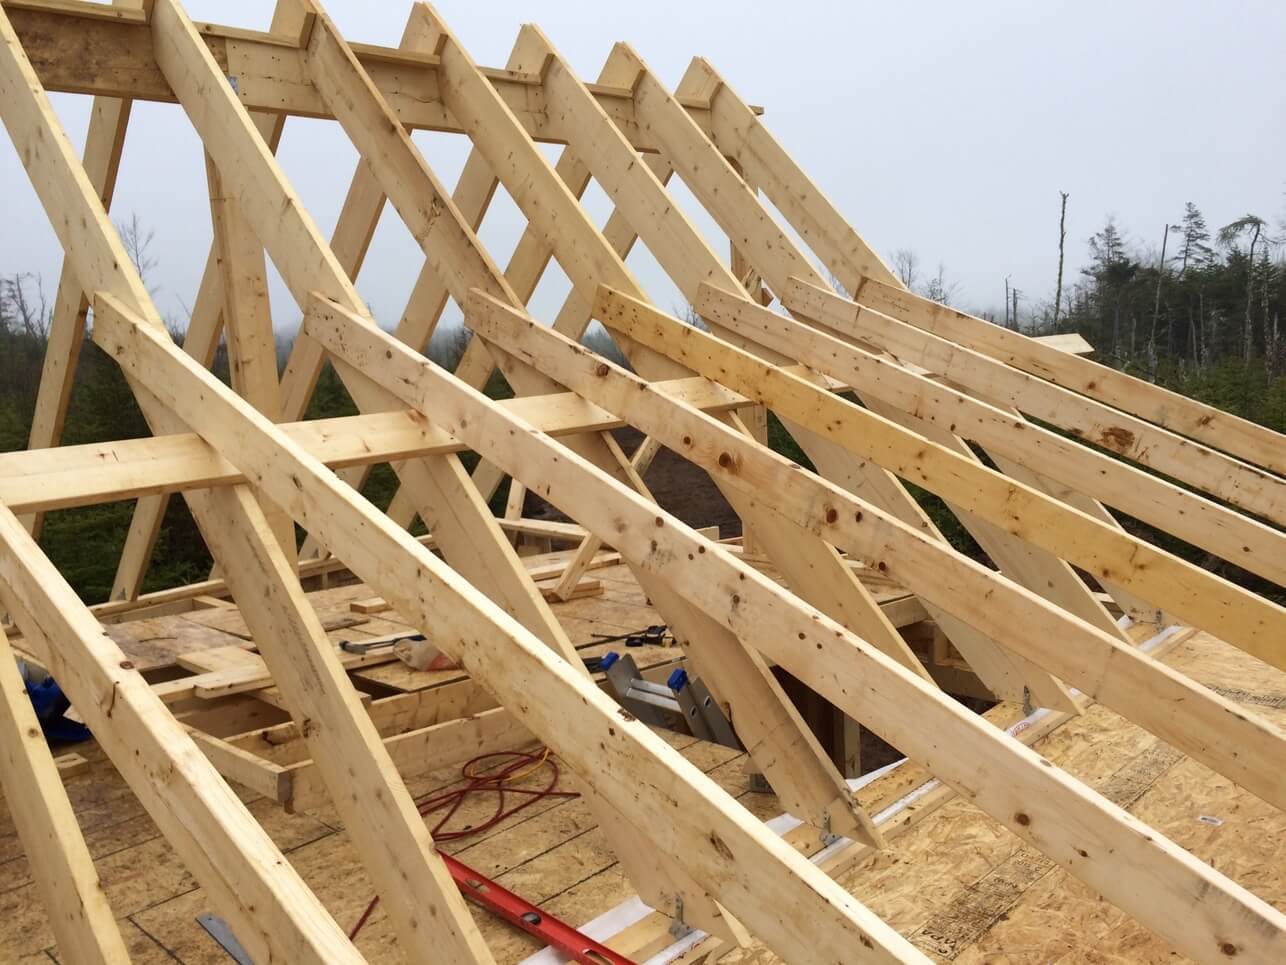
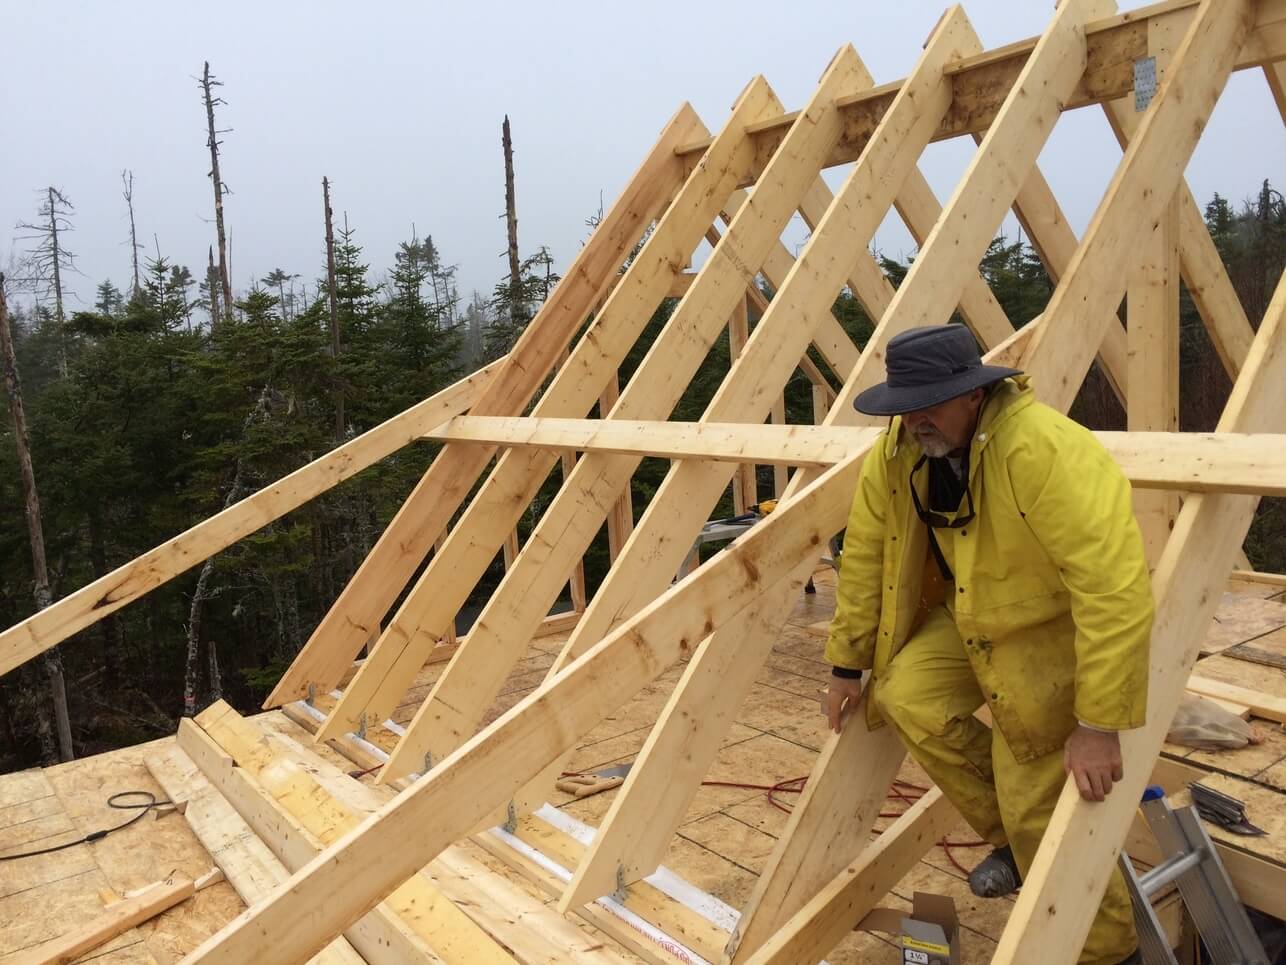
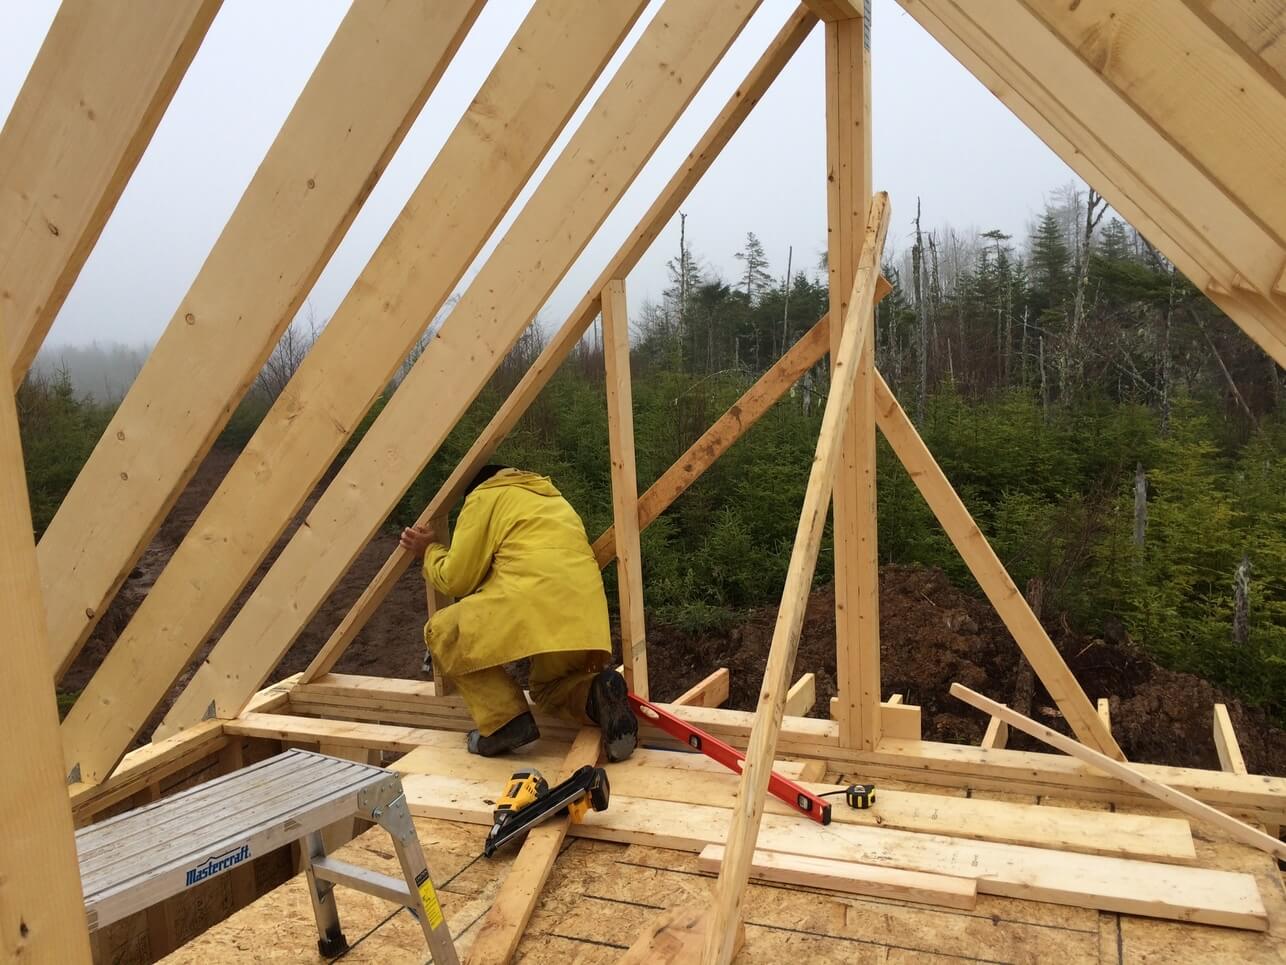
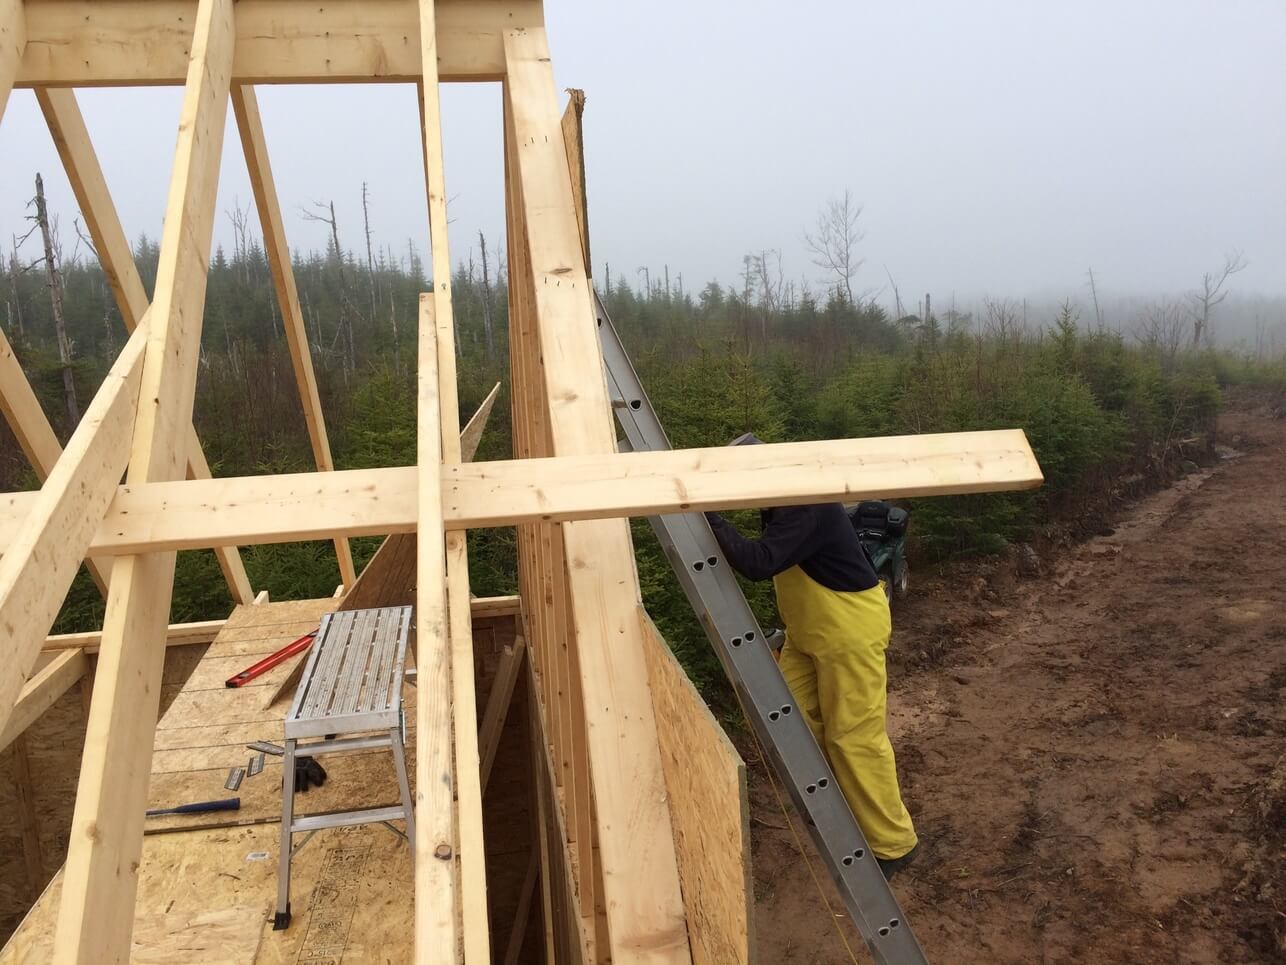
The front deck rafters are built using 14 foot 2x4s 24 inches apart. The bottoms of the rafter have a birds-mouth and are secured to the deck header beam with galvanized hurricane tires.
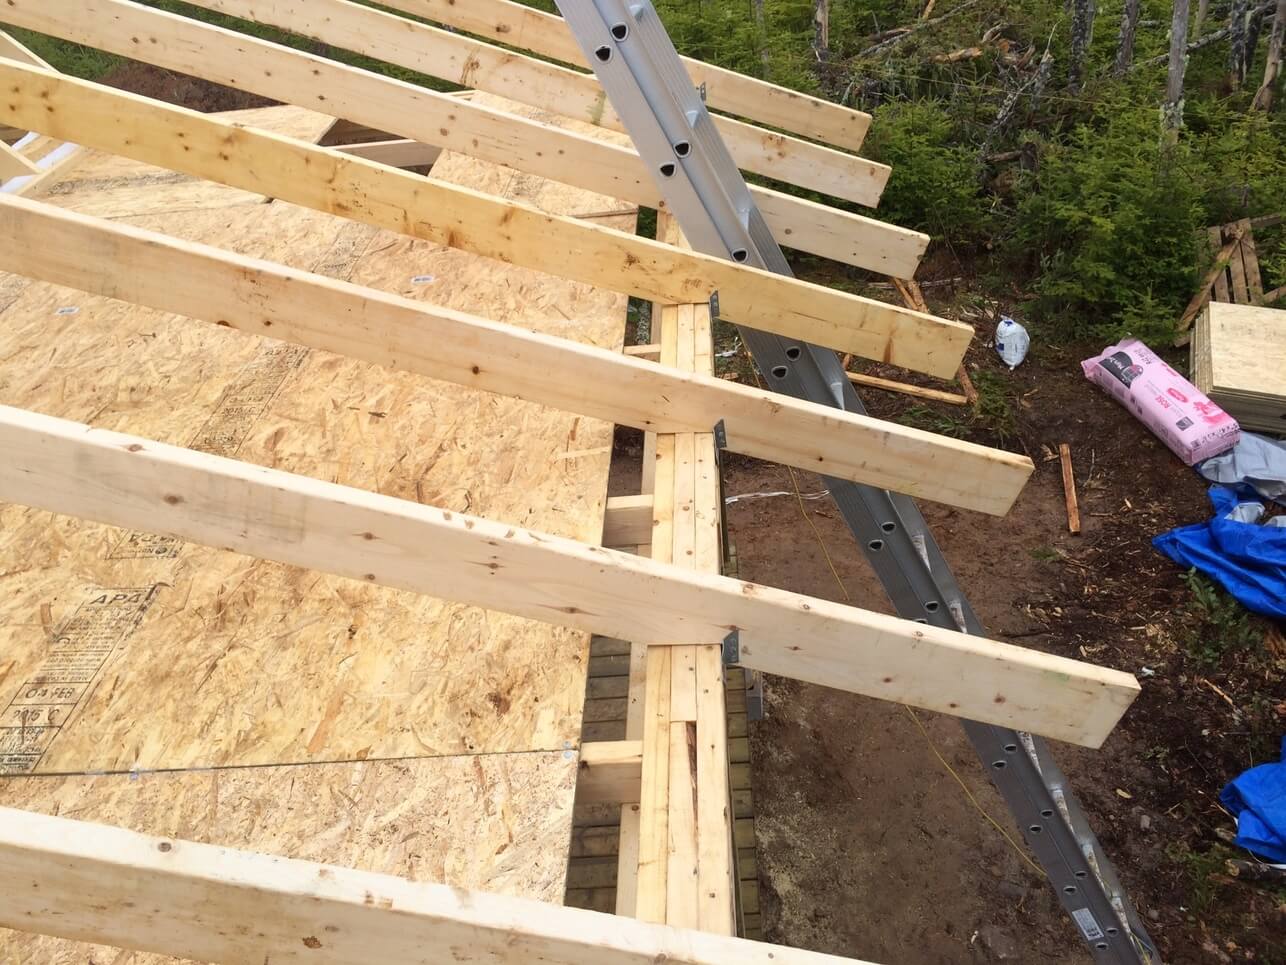
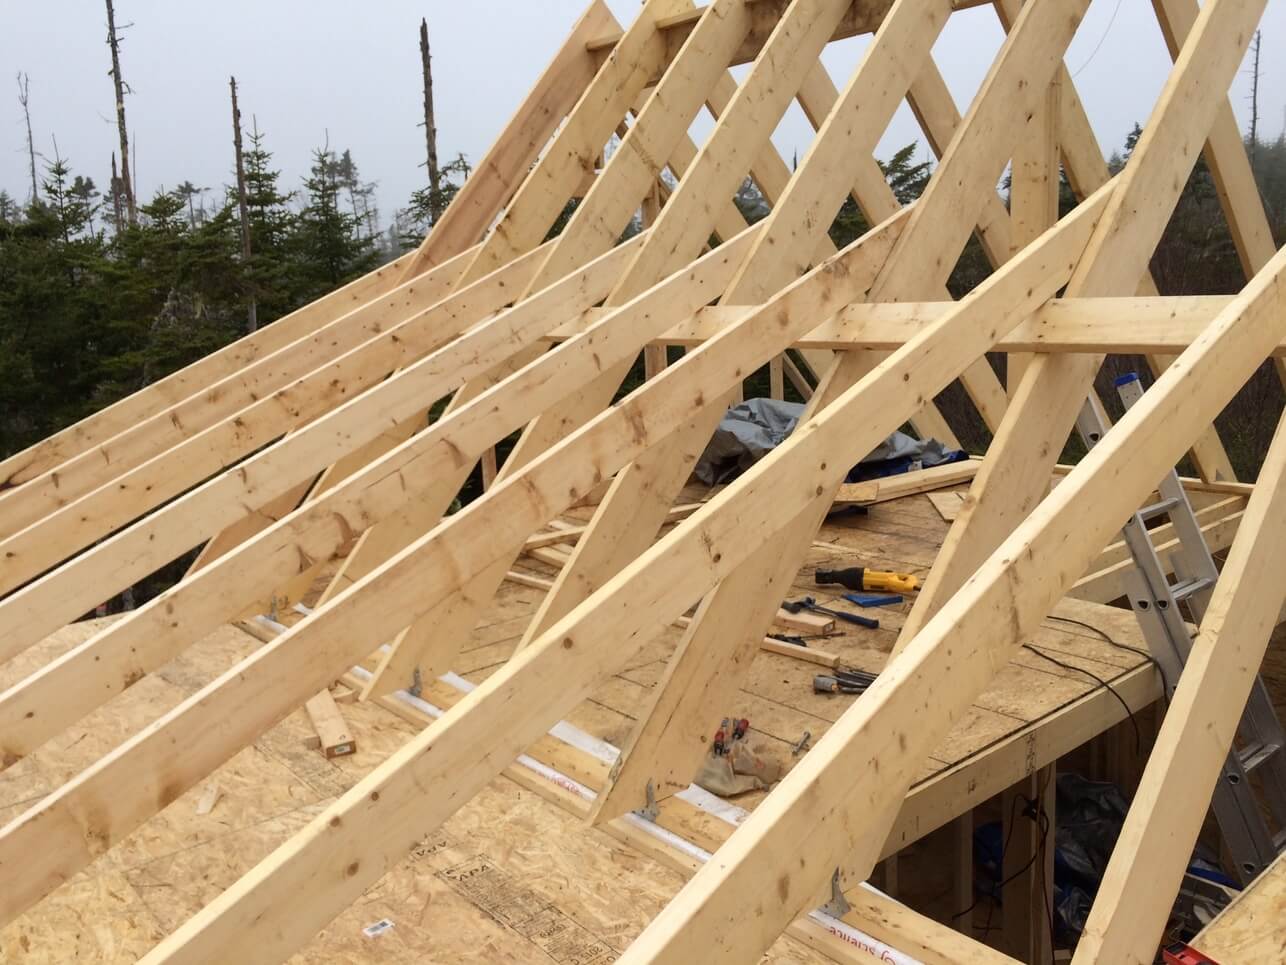
The upper end of the deck rafter sits on top of a purlin, which also serves as the point where the roof’s pitch changes from 45 degrees over the main cabin area to 23 degrees over the front deck.
Below, the first rafter is in place and you can begin to see the angles of the roof better.
TIP: We waited until after the roof was framed (including the ladders) to order our steel roof. The reason, because you can always order the roofing material to fit your framing, but not the other way around after you’ve built it. This also guarantees we order the proper sized steel roof widths and lengths.
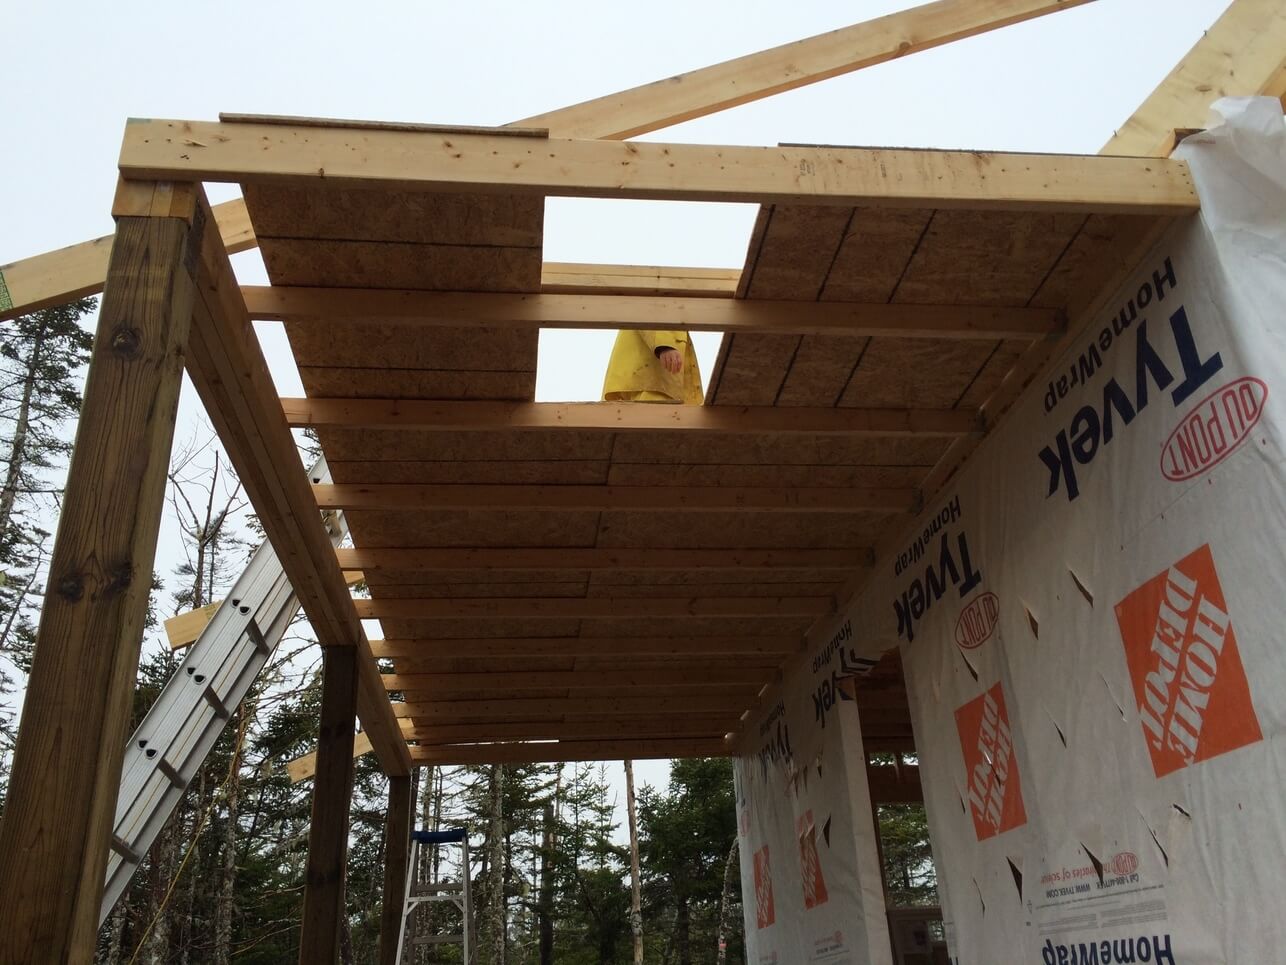
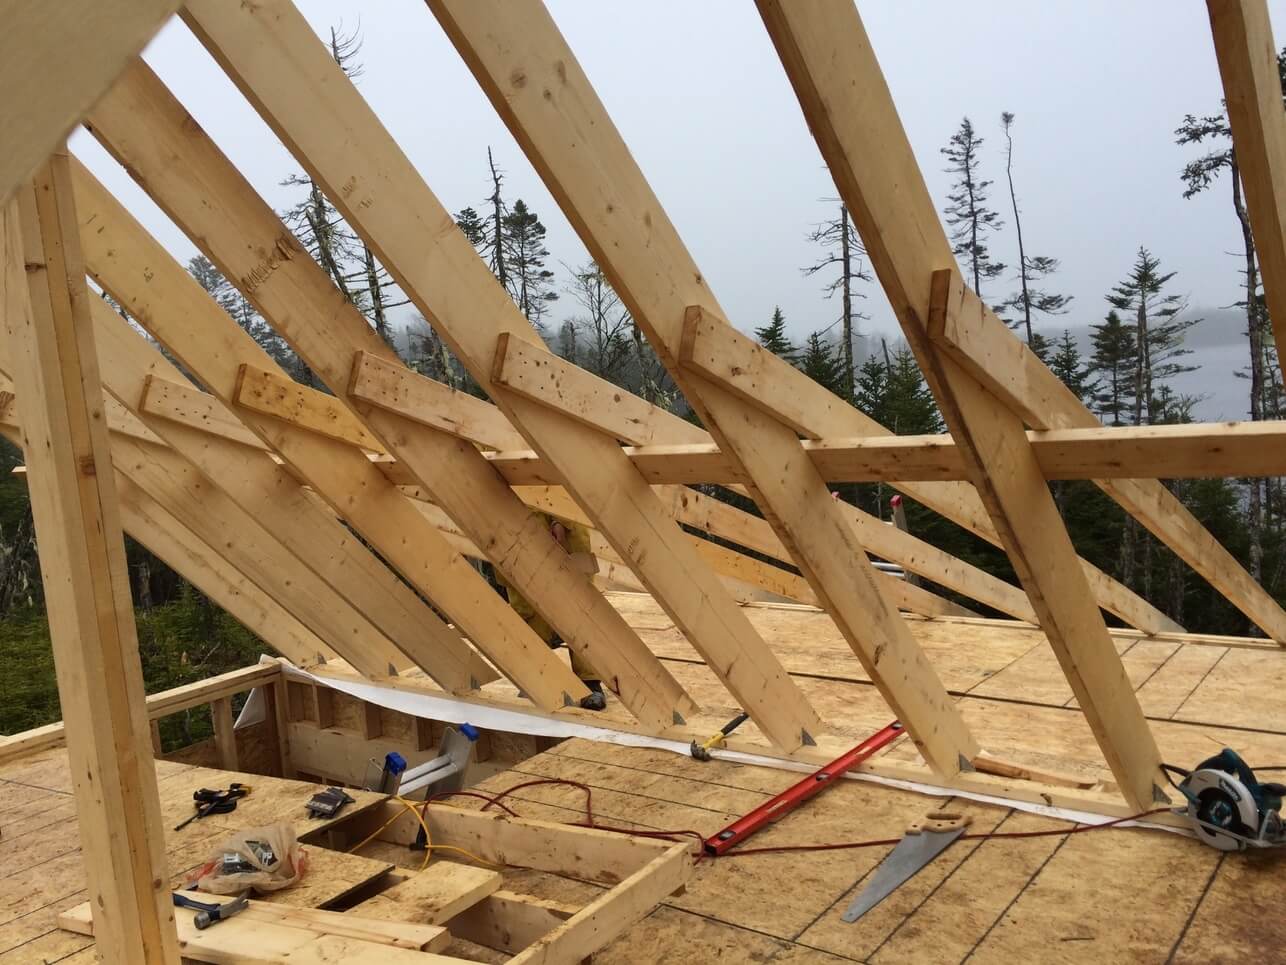
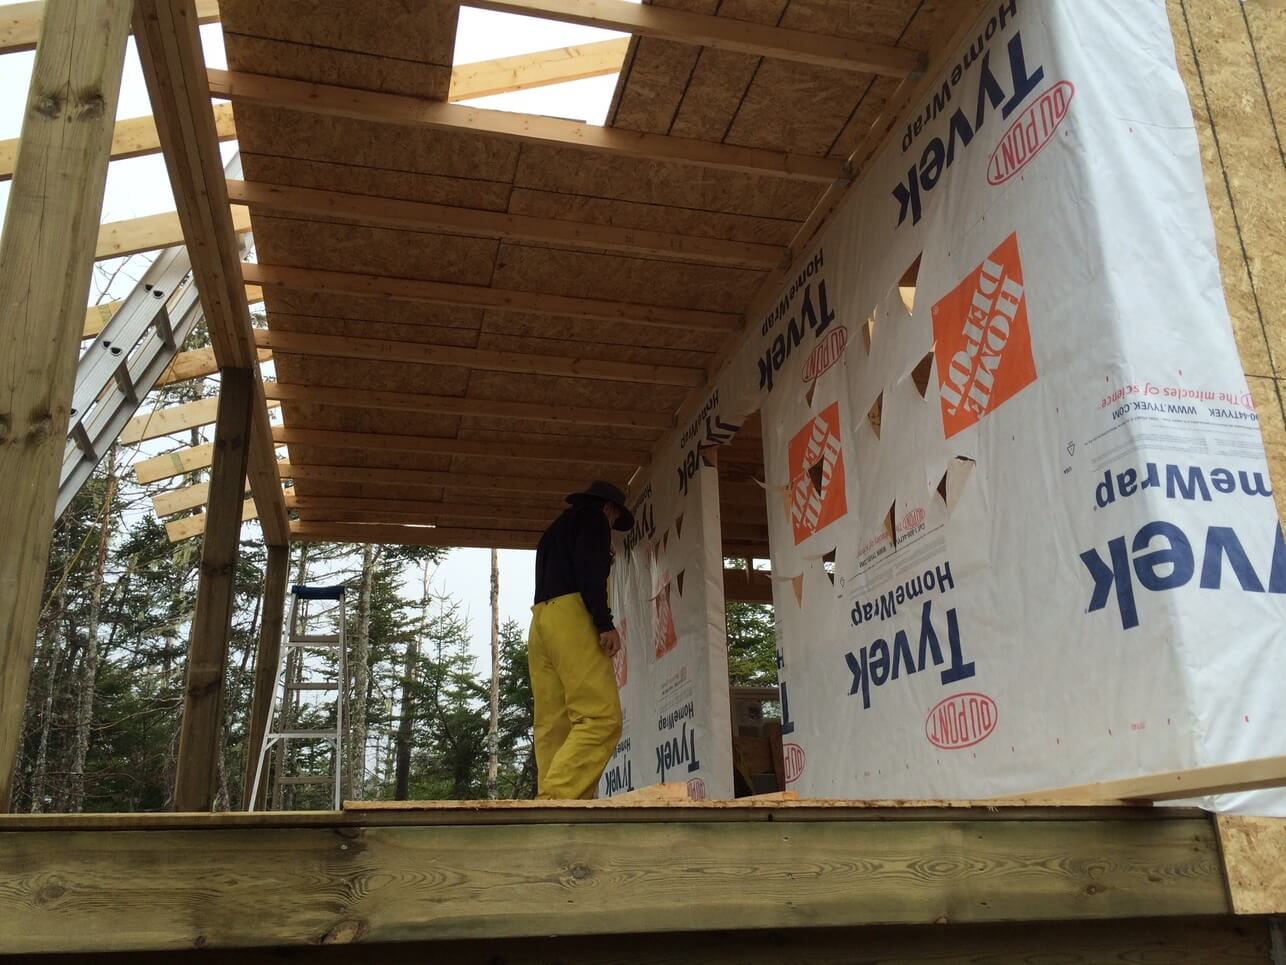
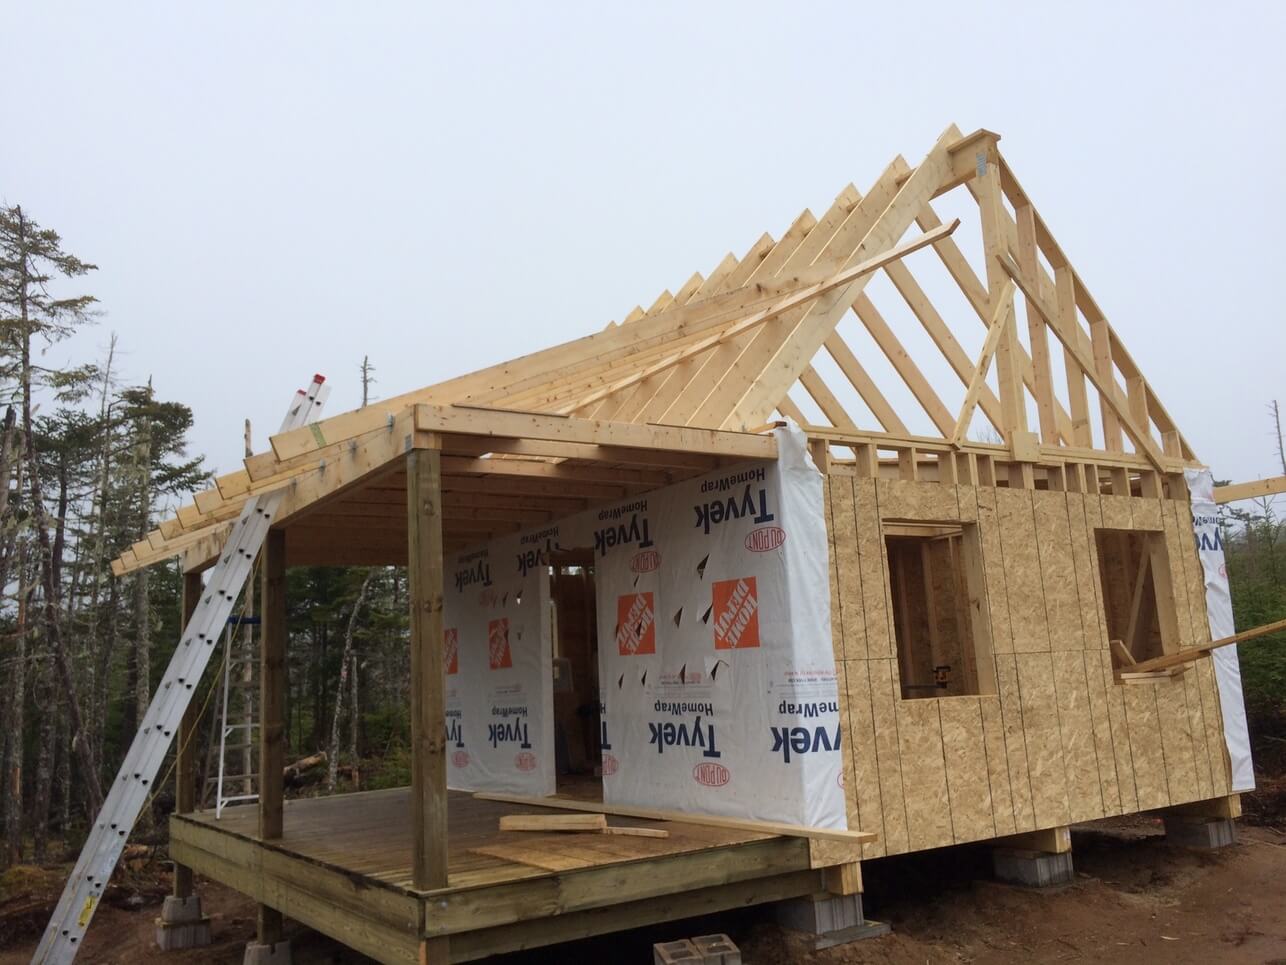
Below we’ve finished putting up the OSB floor on the deck ceiling joist. This will serve as a storage/crawl space that is accessed from the loft.
NOTICE: We intentionally left one OSB piece out so that we could still hand up tools, lumber and beer without having to climb through all the rafters up top and not have to squeeze lumber through the front door opening.
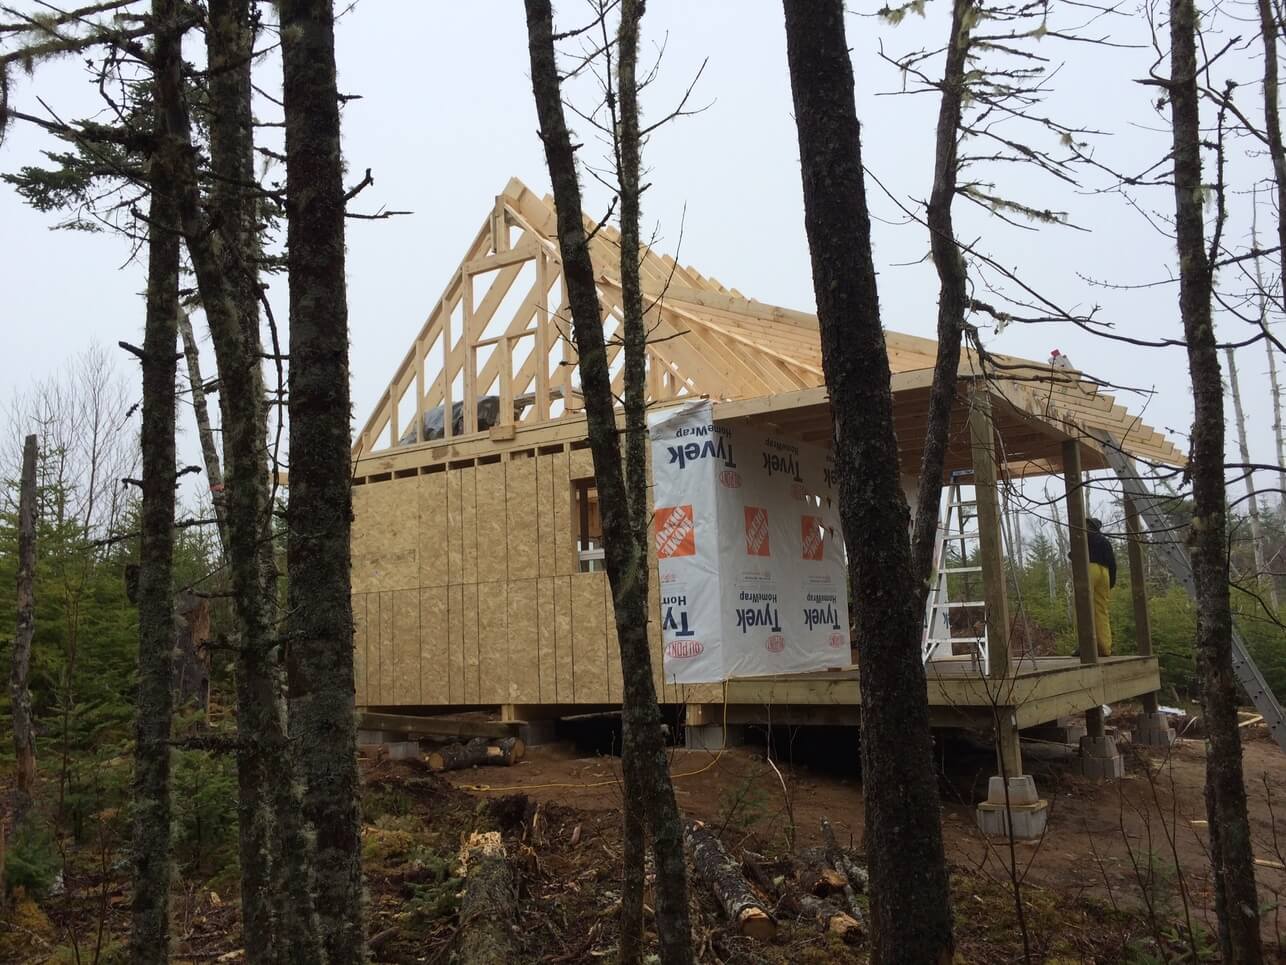

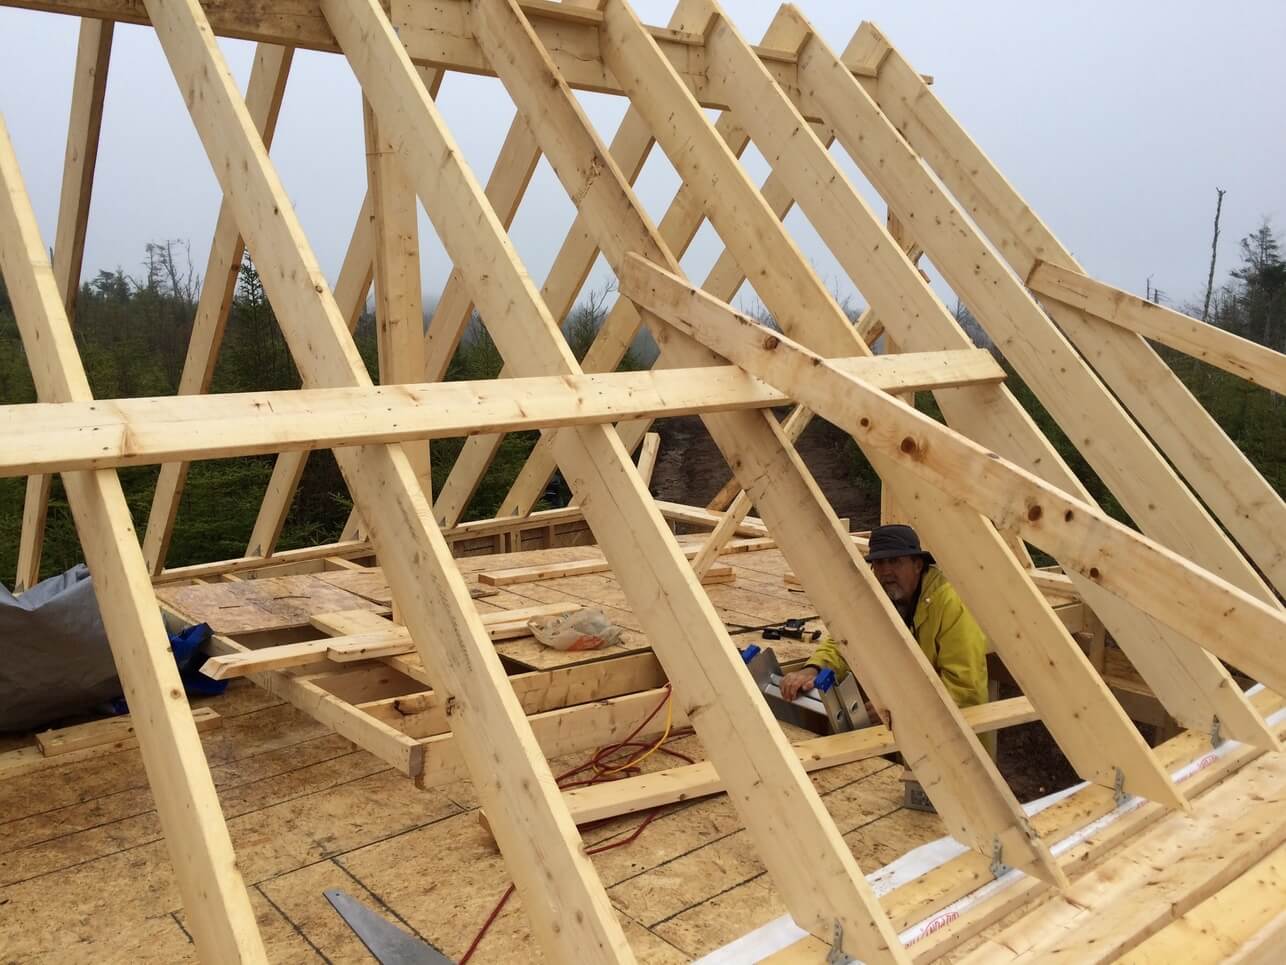
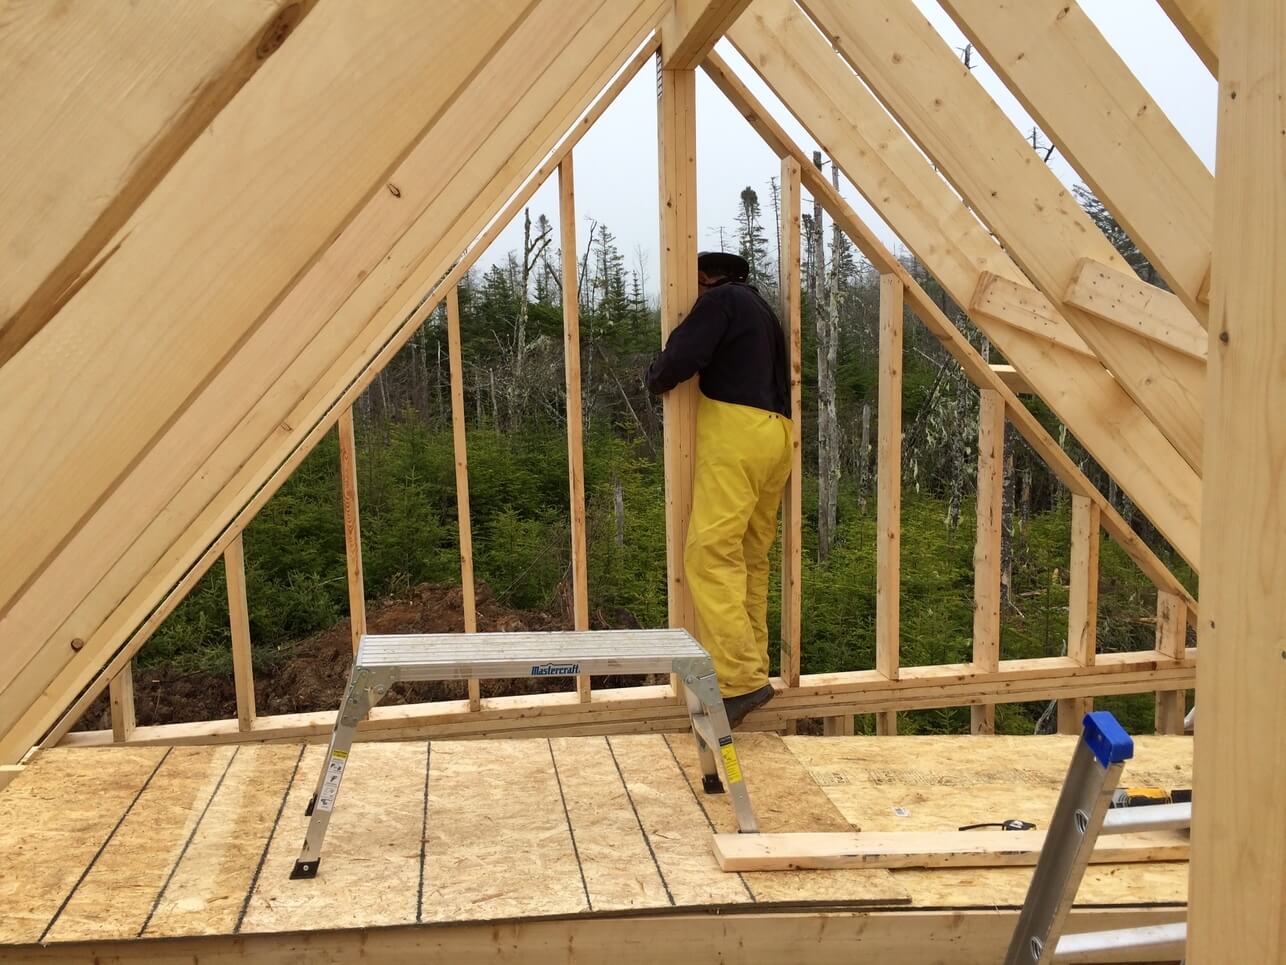
End Gable Framing
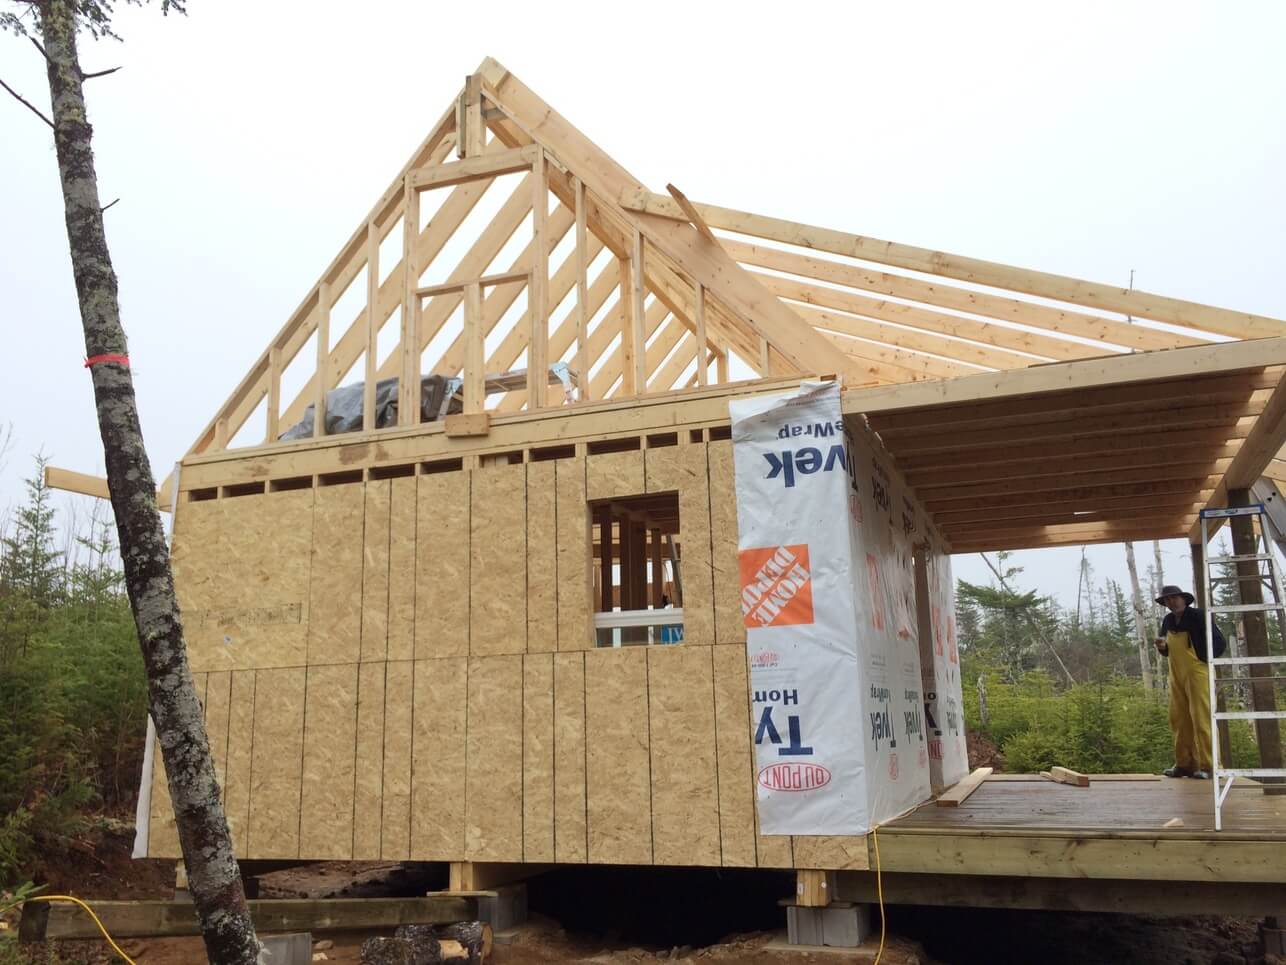
Below, we’ve already framed the West facing gable yesterday which serves as the loft bedroom wall and incorporates a window with an amazing view of the stars at night.
REMINDER: The East facing wall is build using 2x6s (unlike the rest of the cabin which are 2x4s) with a 16 inch spacing as described in our wall framing section. This is because it supports the entire weight of the roof and rafters without any ceiling joists or rafter ties. This is to allow for a cathedral ceiling in the living room.

To make the 45 degree bevel cuts we used our Dewalt 12-inch Double Bevel Sliding Compound Mitre Saw.
This saw was one of the tools on my “must haves” list. You can CLICK the image below and It’ll give you the latest, lowest price we could find on Amazon.

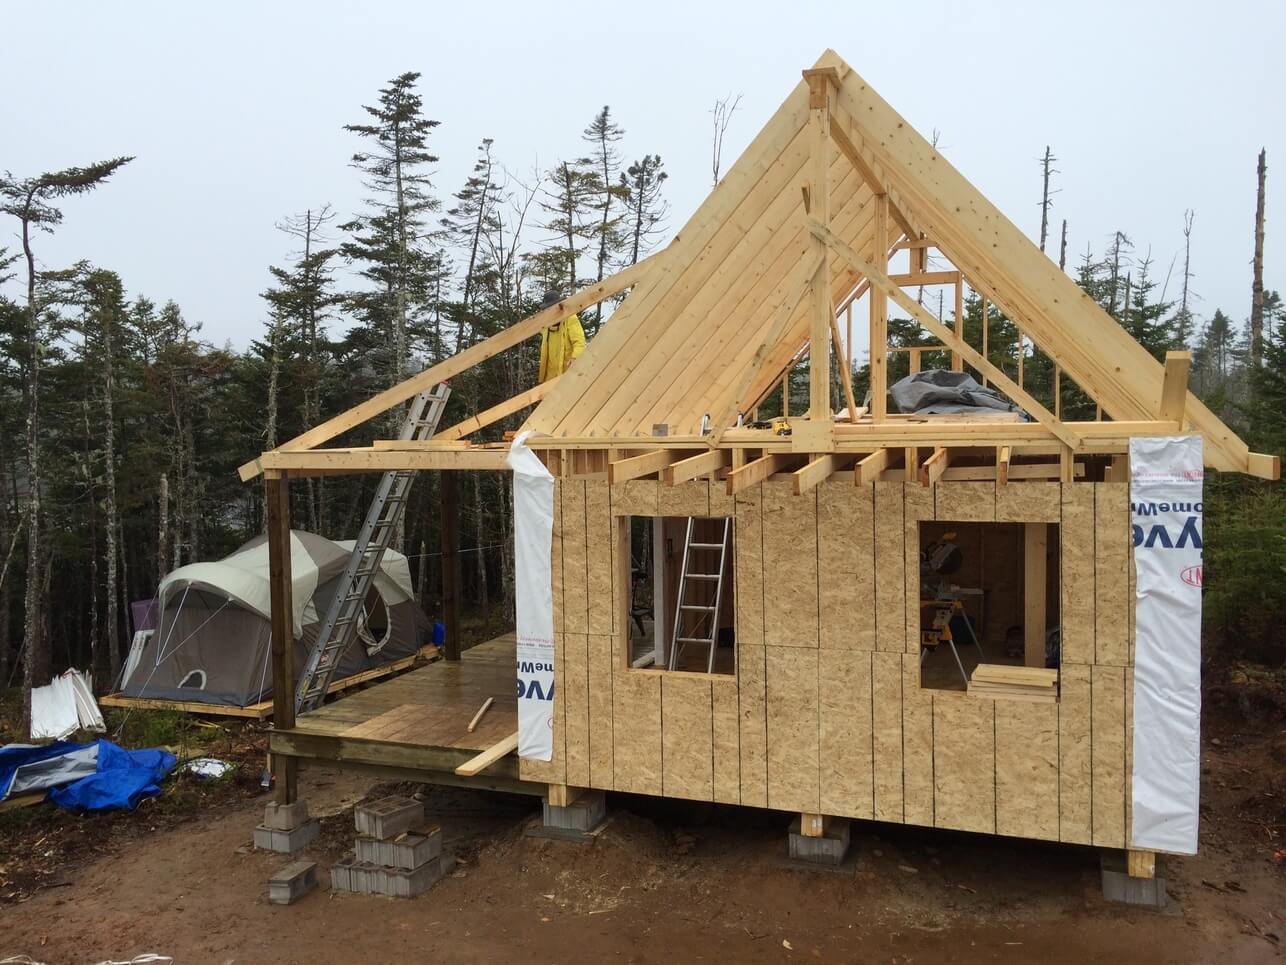
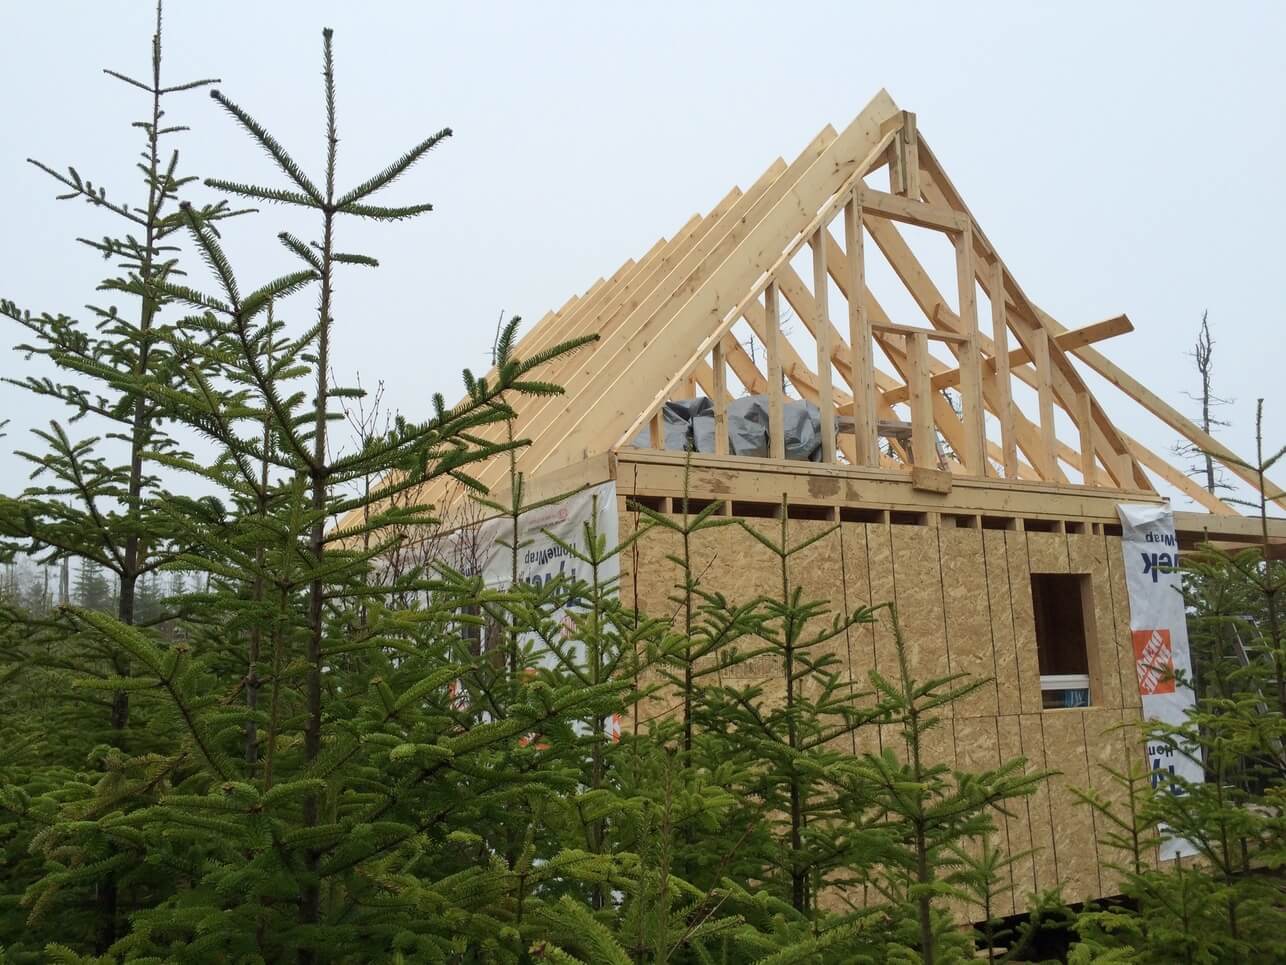
Completing the living room end gable framing.
After we have the end gable framing complete it’s time to start sheathing with OSB.
Below you’ll spy our coveted top secret tool that shaved a week off this build! That’s our trusty 20V DeWalt cordless nail gun. This is the by far our favorite tool and worth its weight in gold!
This is the ONLY cordless nail gun on the market that does not require those pesky and pricey gas cartridges. Ours easily survived falls from the loft, still fired when covered in mud and outlasted our other cordless tools every day.
I highly recommend picking one up. It will be handy long after you’ve finished your cabin build. We’ve used our on several projects after the cabin was complete and it’s going strong 3 years later.
Here’s the current lowest price available.


That Covers Building The Perfect Rafter Part IV
We hope you’ve enjoyed our deck rafters install so far.
Are you subscribed yet?
We’re always happy to welcome new subscribers and we’ll make sure to keep you updated with every step of the build!
Tomorrow on Day #14 we’ll install the front deck rafter fascia, put up more OSB to close up the end gables fully, and start on the ladders which form the gable end soffit.
Ready To Check Out The Next Step Of The Build?
Your Turn...
Now that we’ve completed the rafters let us know your thoughts below.
Is this rafter design something you might consider on your off grid build?
If you’ve enjoyed our rafter design and deem it worthy of a share then please do.
Thanks again for following along so far.
We look forward to seeing you again tomorrow when we tackle those roof ladders.
Cheers!
And you guessed it… we have a special Pinterest pic for all our devoted Pinterest pinners out there.


how to clean solar panels
How to Clean Solar Panels: A Step-by-Step DIY Guide As you already know, residential and off-grid solar systems are amazing sources of renewable energy that are quickly growing in popularity. The large flat [...]

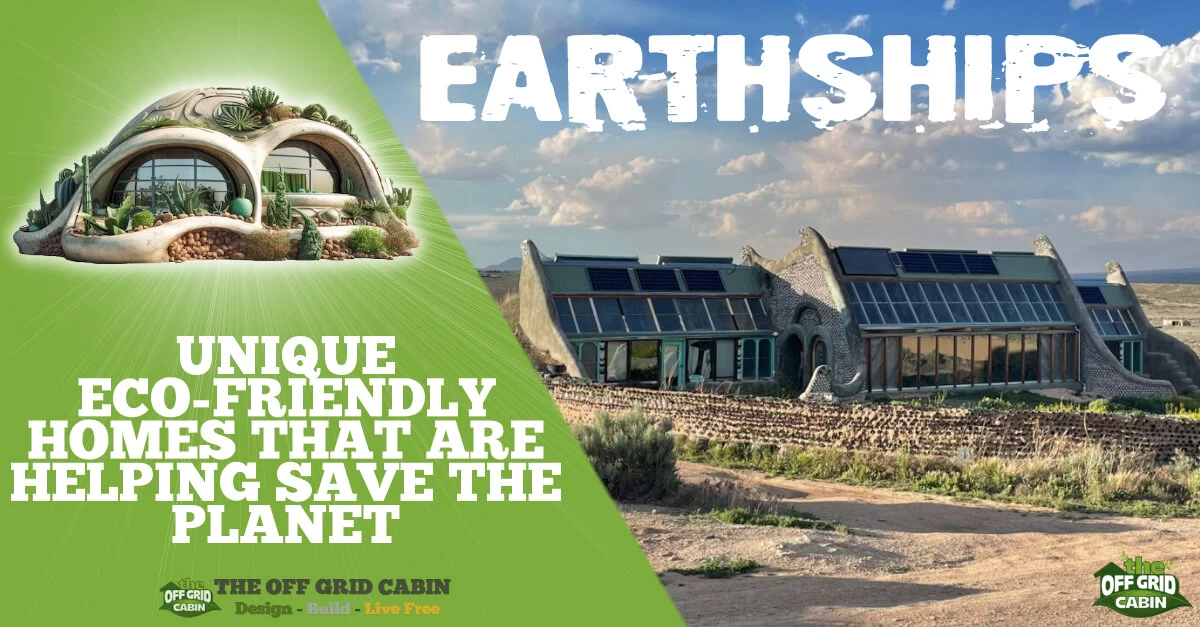
earthship
What Is an Earthship and How It Can Help Save the Planet Imagine living in a home that is completely self-sufficient, eco-friendly, and comfortable. A home that grows its own food, collects its [...]

3-way-switch-wiring
3-Way Switch Wiring: A How to Comprehensive Guide Here at the off grid cabin we’ve done our fair share of electrical work including 3-way switch wiring. We’ve done all the internal and external [...]

solar generator
How To Find The Best Solar Generator When we first cleared the land to build our off grid home back in 2016, we started with one of those small 700 watt Moto Master [...]

Off Grid Heating
The Best Off Grid Heating Methods Introduction To Off Grid Heating If you're Living off the grid already or planning to in the future, you already know how important it is to have [...]

off grid appliances
The Best Off Grid Appliances for Off Grid Living Introduction To Off Grid Appliances Living off the grid can be a rewarding and fulfilling experience, but it also comes with some challenges. One [...]


Leave A Comment