


I’ve flown helicopters in weather that would ground most sane pilots, and I’ve stood in our cabin loft in the middle of a Nova Scotia February, snow howling sideways past the windows, trying to figure out why the loft light wouldn’t shut off from the switch downstairs.
Turns out I’d crossed a pair of traveler wires three weeks earlier and just never noticed—because up until that point, I’d only ever turned the light on and off from the same switch.
That’s the thing about 3-way switch wiring off-grid. It’s simple in theory, and it’s exactly the kind of “simple” that bites you at the worst possible moment—usually in the dark, usually when the battery bank is low, and usually when you’re in a hurry to get back downstairs to the woodstove.
If you’re building or wiring an off-grid cabin, doing this right the first time saves you a return trip up a cold ladder. This guide walks through wiring a 3-way switch specifically in an off-grid context—solar, battery banks, inverters, and all the quirks that come with power that isn’t just “always there” the way it is on the grid.
Note: If you want the plain-vanilla, grid-tied version of how to wire a 3-way switch, we’ve also got a complete 3-way switch wiring guide that covers the core wiring diagrams in more depth. This post builds on top of that with everything specific to off-grid power.

Table of Contents
Why 3-Way Switches Matter in an Off-Grid Cabin
A 3-way switch lets you control one light fixture from two different locations. In a suburban semi-detached, that’s a luxury. In an off-grid cabin, it’s closer to an Essential Operating Procedure.
Off-grid cabins tend to have awkward, single-purpose spaces stacked on top of each other—a main floor, a sleeping loft, a mudroom entry, or maybe a separate bunkie. You’re constantly moving between them in the dark, often with your hands full of firewood or a flashlight that’s dying because you forgot to put it on the solar charger.
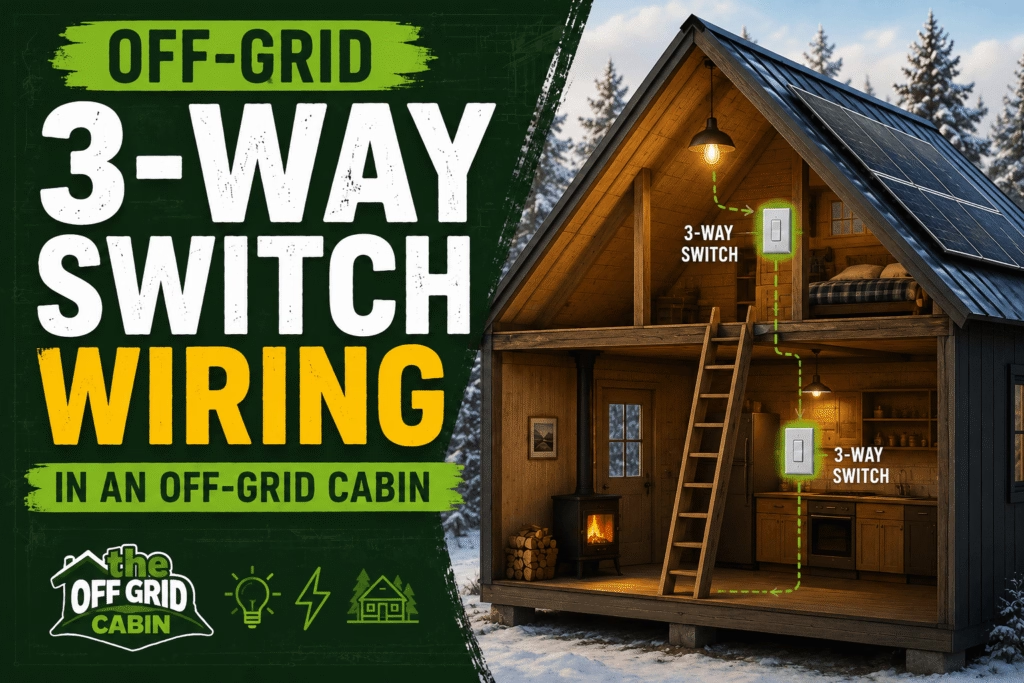
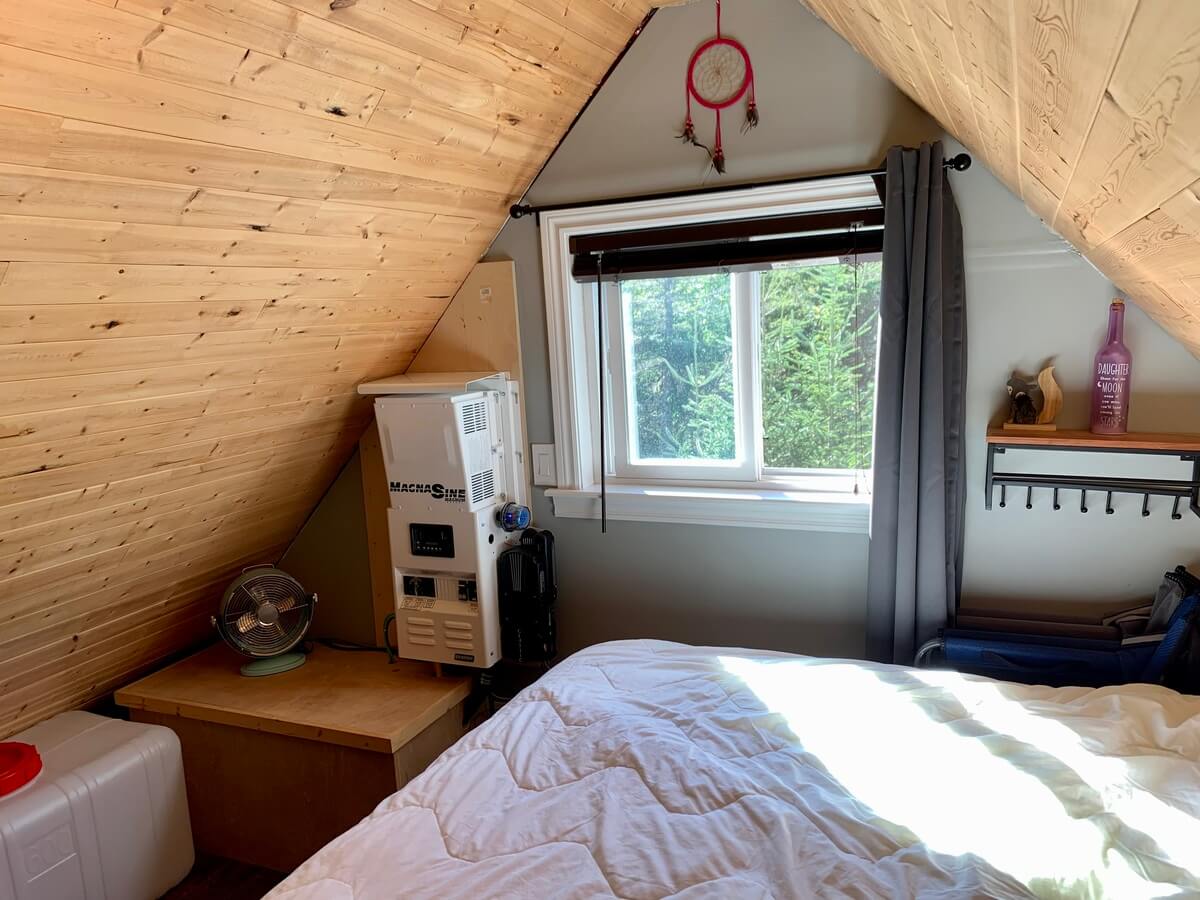
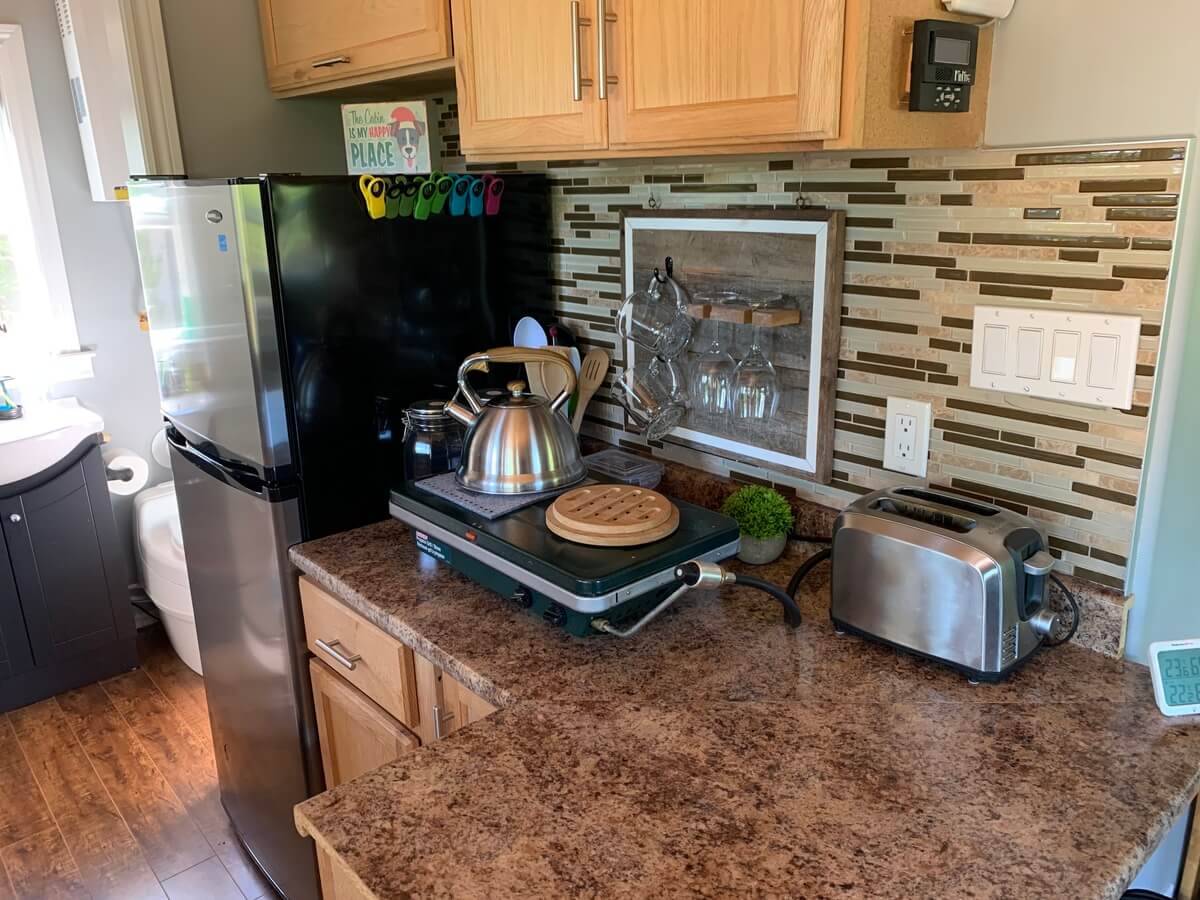
We have one 3-way switch in the loft near our window for when someone jumps into bed at night. The other 3-way switch is downstairs near the base of the ladder on the kitchen wall. It’s nice to have the loft ceiling pot lights on while navigating that folding ladder!

Being able to shut off the loft light from the bottom of the ladder, or light your entry from both the cabin door and the woodshed path, isn’t just about convenience—it’s about safety.
The Power Management Factor
There’s also a power-management angle that’s unique to off-grid living. Every light left burning is a small, constant draw on a battery bank that doesn’t refill itself the way a grid connection does. A 3-way switch means nobody has an excuse to leave a light on because “the switch was too far away.”
On a cloudy stretch in November when your solar input is a fraction of what it is in July, those small wattage-hours add up. In the off-grid world, efficiency is earned in the wiring.
12V DC vs. 120V AC: Choosing Your Off-Grid Configuration
This is where your wiring plan departs from the standard “Home Depot” advice. You need to decide how your power is being delivered before you pull a single foot of Romex.
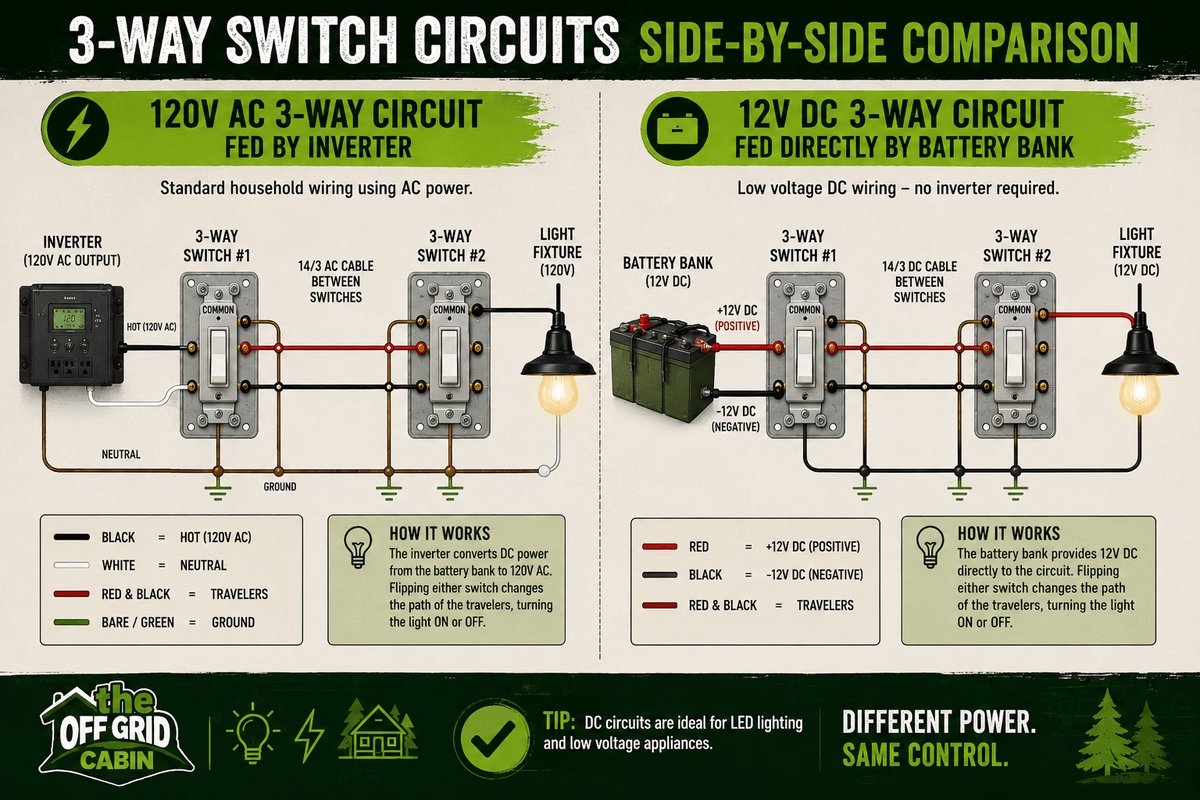
1. Standard 120V AC Setup (Inverter-Based)
If your cabin’s lighting circuit runs through your inverter and out to a standard AC panel—which is how most off-grid cabins with a robust solar setup are configured—an off grid 3 way switch wires exactly the same way it would on grid power. The switch doesn’t know (or care) whether the 120V it’s switching came from a utility line or a Pure Sine Wave inverter fed by a LiFePO4 bank.
- Pros: Standard wire gauges (14/2 or 14/3), cheaper switches, and compatibility with any LED bulb.
- Cons: You lose efficiency through “Inverter Overhead” (more on that below).
2. Low-Voltage 12V/24V DC Setup
Some cabins—especially “Stage 1” builds or remote bunkies—run lighting straight off the battery bank at 12V or 24V DC.
- Voltage Drop is the Enemy: DC circuits pull more amps for the same wattage than AC does. If your wire run is longer than 20 feet, you can experience a “brown out” at the light fixture. You’ll need to size your wire gauge up (use 12-AWG or even 10-AWG for long runs).
- Switch Rating: Most standard 120V switches are rated for AC. While they often work for low-voltage DC, it’s best practice to use switches with a dedicated DC amperage rating to prevent arcing and premature failure.
We ran our loft lighting this way for almost a year before our inverter and subpanel were fully built out — straight 12V off an AGM battery bank through a pair of 3-way switches to a couple of LED puck lights. It got the job done and taught me most of what’s in this guide the hard way.

Materials & Tools Needed
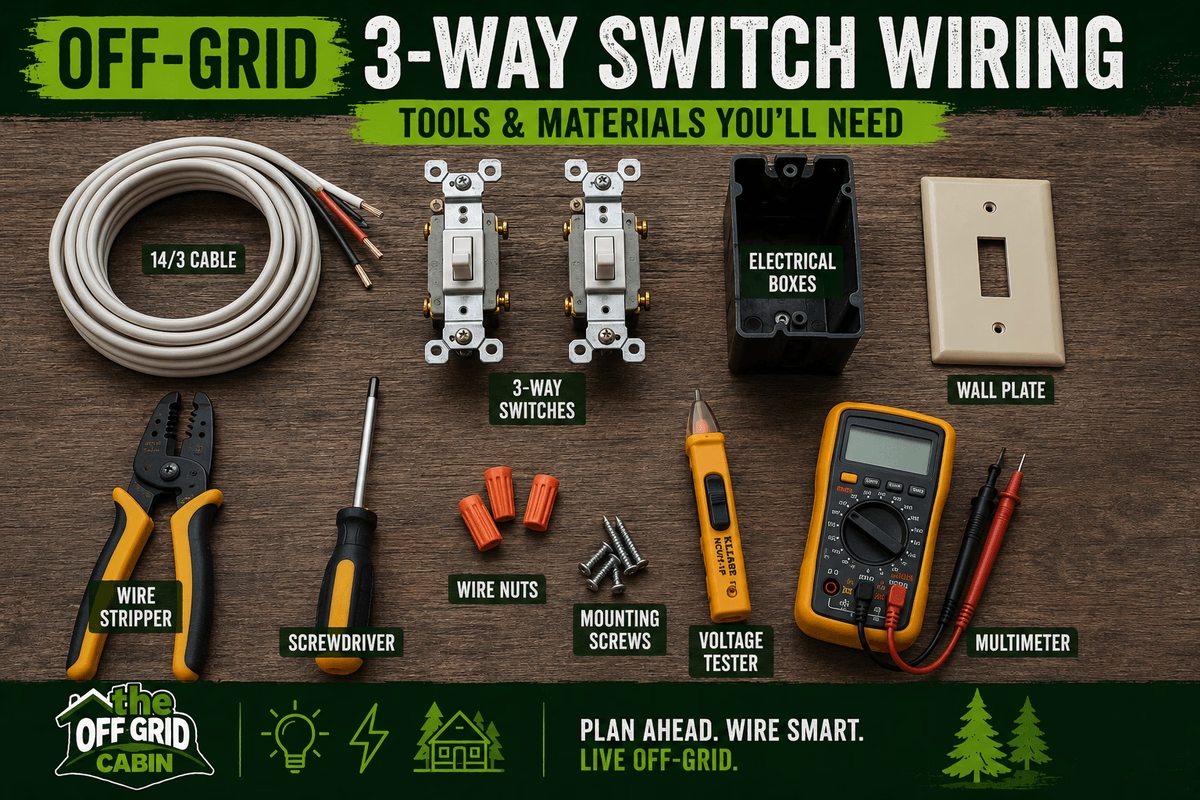
Don’t start this job until you have everything on the bench. If your cabin is like mine, a “quick trip to the hardware store” involves a 40-minute drive and a prayer that they have what you need.
| Item | Purpose | Approx. Cost |
|---|---|---|
| 3-Way Switches (x2) | The hardware. | $6 – $15 |
| 14-3 NM Cable | The “Traveler” wire (Red, Black, White). | $25 – $40 |
| Non-Contact Voltage Tester | Survival gear. Don’t work without it. | $20 |
| Wire Strippers | Precision counts for solid connections. | $15 |
| Wire Nuts/Wago Connectors | For secure splicing. | $10 |
For a basic two-switch run with tools already on hand, expect $35–$60 in materials. If it’s your first electrical job and you’re buying tools too, budget closer to $80–$120 — those tools will outlast this one project by years.
Pro Tip: I highly recommend Wago Lever Nuts over traditional wire nuts for “some” off-grid cabin applications. Cabins shift and vibrate more than houses (especially in high winds), and Wagos provide a much more secure, “vibration-proof” connection than a standard twist-on nut. Fun Fact: William Mar, a Canadian, invented the twist on connector we know as the Marrett in 1914.
Step-by-Step: Wiring a 3-Way Switch Off-Grid

Before You Start: Kill the Power at the Source
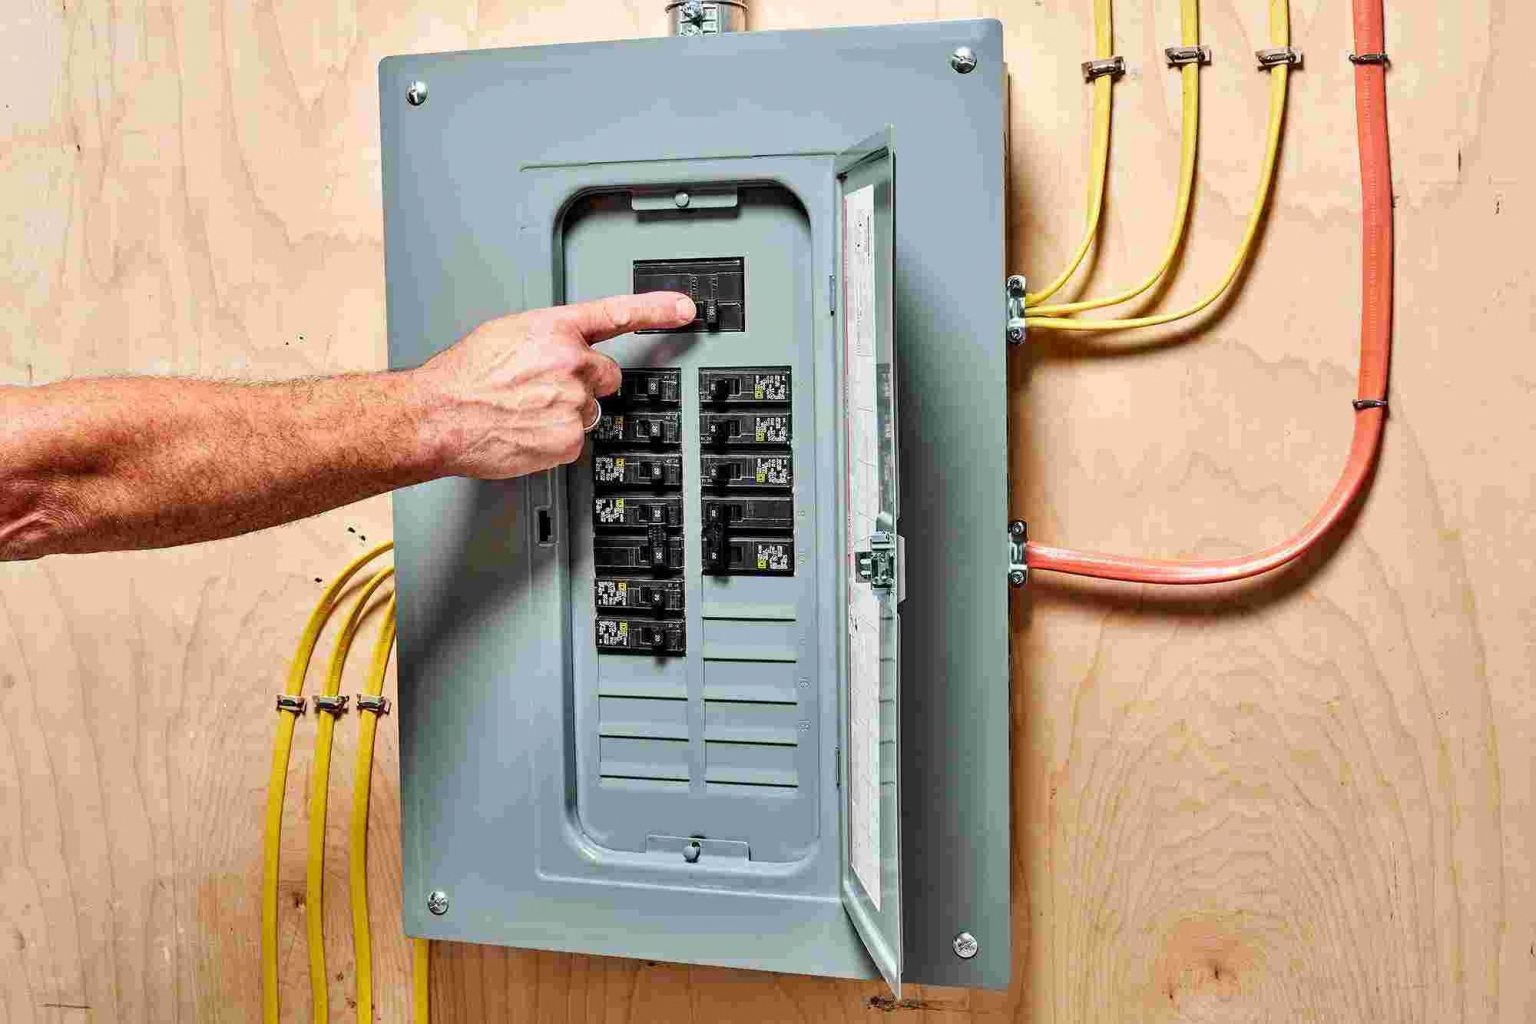
On a grid-tied home, this means the breaker. Off-grid, it can mean two things: the breaker on your inverter-fed subpanel, and potentially the battery disconnect if you’re working on a DC circuit. Don’t assume one covers the other. Test with a voltage tester at the switch box itself before you touch a wire, every single time.
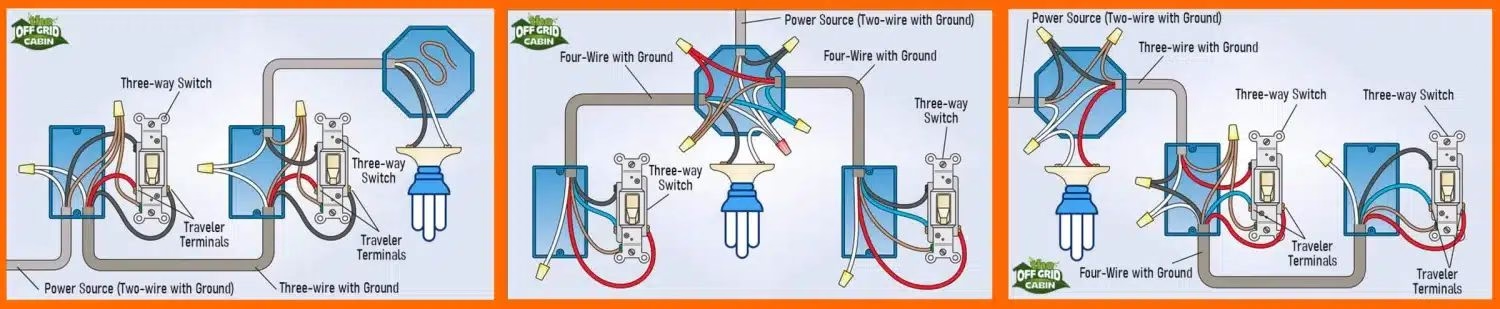
Configuration 1: Power Arrives at the Light Switch
This is the most common setup and the one you’ll use most often in a cabin.
- The incoming hot wire (from your panel or battery, depending on AC or DC) lands on the first switch’s common terminal — usually the darker, single screw.
- Run a 3-wire cable between the two switches. The two conductors (typically black and red) connect to the brass traveler terminals on each switch.
- The wire heading out to the fixture connects to the second switch’s common terminal.
- Ground wires bond to the green screw on each switch and to the metal box if applicable.
Configuration 2: Power Arrives at the Light Fixture
Here you’ll need 4-conductor cable, since there’s an extra wire (typically blue) acting as a second traveler between the fixture and the switch loop.
- The hot wire from your source lands at the fixture box first.
- From there, a 4-wire cable runs to the nearest switch, then a 3-wire cable connects both switches.
- Red and blue wires link the traveler terminals between switches.
- The remaining wire carries power back to the fixture’s hot connection.
Configuration 3: Fixture Between the Two Switches
Common in a loft setup where the light sits physically between the two switch locations.
- Incoming hot lands on the common terminal of the nearer switch.
- Two runs of 4-wire cable, joined at the fixture box, link the traveler terminals of both switches to each other and to the fixture.
For all three configurations, if you want the full wiring diagrams with terminal-by-terminal breakdowns and photos, our original 3-way switch wiring guide walks through each one in detail — worth having open next to you while you work.

Mounting and Testing
Once the connections are made, tuck the wires carefully into the box, mount the switch, and restore power at the source. Test from both locations before you close up the wall or button up the trim — it’s a lot easier to fix a crossed wire now than after the drywall’s up.
Off-Grid Specific Tips
Battery bank load awareness. Every circuit you add is a small additional draw. It won’t break your system, but if you’re sizing a battery bank around a known set of loads, make sure your lighting plan is in that math before you finalize battery capacity. Inverter sizing and startup surge. LED lighting draws next to nothing, but if that switch loop eventually feeds anything with a motor or transformer, remember that inverters need to handle the startup surge, not just the running wattage. Undersized inverters are a classic off-grid mistake. Generator transfer switch safety. If your cabin has a generator as backup, make absolutely sure your transfer switch setup prevents backfeeding the generator into your battery/inverter system or vice versa. This isn’t a “probably fine” corner to cut — a botched transfer switch can destroy your generator, your inverter, or both. If you’re not 100% sure your transfer switch is wired correctly, that’s worth a call to an electrician even if you’re comfortable doing the switch wiring yourself. Winter considerations. Cold snaps mean more time indoors, more lighting use, and — if you’re like us — days where solar input barely keeps the batteries topped up. We lean on generator runtime more in December and January than any other time of year, and well-placed 3-way switches that make it painless to kill lights nobody’s using help stretch every watt-hour further.
Common Mistakes & Troubleshooting
Light only works from one switch. Traveler wires are crossed between the two switches — they need to land on matching terminals at both ends. Light doesn’t work at all. Check for a loose wire nut or a hot wire mistakenly landed on a traveler terminal instead of common. Switch feels warm or buzzes. Power down immediately and re-check for a loose connection at the terminal — this is a heat and fire risk, not a cosmetic issue. Flickering on a DC circuit. Usually voltage drop from an undersized wire run — check gauge against distance. Breaker or fuse trips immediately. Almost always a short from nicked wire insulation touching the box or ground. Inspect every stripped wire end before re-energizing.
Safety Notes and Code Considerations
A few things worth stating plainly: electricity doesn’t care whether it came from a utility pole or a battery bank, and it doesn’t get safer just because you’re off-grid and outside city inspection. If you’re not comfortable with any part of this job, call a licensed electrician — full stop. In Canada, electrical work is governed by the Canadian Electrical Code (CSA C22.1), and provincial authorities can require permits and inspections even for off-grid and rural properties, particularly for anything tied to a permanent structure. Requirements vary by province, so it’s worth a call to your local electrical inspection authority before you start a build-out, even if your cabin is remote. Being off-grid doesn’t automatically mean being off the code. Because there’s no inspector routinely checking remote off-grid work, the standard has to come from you. Photograph your wiring before closing up walls, label your panel as you go, and never skip the ground connection because a job feels “too small to matter.” Every circuit in that wall is going to outlive the day you installed it.
Conclusion
A 3-way switch is a small piece of a cabin’s electrical system, but it’s the kind of small thing that shapes how livable the place feels day to day — especially through a long winter when you’re moving between a cold loft and a warm woodstove more times than you’d like to count. Get the wiring right, understand how your solar and battery setup changes the picture, and you’ll never think about it again except to flip it. If you’re working through your build in order, our cabin foundation guide is a good next stop, or head back to the full 3-way switch wiring breakdown for the detailed diagrams referenced above.
Wiring is easy when the walls are open, but you can’t hang a switch if your cabin isn’t level. If you’re in the planning stages, don’t miss our guide on How to Build the Best Foundation for an Off-Grid Cabin. It’s the most-read guide on this site for a reason—it works.
And if you need to visualize how these electrical runs fit into your space, check out our Off-Grid Cabin Floor Plans. Seeing the layout helps you decide exactly where those 3-way switches need to live before you start drilling holes in your studs.
A 3-way switch is a small part of your cabin’s electrical system, but it’s the kind of detail that makes a DIY build feel like a professional home. Get the wiring right, respect the battery bank, and always—always—double-check your grounds.
Got a specific question about your off-grid solar setup or a wiring nightmare you’re trying to solve? Drop a comment below. I read them all, and usually, someone else in the community has been in the exact same spot.
FAQs
Does a 3-way switch work with an inverter-based off-grid system? Yes — if your lighting circuit runs through your inverter to a standard AC panel, wire it exactly as you would on grid power. Can I wire a 3-way switch on a 12V system without an inverter? Yes, but pay close attention to wire gauge over distance and confirm your switch is rated for DC use. Do I need a permit for cabin wiring in Canada if I’m off-grid? Possibly — provincial requirements vary, and off-grid doesn’t automatically exempt you from the Canadian Electrical Code. Check with your provincial authority before starting. What’s the difference between this guide and your original 3-way switch wiring post? The original guide covers the core AC wiring diagrams in full detail. This post focuses specifically on what changes when solar, battery, and inverter systems are part of the picture. Can I add a generator to an existing 3-way switch setup? Yes, but any generator integration needs a proper transfer switch to prevent backfeeding — that’s a safety-critical connection, not just a wiring preference.
- How to Wire a 3-Way Switch in an Off-Grid Cabin (Solar, Battery & Inverter Safe)I’ve flown helicopters in weather that would ground most sane pilots, and I’ve stood in our cabin loft in the middle of a Nova Scotia February, snow howling sideways past the windows, trying to figure…
- how to clean solar panelsHow to Clean Solar Panels: A Step-by-Step DIY Guide As you already know, residential and off-grid solar systems are amazing sources of renewable energy that are quickly growing in popularity. The large flat glass panels…
- earthshipWhat Is an Earthship and How It Can Help Save the Planet Imagine living in a home that is completely self-sufficient, eco-friendly, and comfortable. A home that grows its own food, collects its own water,…
- 3-way-switch-wiring3-Way Switch Wiring: A How to Comprehensive Guide Here at the off grid cabin we’ve done our fair share of electrical work including 3-way switch wiring. We’ve done all the internal and external electrical wiring…
- solar generatorHow To Find The Best Solar Generator When we first cleared the land to build our off grid home back in 2016, we started with one of those small 700 watt Moto Master Eliminator Power…
- Off Grid HeatingThe Best Off Grid Heating Methods Introduction To Off Grid Heating If you're Living off the grid already or planning to in the future, you already know how important it is to have a very…


