


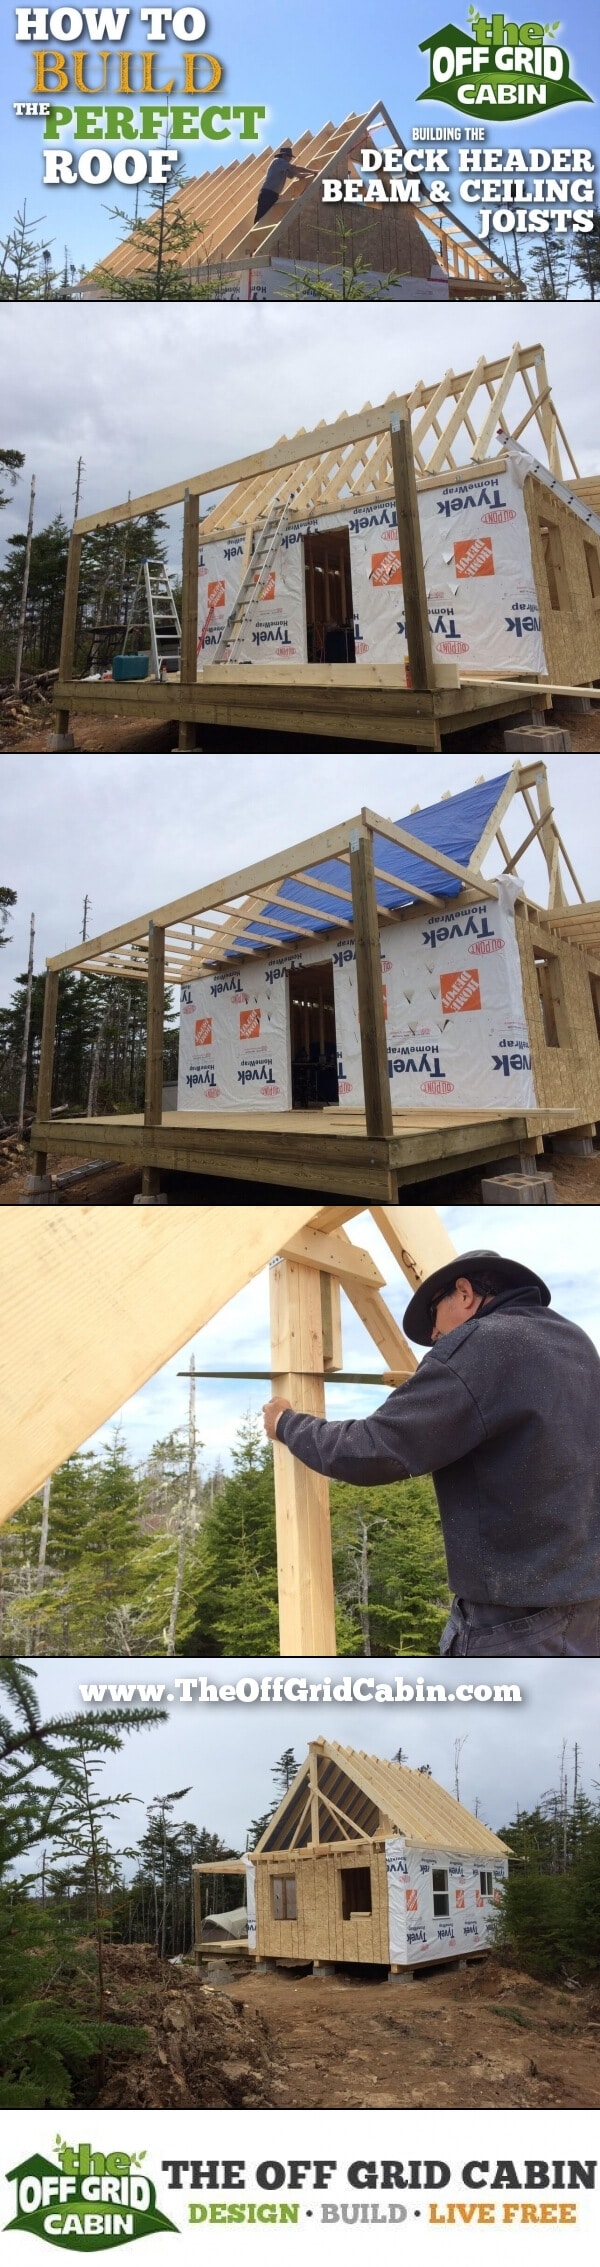
Building The Perfect Cabin Roof Part 3 of 5
When it comes to putting a roof over your deck, we’ve got you covered.
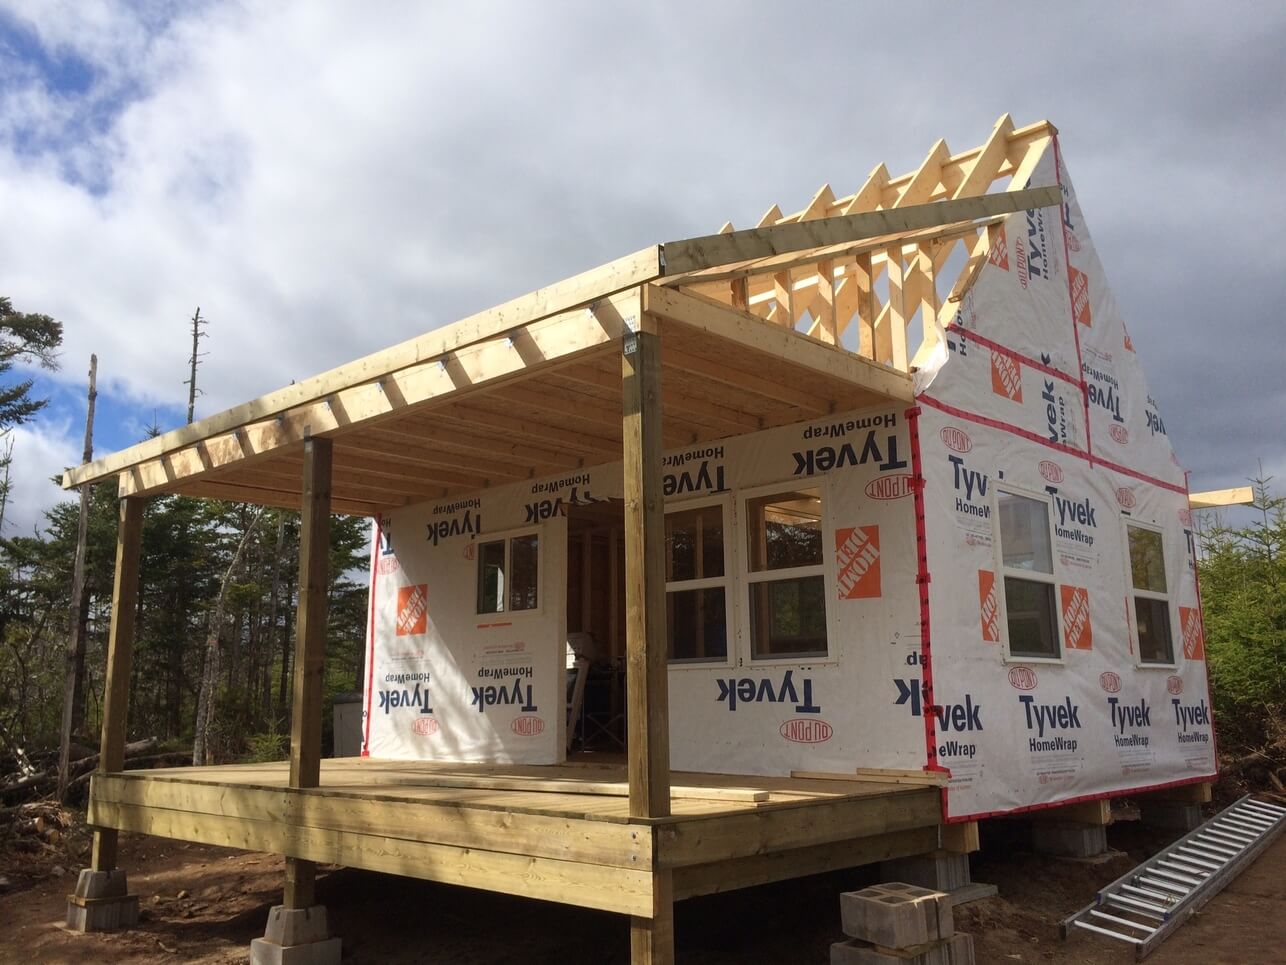
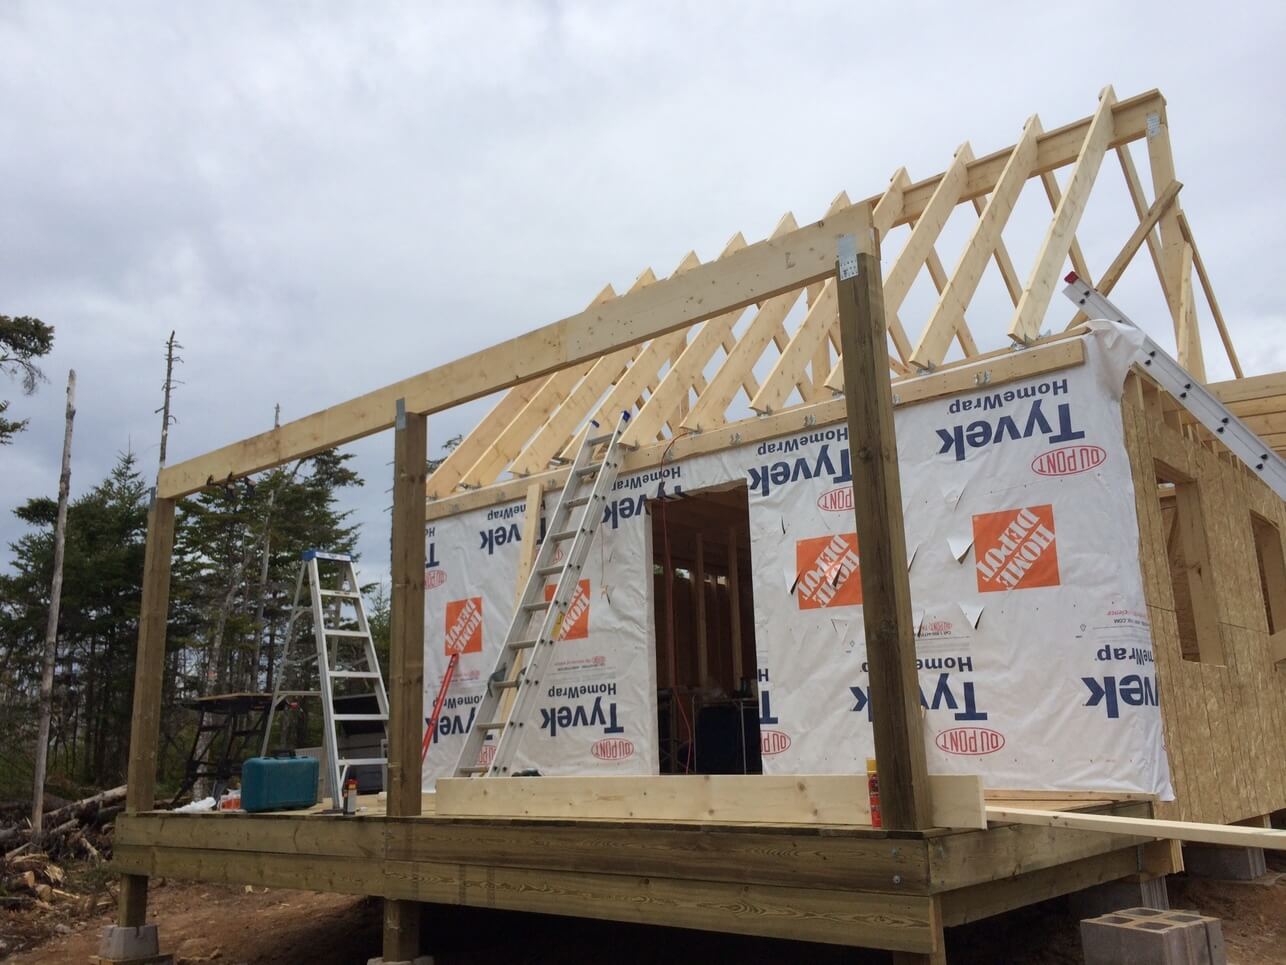
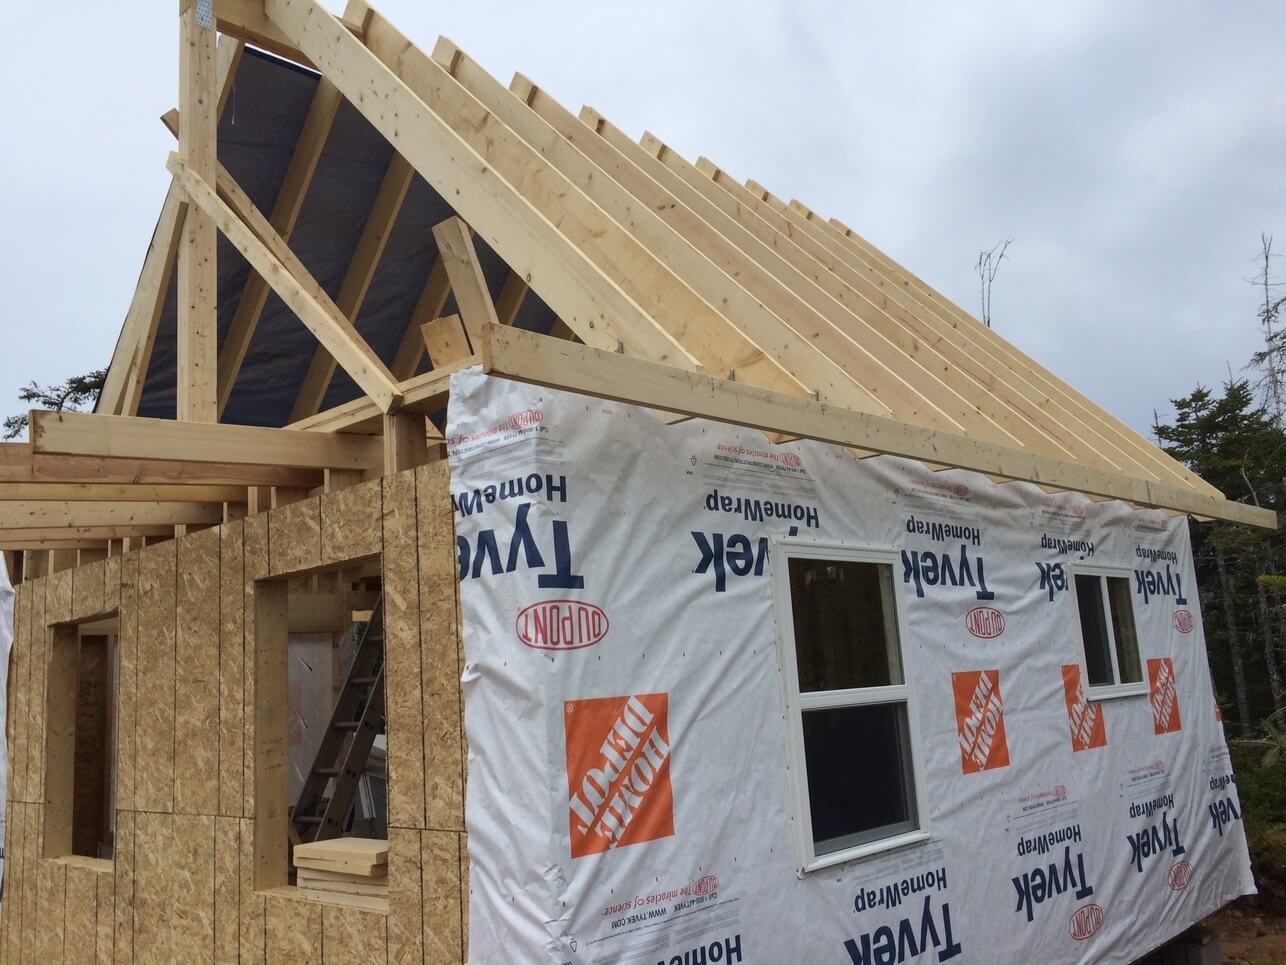
It’s day #12 of the cabin build and today we install the front deck roof header beam, the deck ceiling joists and frame/install a couple windows.
So far for the roof, we’ve the built the main support posts and ridge beam followed by installing the main cabin rafters.
You can head back to the beginning of the cabin build here or better yet subscribe and we’ll send you a personal update every time we hit a building milestone. Best of all we will even take you back to day #1 of our cabin project to get you up to speed.
If you need a roofing refresher before tackling our rafter section below have a read through our Ultimate Roof and Rafter Guide.
The Front Deck Install
Our cabin roof has three sloped surfaces (seen below) which I’ll be referring to in this and future posts.
- The main rafters on the rear of the cabin.
- The main rafters on the front of the cabin
- The front deck rafters
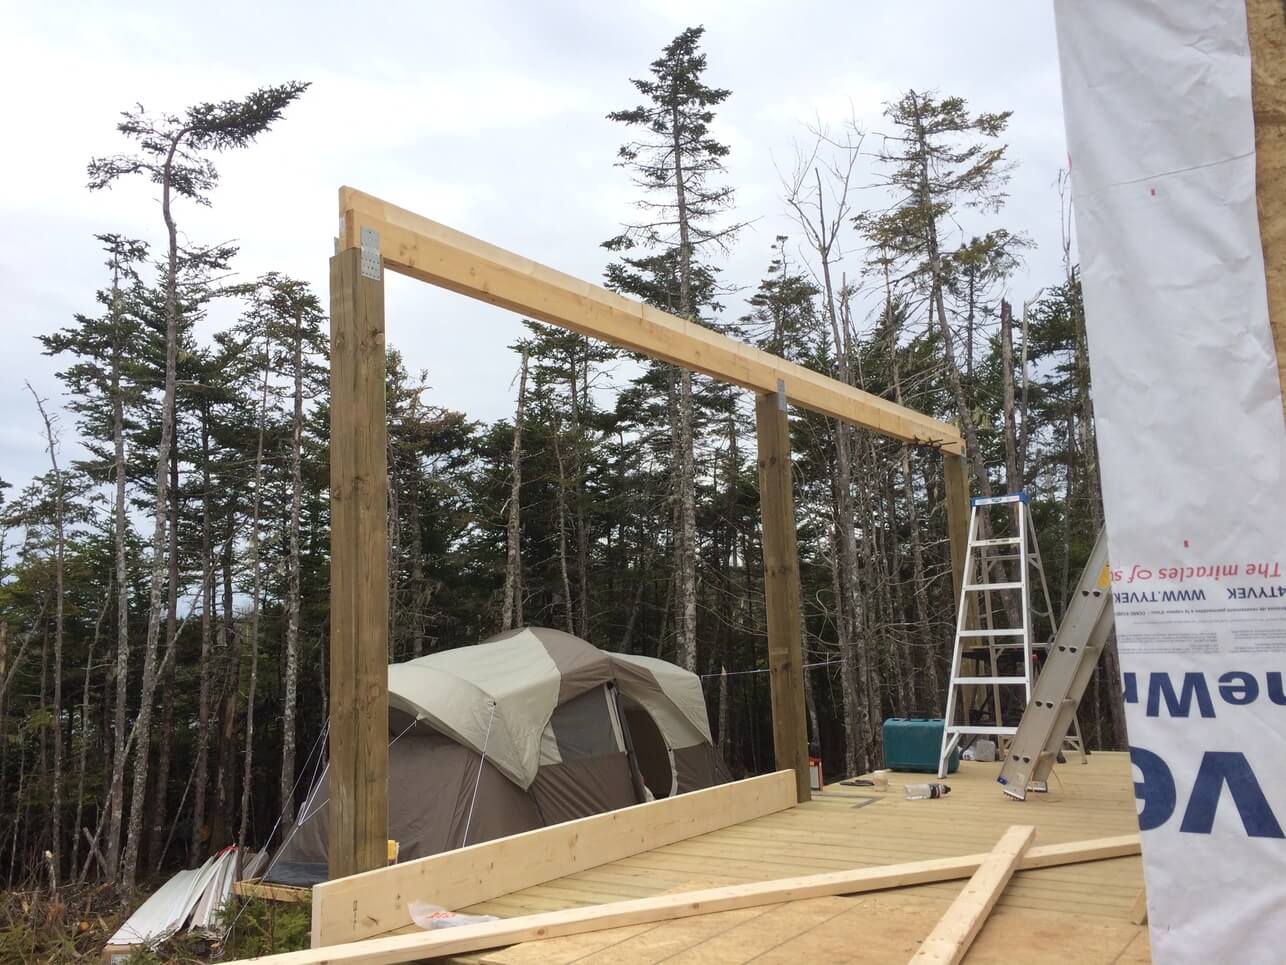
Front Deck Header Beam
Before we build the header beam we need to ensure the three vertical 6×6 posts are all at the same height and level.
We do this by attaching a 16 foot 2×6 ledger or nailer just below where the front main rafters connect with the front wall and attach joist hangars 24 inches apart.
By placing a 2×6 into a joist hangar with a level on top, we are able to use this to indicate exactly where to cut the top of the 6×6 post off at.
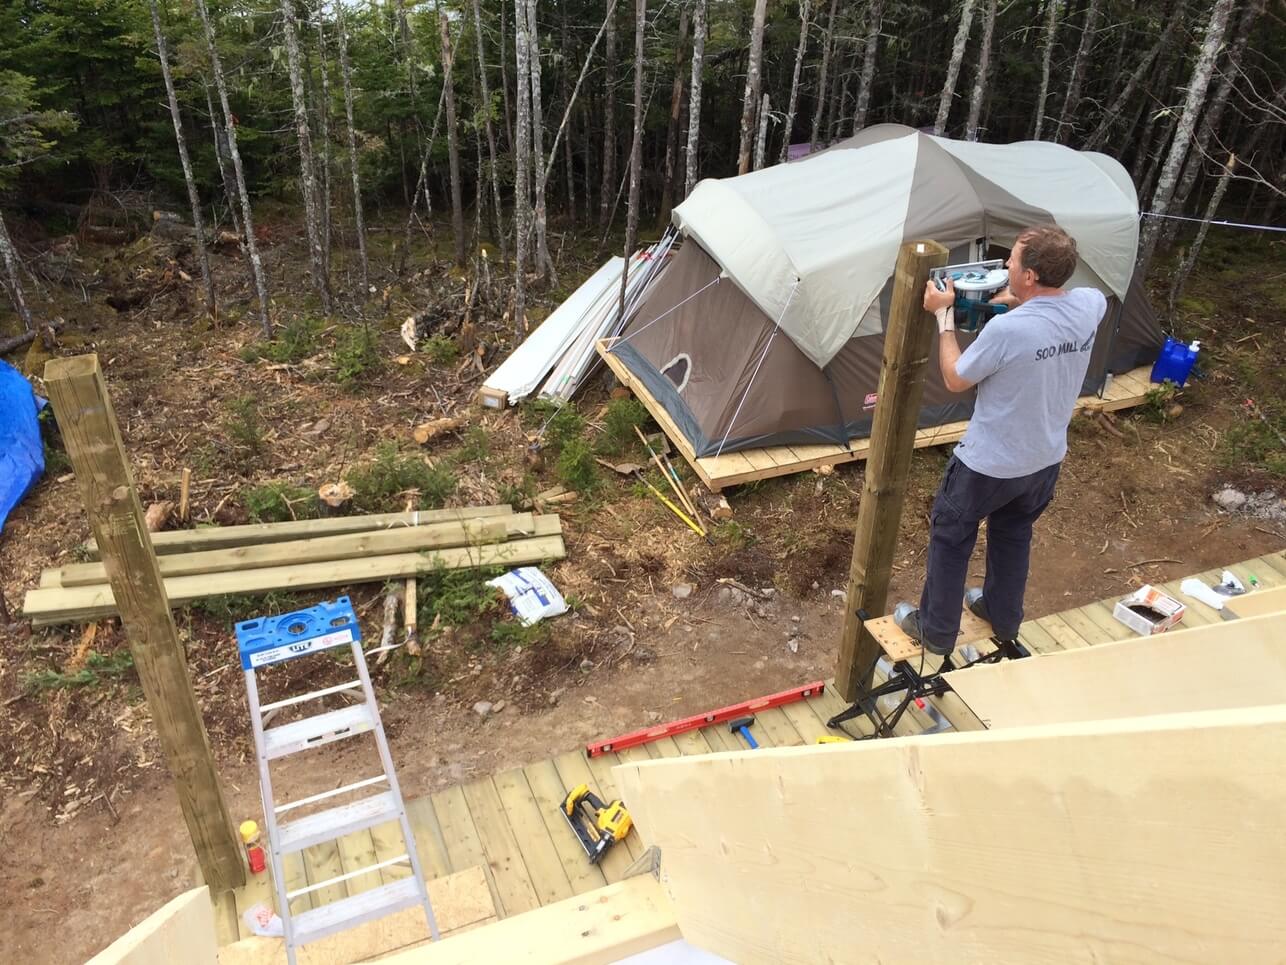
We now have all three 6×6 posts at the correct height and can begin building the header beam in the same manner that we built the roof ridge beam.
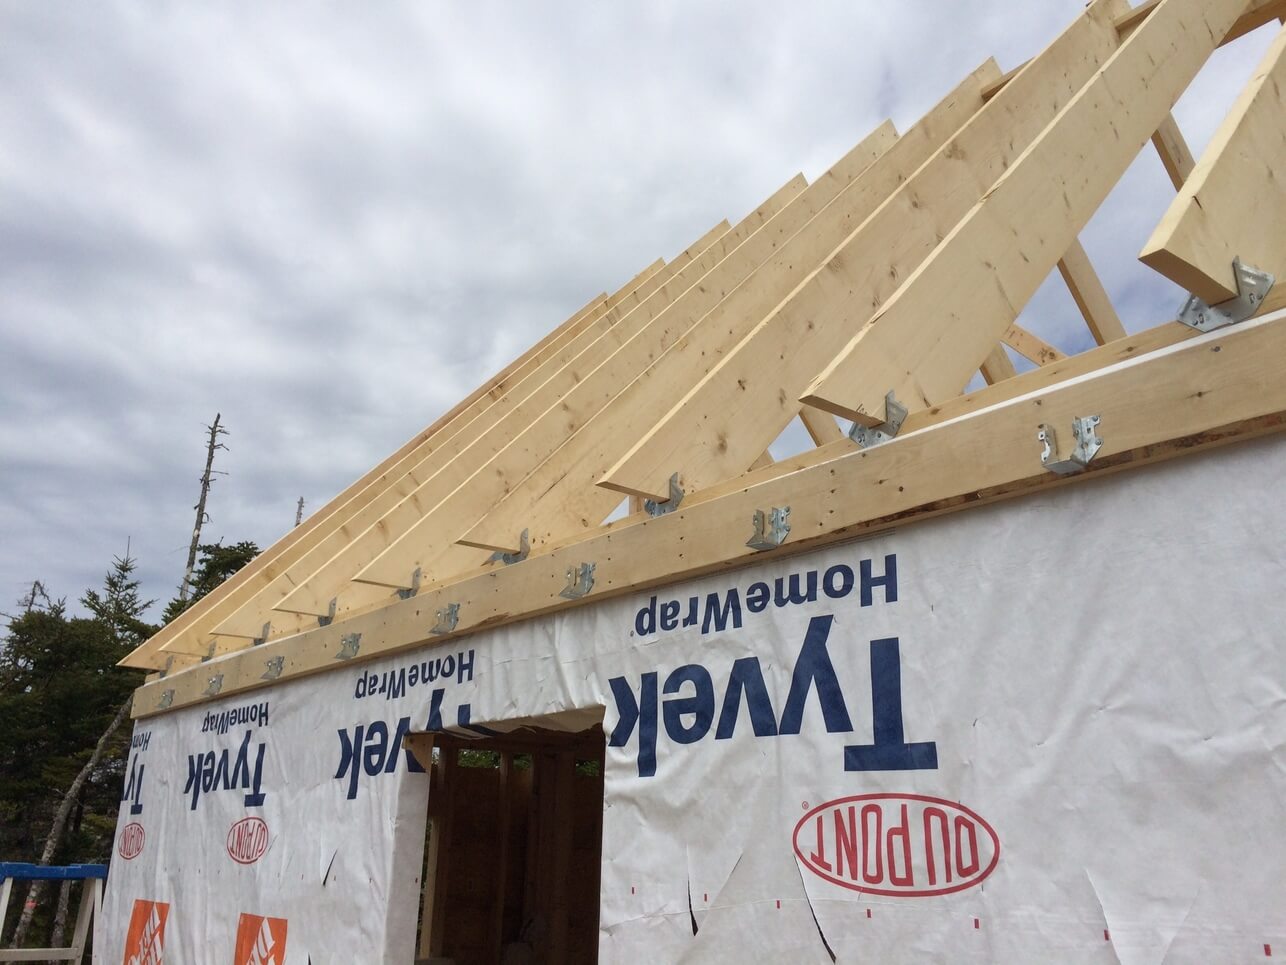
NOTICE: To make up the 20 foot long header beam we tripled up two rows of 2x8s and one row of 2x6s. However at this point you want to only place one row of 2x8s in place so that once you have the ceiling joists in place you can nail through the 2×8 into the ends of the joists. Then you can put the second row of 2x8s in place.
The reason for the 2×6 is so that the ceiling joists have a ledge to rest upon while nailing them in place.
Look closely at the header beam below to see the ledge created by the 2×6. Notice there is only one row of 2x8s in place at this point.
Front Deck Ceiling Joists
The front deck ceiling joists attach using the joists hangars and can nailed to the 2×8 header.
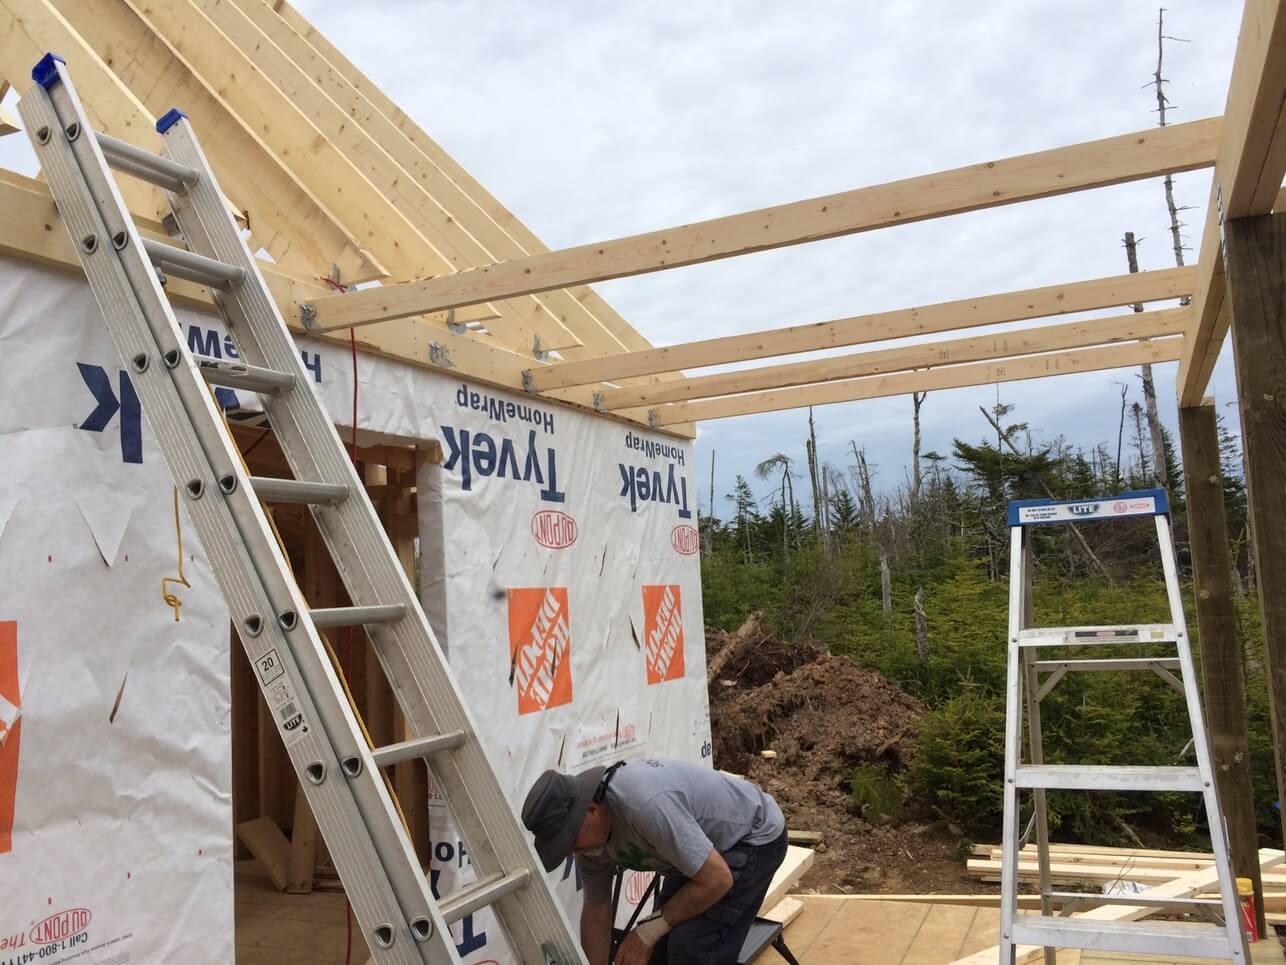
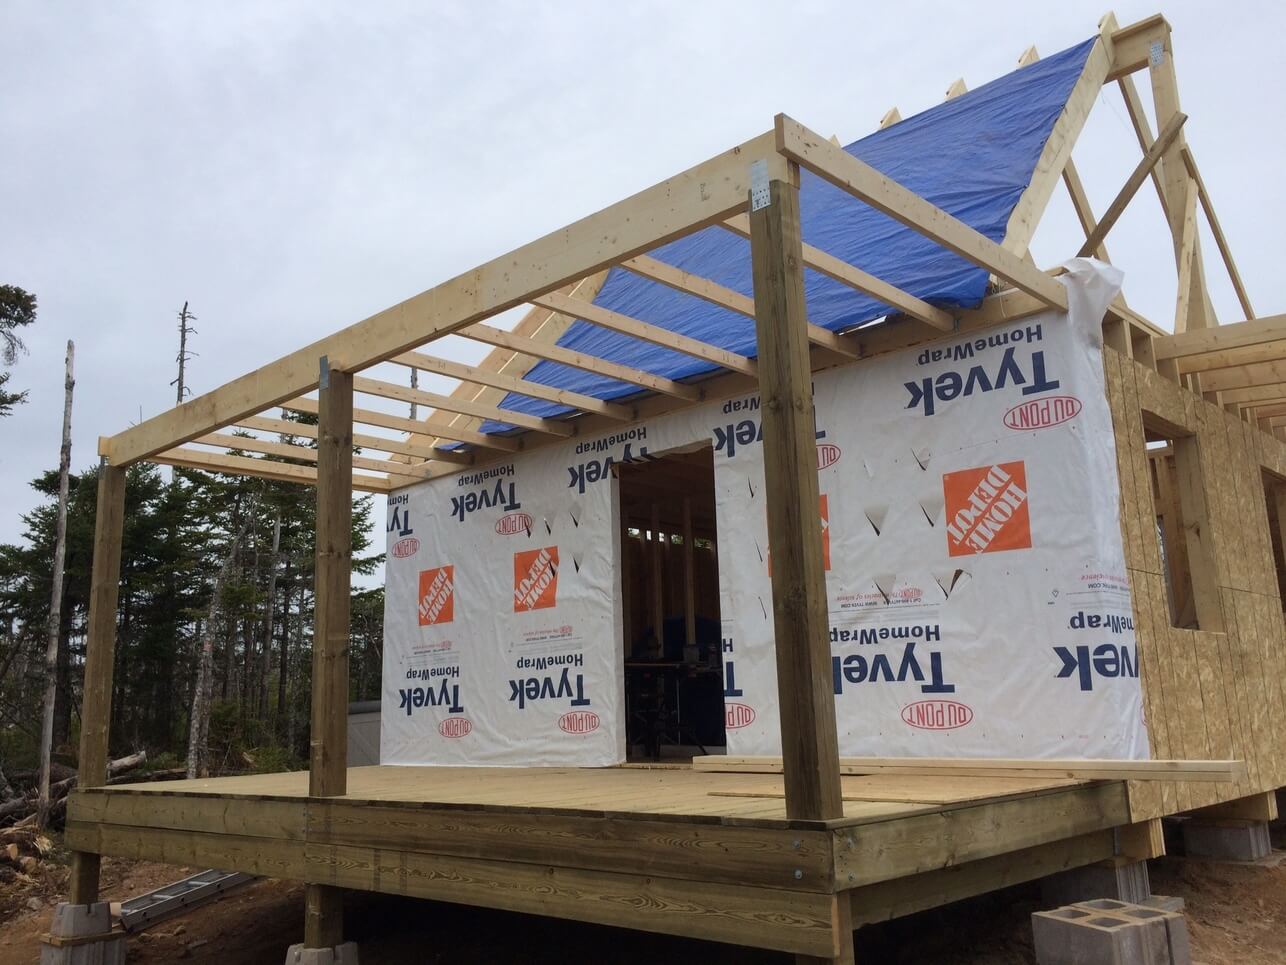
The front deck ceiling joists are all now installed.
Before we install the front deck rafters we want to start closing in the cabin to keep any potential rain out. Next up let’s tackle framing the loft window.

Now we’ll drop in a window in the main floor master bedroom and one in the rear living room as well to close up the rear of the cabin.

To finish out the day we’ll cut the ends of the rear roof rafters perpendicular using a skill saw.
We used a chalk line across the tops of all the rafter ends to ensure we have the same length rafter. Then using a level we drew a line from the chalk mark on the top of the rafter straight down. Finally we cut the ends off and nailed on our 2×6 fascia board.

That Covers Building The Perfect Rafter Part III
We hope you’ve enjoyed our rafter install so far. Tomorrow on Day #13 we’ll finish up installing the front deck rafters in part IV and tackle the last bit of framing on the gable wall of the living room.
Your Turn…
If you’re not already following the build be sure to visit our How We Build The Cabin section so you can check out the build right from the start!
If you’ve found our post interesting and informative then by all means share away on social media. By you sharing our blog on social media it tells others that you trust and like what we’re doing. That’s by far the BEST way to get our little cabin build out there.
Thanks again for following along :)
Cheers!
For our Pinterest fans… you know it… we’ve created a special pin as always just for you below.


how to clean solar panels
How to Clean Solar Panels: A Step-by-Step DIY Guide As you already know, residential and off-grid solar systems are amazing sources of renewable energy that are quickly growing in popularity. The large flat [...]

earthship
What Is an Earthship and How It Can Help Save the Planet Imagine living in a home that is completely self-sufficient, eco-friendly, and comfortable. A home that grows its own food, collects its [...]

3-way-switch-wiring
3-Way Switch Wiring: A How to Comprehensive Guide Here at the off grid cabin we’ve done our fair share of electrical work including 3-way switch wiring. We’ve done all the internal and external [...]

solar generator
How To Find The Best Solar Generator Impact-Site-Verification: c336f89e-c692-4afd-99d9-0150f7329466 When we first cleared the land to build our off grid home back in 2016, we started with one of those small 700 watt [...]

Off Grid Heating
The Best Off Grid Heating Methods Introduction To Off Grid Heating If you're Living off the grid already or planning to in the future, you already know how important it is to have [...]

off grid appliances
The Best Off Grid Appliances for Off Grid Living Introduction To Off Grid Appliances Living off the grid can be a rewarding and fulfilling experience, but it also comes with some challenges. One [...]


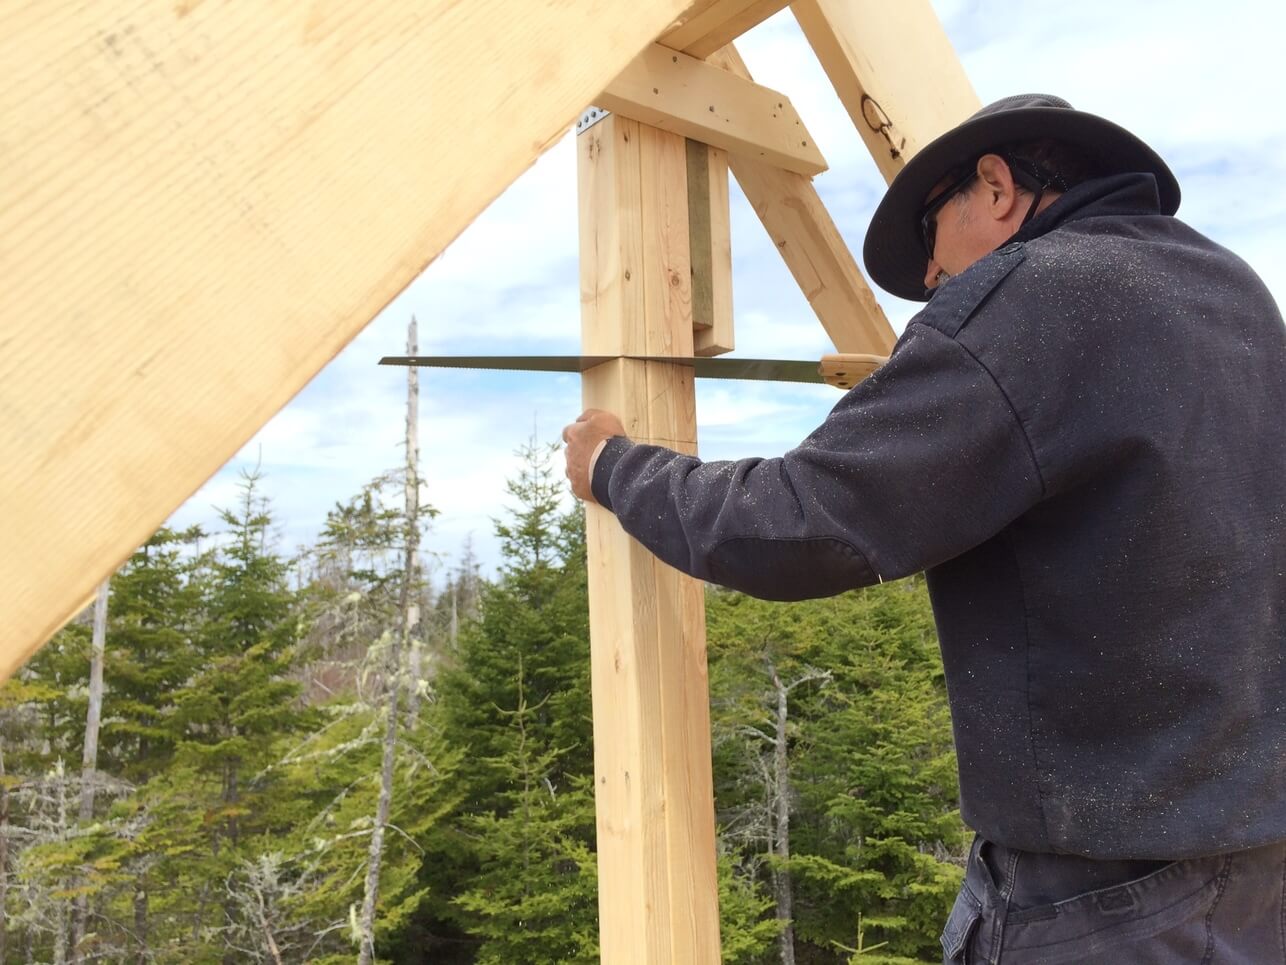
Steve, we’re finally just about at this point! When your dad cut out the beam to frame out the loft window, did he support it in any way while doing so? Or did he just cut the beam and then put the window framing in place without worrying about it?
Congrats Lisa!
Yes, because there are 3 center posts (instead of just 2) there is no flexing of the end wall when the post is removed.
Additionally, since the roof trusses were already installed as described in our design the top load is acting straight down and supported by each truss. This makes it extremely solid and secure.
So yes, it’s fine to simply cut the end post out and then shore it back up once your window is framed in.