

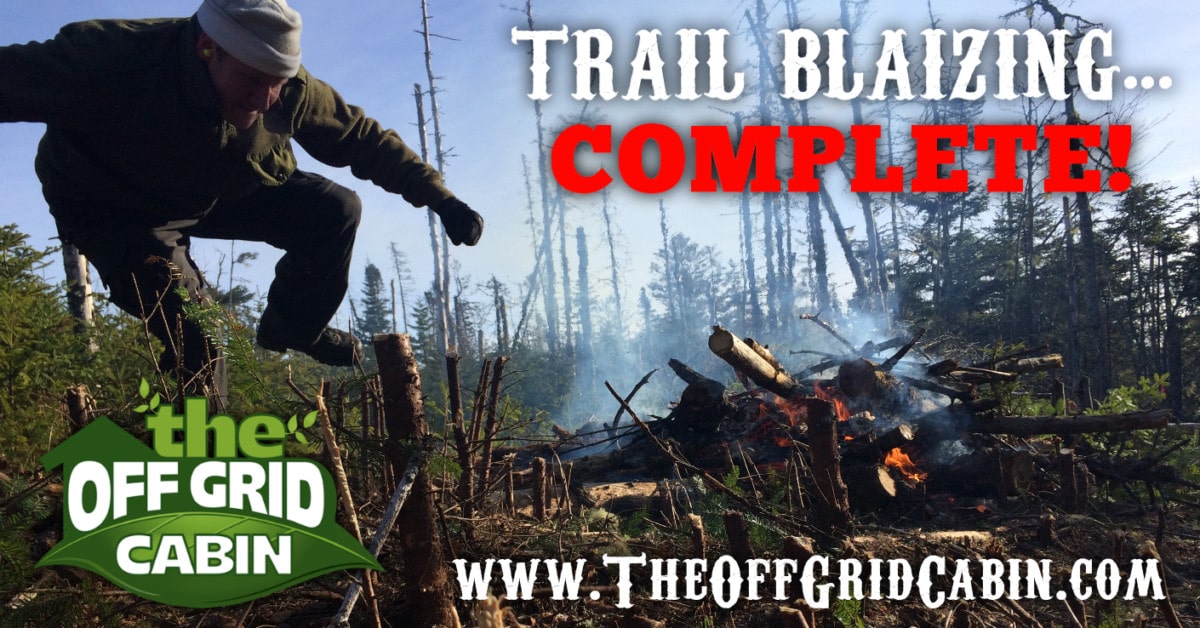
Trail Blazing Down To The Cabin Build Site Is Complete!
Have you ever dreamed of owning your own little slice of heaven and molding it into the perfect off grid retreat?
It’s no coincidence that homesteading and off grid living is on the rise and in a very big way!
You just need to turn on the TV and you’ll find several networks dedicating several seasons to this incredibly independent and fulfilling lifestyle.
Shows like…
- Discovery Channel’s Homestead Rescue
- The Last Alaskans
- Alaska The Last Frontier
- DIY Network’s Building Off The Grid
- HGTV’s Sarah Off The Grid.
One of the best parts of off grid living is that you can choose the type of land you want to live on.
After all, it’s your land!
What type of "off grid" land do most people end up choosing?
It’s not surprising to that most off grid properties are nestled into thickly forested areas that are away from most residential areas.
Oftentimes just a stone’s throw from a freshwater lake, off a gravel road and even miles from the nearest neighbor.
That’s what we were looking for when choosing our property.
However, not every wooded plot of land comes with an access road direct to your build site.
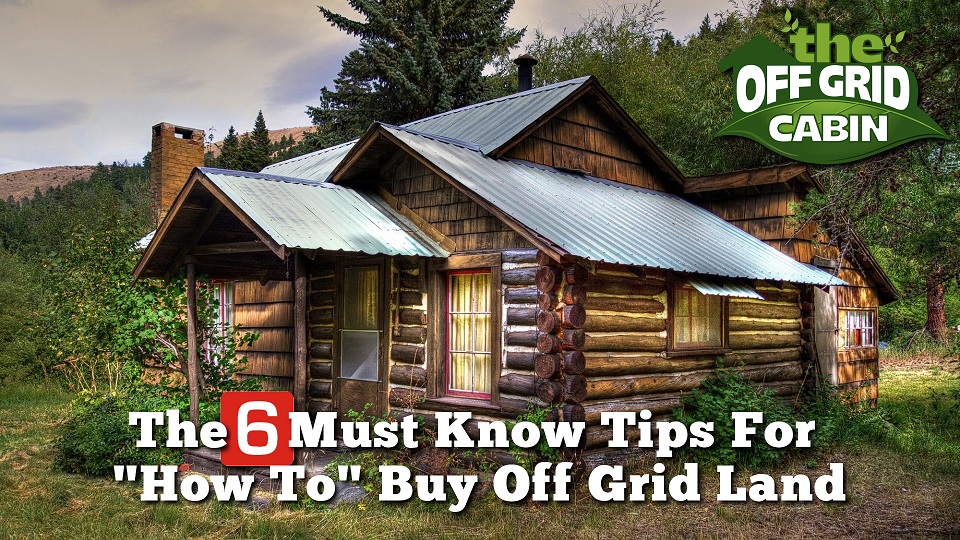
We’ve written up 6 must know tips for how to buy off grid land.
Often times it’s up to the property owner (now you) to put in your own access road.
And that just might mean blazing a trail through the woods like we did.
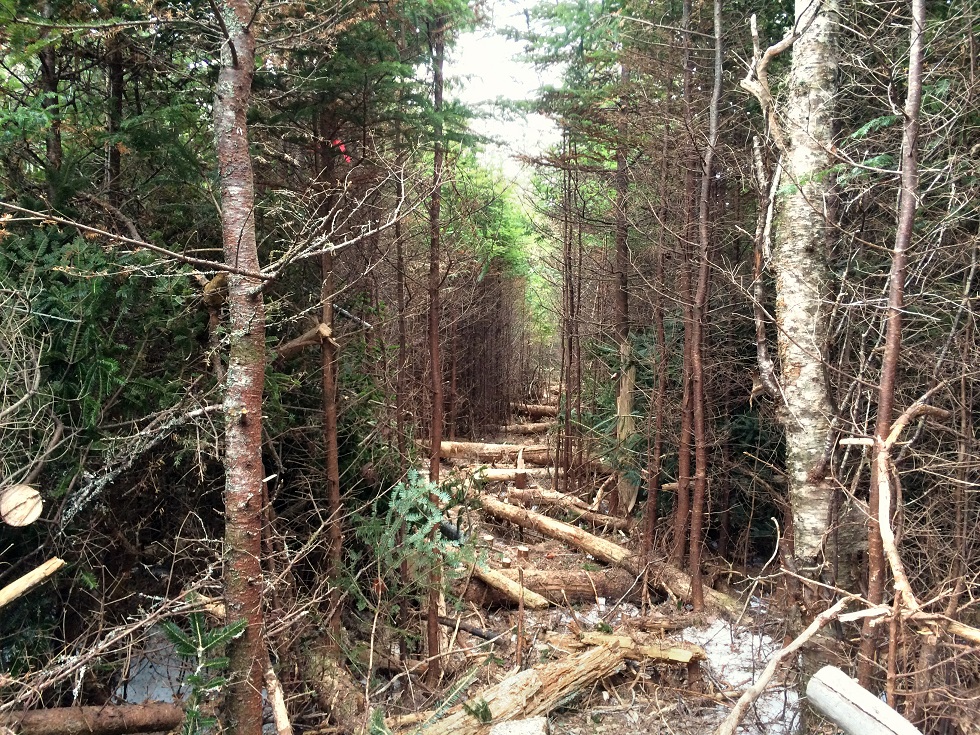
Here’s what our finished trail looked like before the excavator got started putting in our gravel road.
Want a complete cost breakdown of our 24ft x 20ft off grid home including the building materials list?
SHOW ME THE COMPLETE PACKAGE!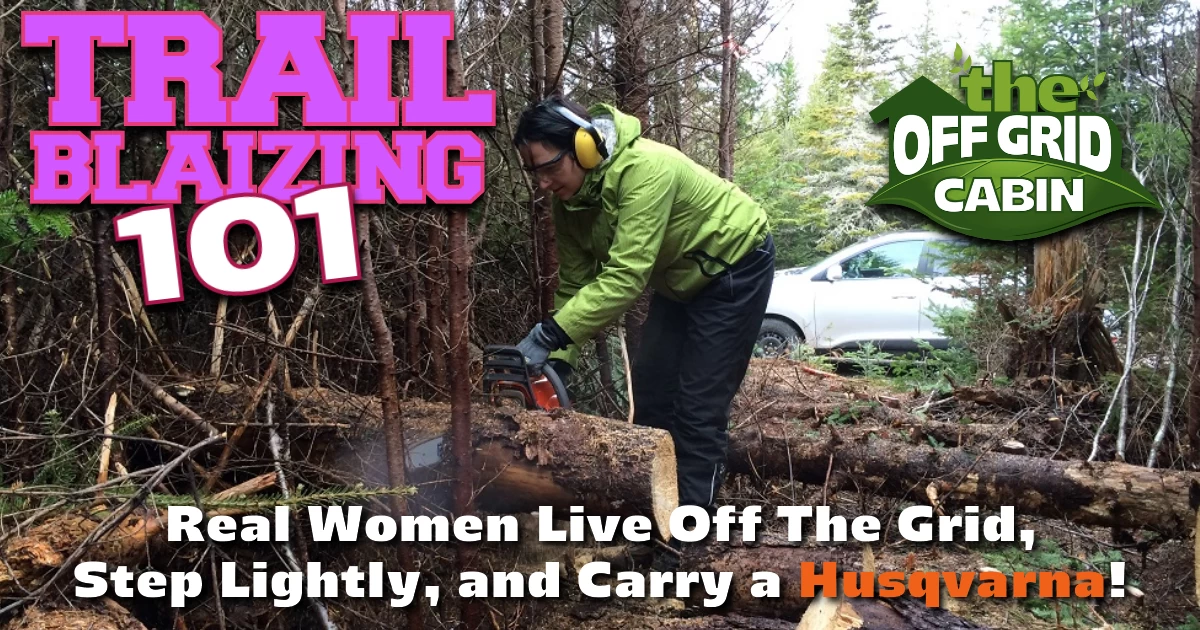
In our last post began blazing a 650 foot trail down to our build site that will one day become the main access road to our cabin.
Today we finished up blazing that trail and eager to show you the finished project!
Why This Blazed Trail Is Critical For Us To Build the Cabin
Our newly blazed trail not only allows us to start bringing tools and materials down to the build site but it serves as the blue print for our road builder to follow.
In the future you’ll see how we used this trail to us to bring all 20,000lbs of building materials down to our build site.
But first, here’s a quick walk through of the old access trail that we’ve been using to access our property.
You can see in the satellite image below the existing access trail runs across two adjacent properties that we do not own.
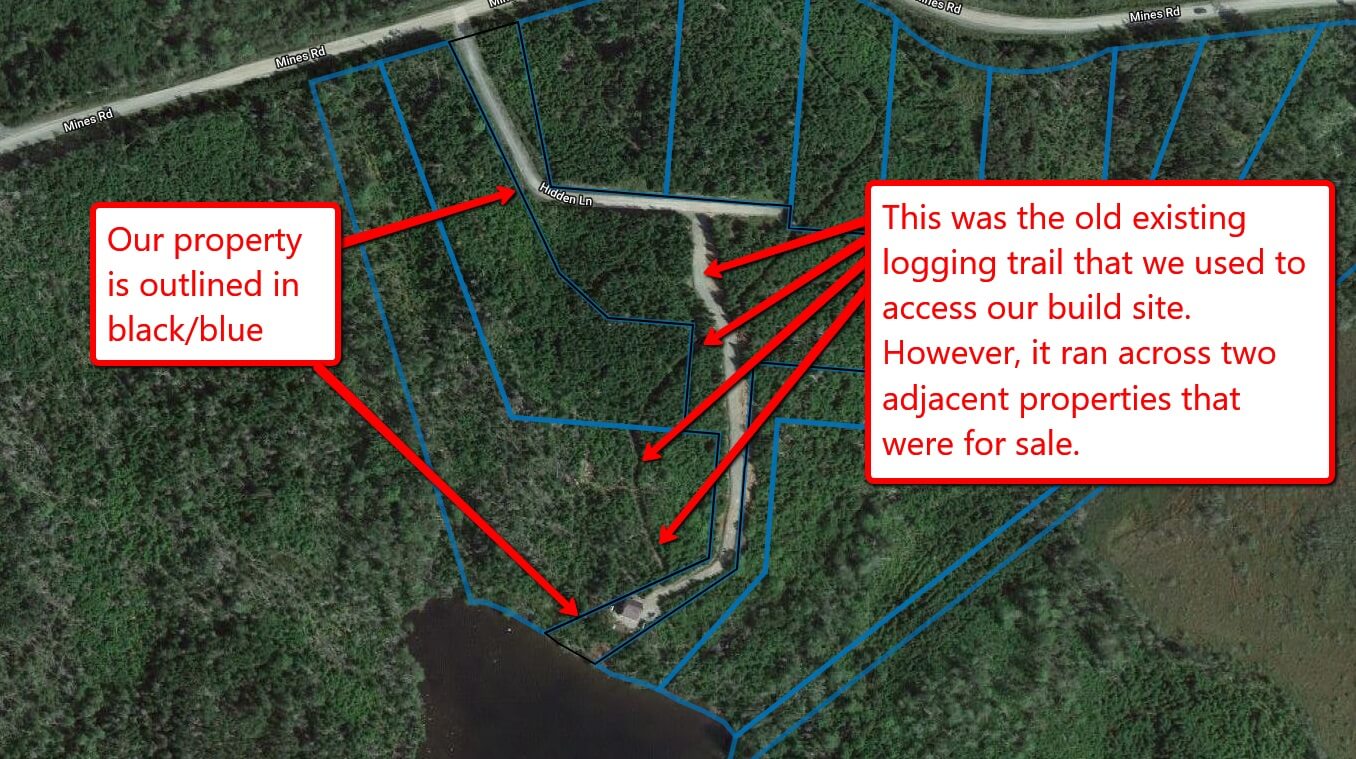
NOTE: When we purchased our plot of land we made certain the lawyer included a written request, in the sales contract, to access to our property using the existing trail (running though other plots) until we were finished building our road.
So, Why Blaze A Trail By Hand?
You might be wondering why we didn’t just let the excavator operator drive straight through the woods along a bunch of trees marked with neon tape?
Well unfortunately our property shape is quite irregular as you can see.
Some sections are quite narrow (20 feet wide) and that means we need to be careful we don’t wander onto the adjacent properties.
Here’s a view BEFORE we started blazing our trail.
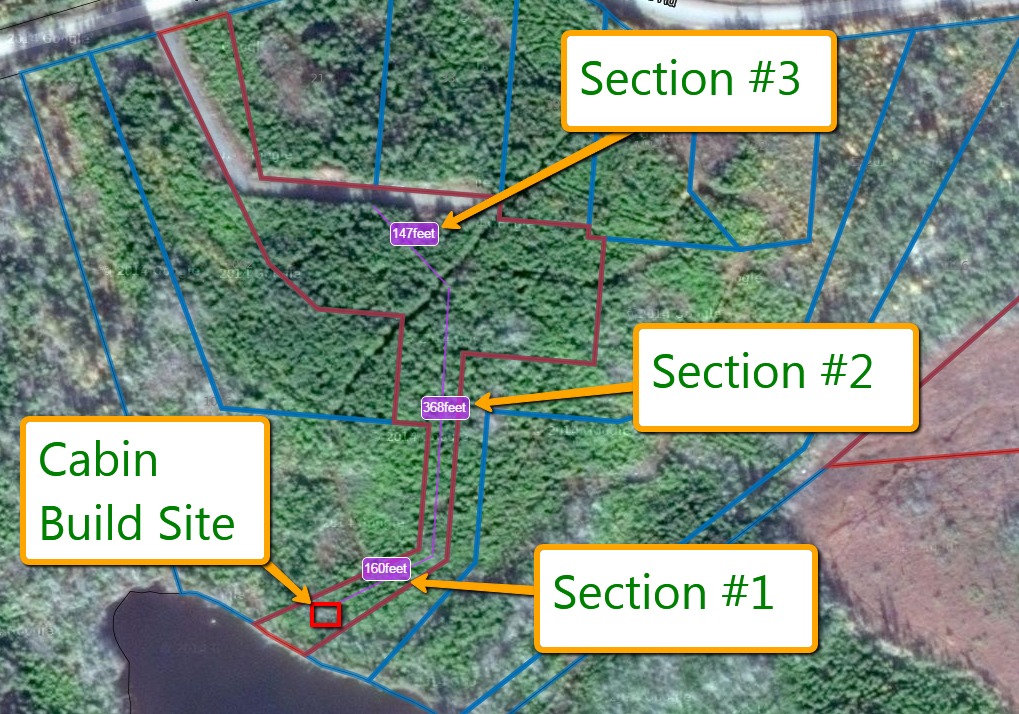
TIP: We elected to mark out the exact locations where our road builder would strip using an iPhone and the viewpoint website.
By doing this ourselves we save A LOT of money.
Otherwise we would have had to hire a land surveyor.
While this might seem like an overwhelming job we had already found each of our property corner markers and used those to tape off the circumference.
This acted like a visual boundary for the excavator operator and ensured he would remain on our property at all times.
Here's How We Did It
We did this using public access satellite imagery (Google Earth), our Phone’s GPS, and an online real estate program which shows our property lines and our current location when accessing the site (viewpoint).
We go into more detail of how we accessed satellite imagery of our land and located our property lines using an online website and iPhone app.

Putting in a road is not as simple as driving through the woods and dropping trees.
When an excavator puts in a road the operator cannot simply push down trees left and right and tamp the ground down as they go. They must first push the trees over, pile them up in multiple piles and drive along the side the road in order to tamp it down with the bucket.
Hence the reason we needed to be very precise with marking the trees along our property line and brazing the trail.
Once the trail was completed we directed the operator to stay ON and TO THE RIGHT SIDE of the trail we had made.
This would would unsure he was on our property at all times.
Even in thickly forested areas that may never see another person, our municipal guidelines gave a ruling on how close to our property lines we could clear and place fallen trees.
According to our local municipalities rules…
When clearing your property ensure to stay a minimum of two feet away from the line separating you from the adjacent property. This includes trees cutting and felling trees onto adjacent properties.
But of course BEFORE you start clearing your land find out the specific code(s) in your area.
Every area is different and the 2 foot property line rule is what applies to us here.
Here's The Trail Blazing Equipment We Used
Please note: many of these links below are affiliate links, so when you purchase any of these items through the links on this page, we will receive a small commission that is used to help keep The Off Grid Cabin running. We’ve found that Amazon has excellent product descriptions, detailed personal reviews, and some of the lowest prices available.
These are all products that we either personally own, use or support and if you purchase items through these links, you have our sincere thanks!
- Buck saw
- Hand Axe
- Bush axe
- Pruning shears
- Bear spray
- Work gloves
- Safety Glasses
- Ear Protection
- Chainsaw
Always use the right tool for the job. That includes safety equipment.
As you saw in our first trail blazing post we started with hand tools and quickly moved up to a using the chainsaw for everything.
TIP: Do yourself a favor that most people never do and that’s to read the owners manual for any and all power equipment you use off grid. Not only will you be safe out there in the woods but you’ll learn how to correctly maintain and repair your gear.
I can’t stress enough how critical it is to work safely. Especially when your working solo and so far off the grid. If you can, have a charged cell phone on you at all times.
Here's 63 Tools That Can Make Off Grid Living Much Easier!
We’re often asked which tools we’ve personally used and recommend when building an off grid home.
Here’s 63 tools that we recommend and use.
Trail Blazing Day 1
Here’s a quick video of the first day of trailblazing.
Trail Blazing Day 2
Here’s a short video of what was completed on day two.
The Trail Is Finally Complete!
A quick walk through after the trail blazing is finished.
Trail Blazing Conclusion
As this chapter of trailblazing closes it marks the beginning of our off grid building adventure!
It took us a total of two days to clear the 40ft x 60ft build site and another four days to blaze a 650ft trail from the build site to the top of Hidden Lane.
We’ve covered the different hand tools and safety equipment we’ve used as well as techniques to mark the property lines. We used Google earth’s satellite imagery, a real estate website called ViewPoint.ca and our phone’s GPS to locate and mark all out property markers and boundaries.
Sure it’s a tough job cutting a trail through dense forest but it’s also extremely satisfying. .
Your creating a path that will serve as the access route to your off grid home potentially for generations to come.
Remember to always use the appropriate safety gear and properly maintain your equipment.
Lastly when you’re working off grid, and especially alone, it’s wise to have a fully charged cell phone on you at all times.
The Road That Never Was!
Fast forward a few months and despite all our efforts… we still have no road!
Our road builder unfortunately got tied up in several other projects before he could get to ours.
With winter swiftly approaching that meant our road wasn’t going to see any progress until next spring.
There are certain weight restrictions on the municipal roads, as well as the gravel roads, that lead to our property during the winter months. Most heavy trucks and equipment are not allowed (by law) on these roads until a specific time in spring.
So what happened was…
We ended up having to buy an ATV and a small folding utility trailer in order to transport all our building materials down to the build site.
We did it through that old access trail that ran across two other properties.
So, unfortunately we won’t be using our newly blazed trail for some time!
YUP… life off the grid just got interesting to say the least!
We’ll cover the road building, materials, construction and cost in an upcoming post to stay tuned.
Ready To Check Out Tomorrows Build?
YOUR TURN…
Are you ready to blaze a trail through the woods if it entailed you doing so?
If you’ve ever done it or plan too let us know in the comments below.
We’d love you hear from you.
For all our Pinterest Pinners out there here’s something just for you…


how to clean solar panels
How to Clean Solar Panels: A Step-by-Step DIY Guide As you already know, residential and off-grid solar systems are amazing sources of renewable energy that are quickly growing in popularity. The large flat [...]
earthship
What Is an Earthship and How It Can Help Save the Planet Imagine living in a home that is completely self-sufficient, eco-friendly, and comfortable. A home that grows its own food, collects its [...]

3-way-switch-wiring
3-Way Switch Wiring: A How to Comprehensive Guide Here at the off grid cabin we’ve done our fair share of electrical work including 3-way switch wiring. We’ve done all the internal and external [...]
solar generator
How To Find The Best Solar Generator Impact-Site-Verification: c336f89e-c692-4afd-99d9-0150f7329466 When we first cleared the land to build our off grid home back in 2016, we started with one of those small 700 watt [...]

Off Grid Heating
The Best Off Grid Heating Methods Introduction To Off Grid Heating If you're Living off the grid already or planning to in the future, you already know how important it is to have [...]

off grid appliances
The Best Off Grid Appliances for Off Grid Living Introduction To Off Grid Appliances Living off the grid can be a rewarding and fulfilling experience, but it also comes with some challenges. One [...]


We too blazed a trail to our off grid property – 450 ft and 15 ft wide, so that we would be able to start building the off grid cottage of our dreams. One tool we found extremely valuable was a Black and Decker Alligator with rechargeable batteries. My husband entered the stand first and cleared branches to about a 5 ft level. I entered next, taking down all trees under a 5 in diameter with my Alligator, then he backtracked taking down anything left standing. It was pretty efficient. I then moved on to Branch Management. Tough job, but someone has got to do it!