
Framing An Off Grid Cabin In 3 Days
Framing Our Off Grid Cabin Walls In Just 3 Days!
Here's Day 2 of 3 Framing.
Today is the second of three days that it took us to frame the off grid cabin walls.
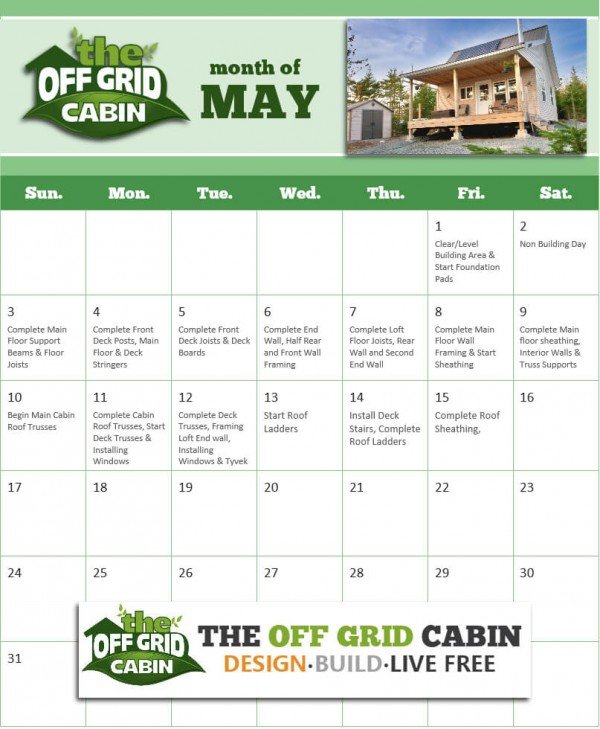
It took my father and I just three days to frame in all the the cabin walls, windows, doors, and even start on the second story loft floor joists.
In fact, we built the entire cabin from start to finish in just 15 days.
We also covered a quick “How To: Framing 101” class to help situate newcomers to the framing terminology.
Feel free to open this page up in a separate window and follow along with the terminology.
Here's Where We Left Off Yesterday
We started by framing the exterior wall at one end of the cabin.
The wall went up quickly.
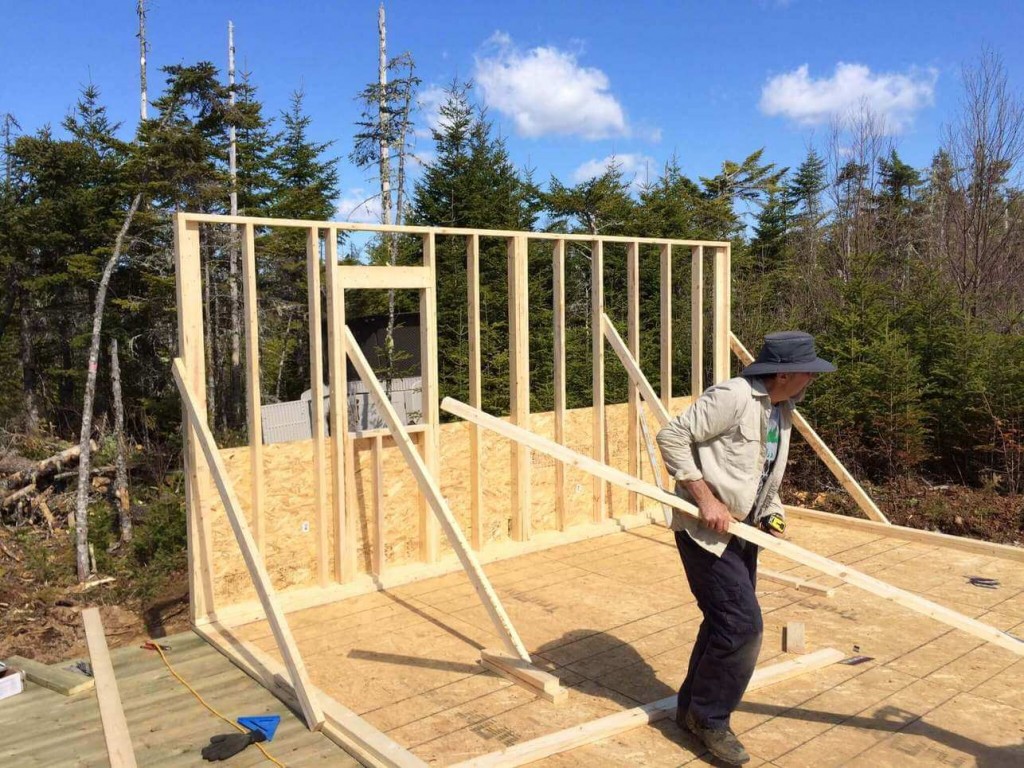
We also finished half of the front and back walls as well.
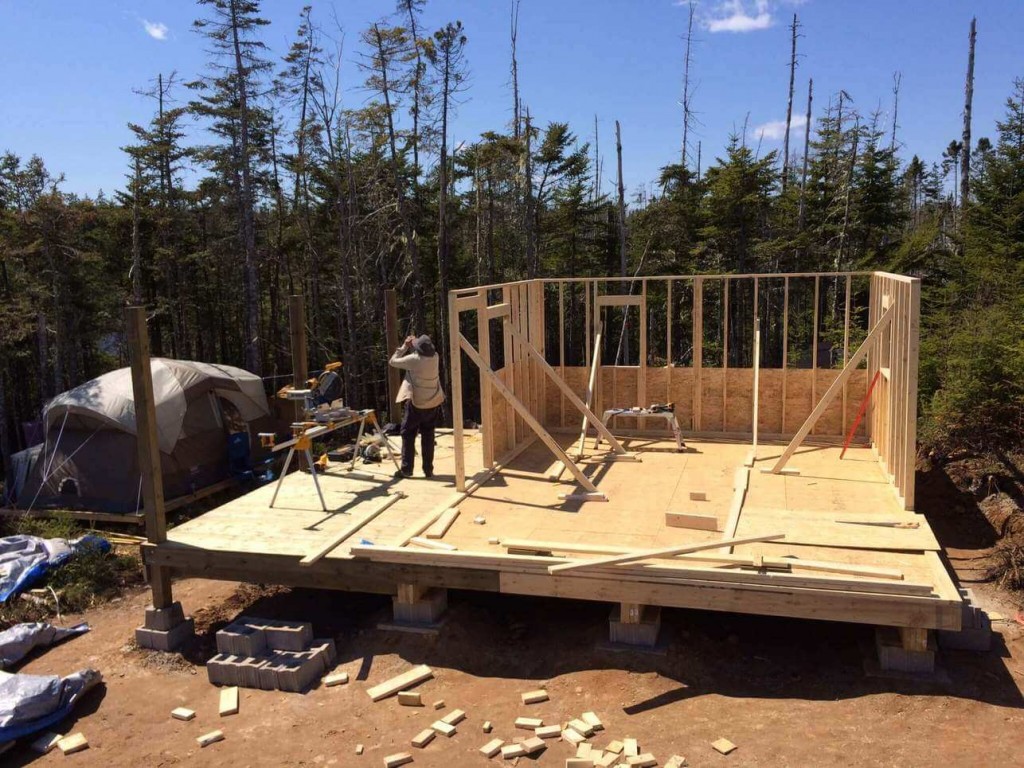
They are build in halves to reduce the lifting weight and also to accommodate building the loft floor joist.
Framing The Loft Floor Joist
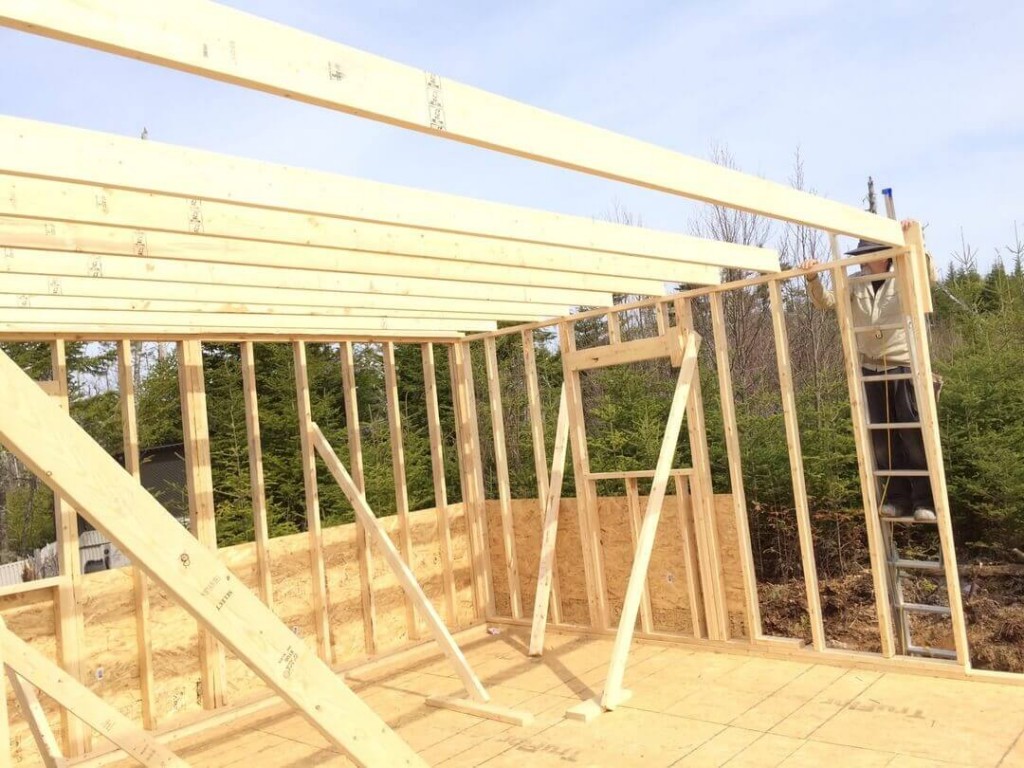
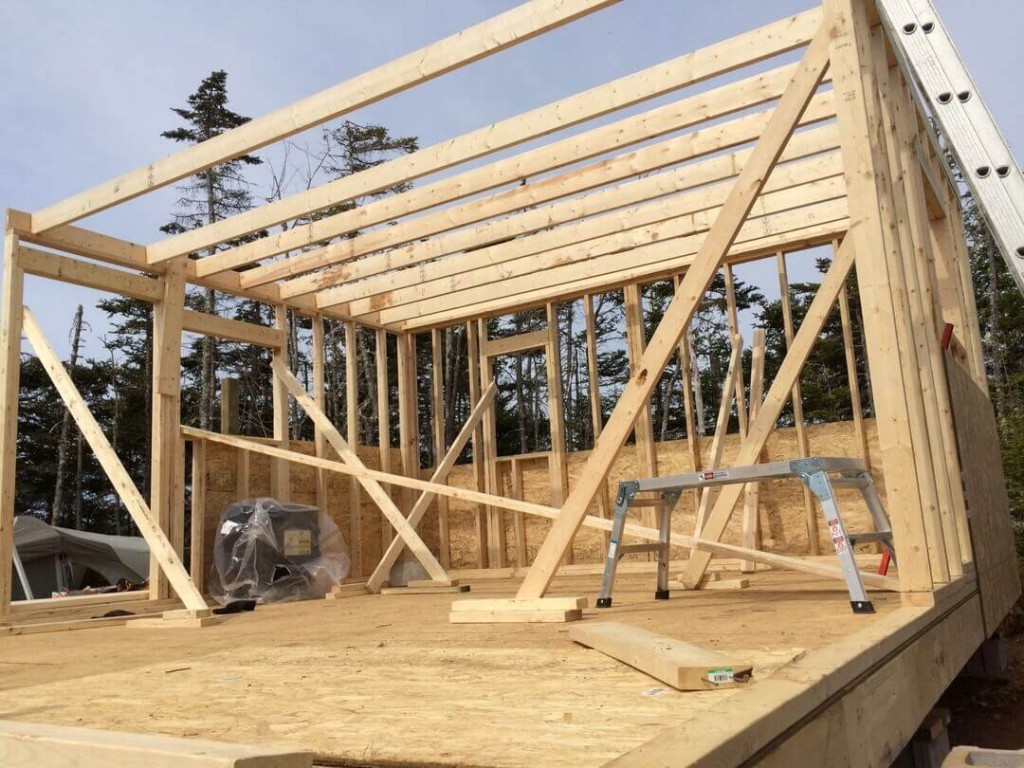
To frame the second floor loft joist we used 16 foot long 2″ X 6″s spaced 16″ O.C.
We’ll use 7/16″ 4′ X 8′ OSB for the sub-floor.
Over all dimensions of the loft floor are 16ft X 12ft.
There will be an opening for a folding staircase.
Here’s a sneak peek to understand where the folding access ladder will go.
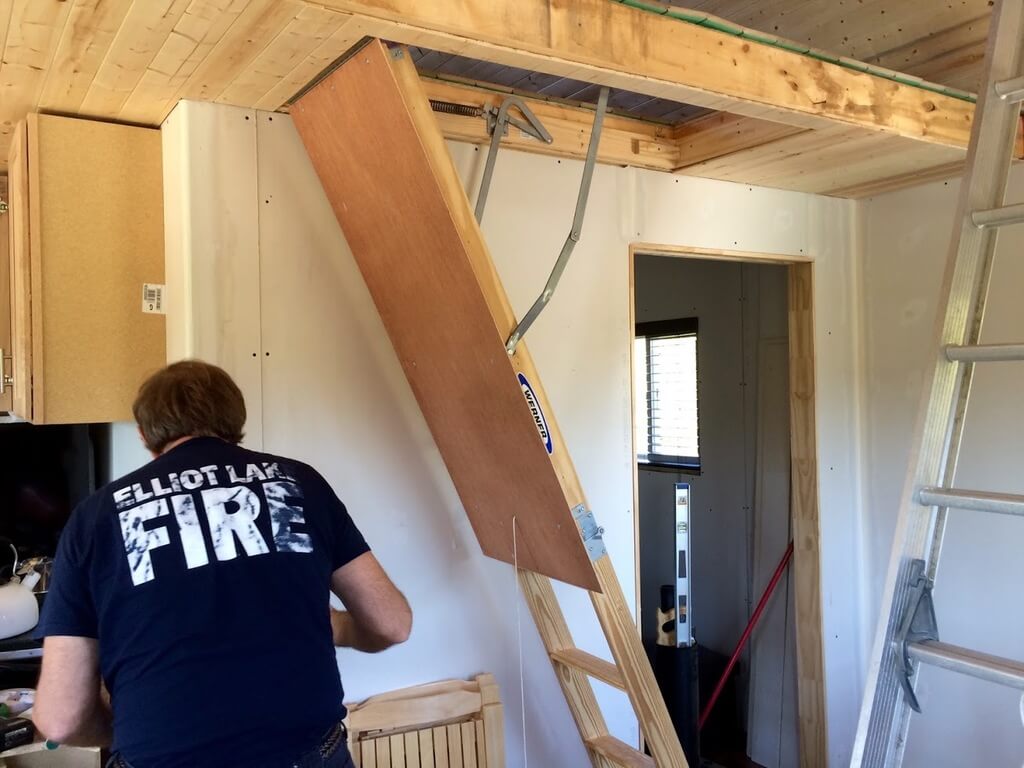
Using a attic access style folding staircase allows for much more room on the main floor.
The ladder can be folded up out of the way when we need more room in the main floor and when the loft isn’t in use.
The upstairs loft will also have a westward facing window to watch the sunset at night right from the bed!
The walls of the loft will be angled at 45 degrees providing plenty of standing headroom.
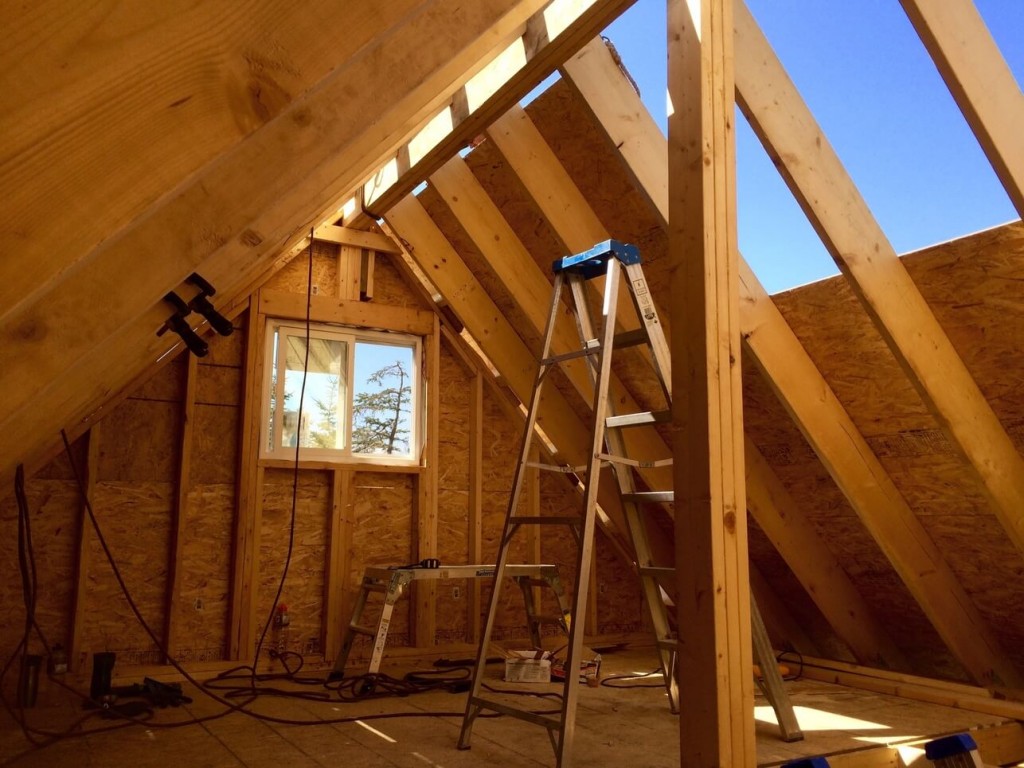
We will also utilize the lower portion of the walls (where the loft wall meets the floor) to store the solar system battery bank as well as the winter fresh water supply (all covered in upcoming posts).
We’ll also have an access hatch going from the inside of the loft into the crawl space located above the deck.
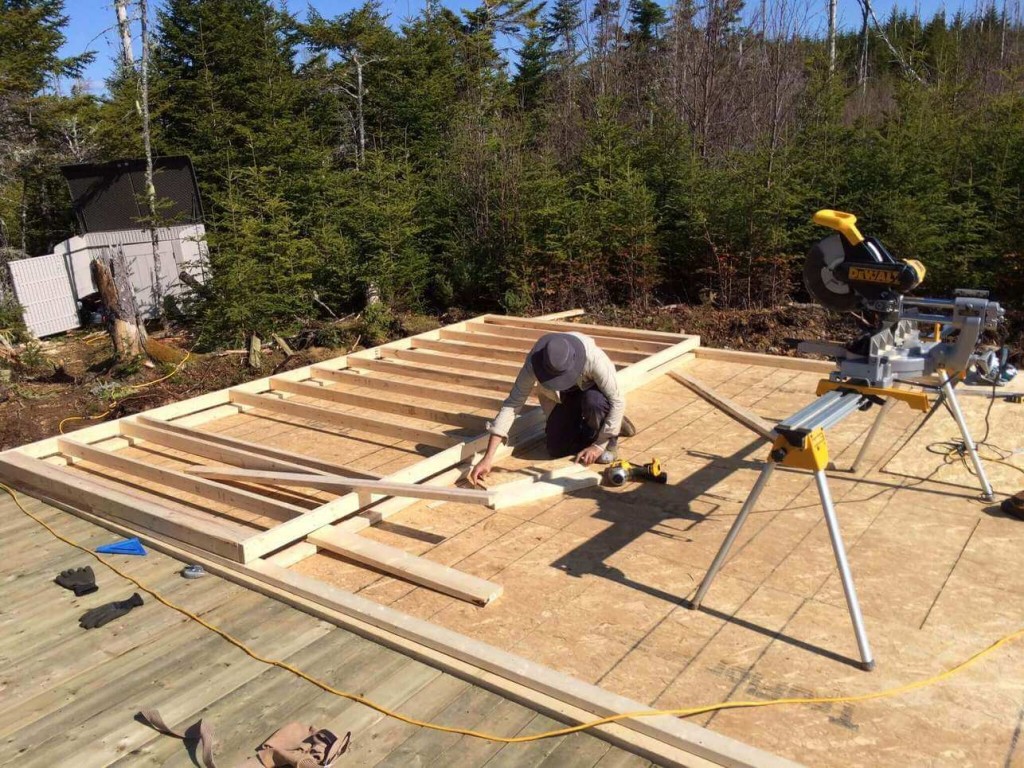
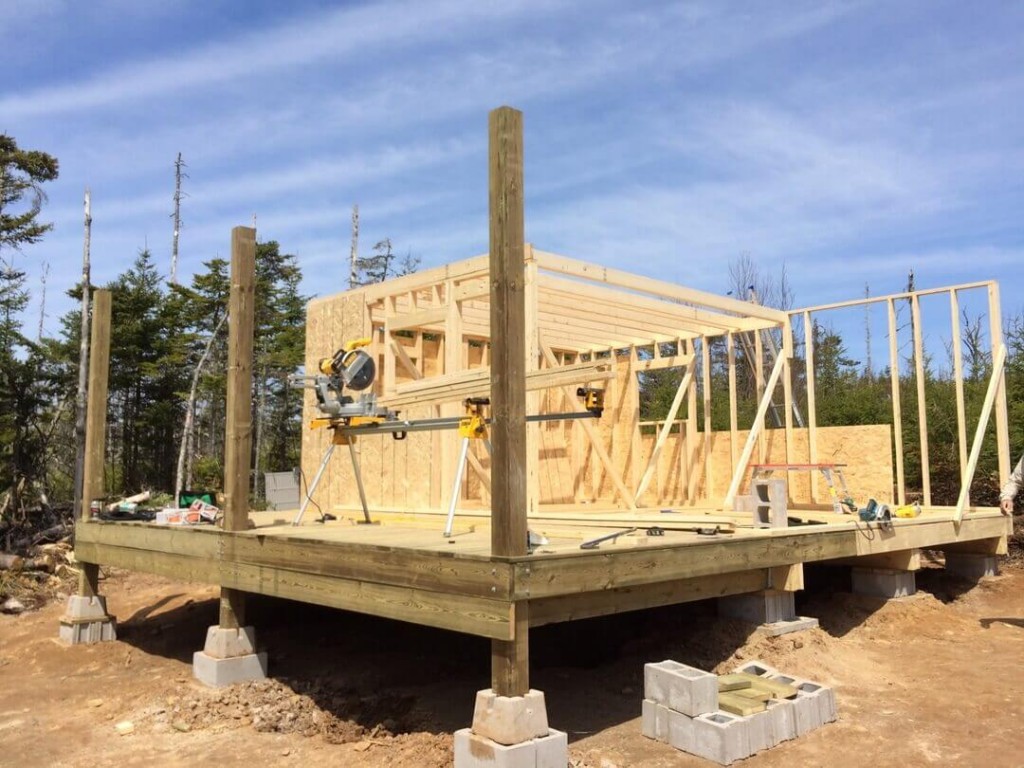
Measuring out and cutting the 16 foot loft floor joists.
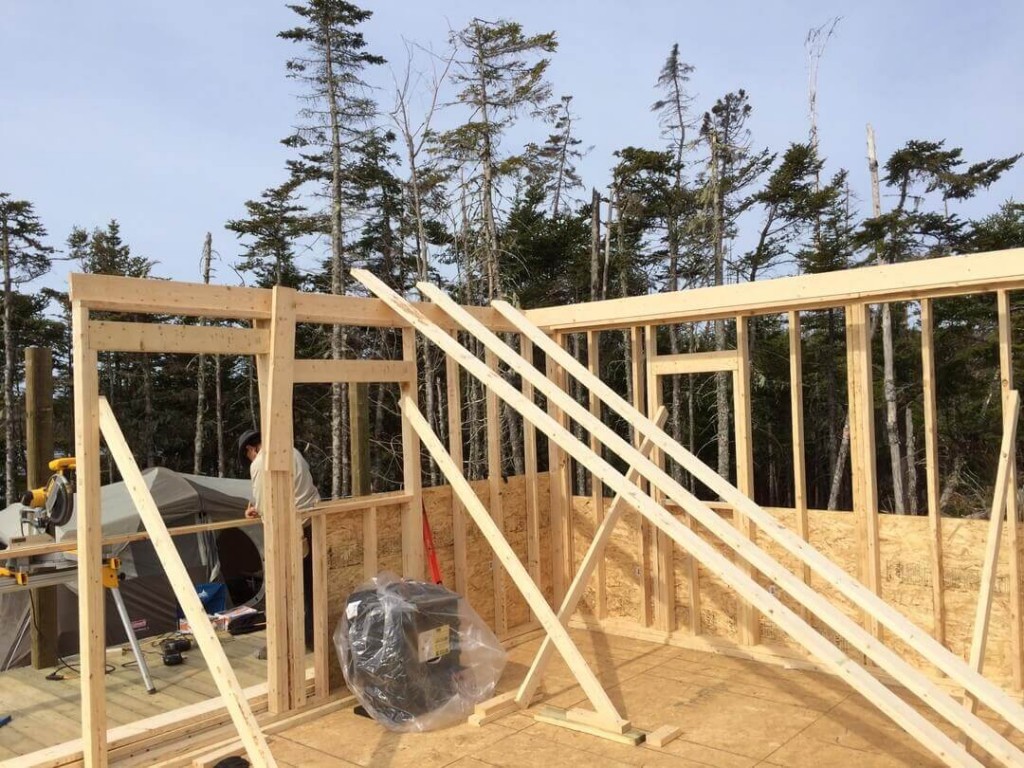
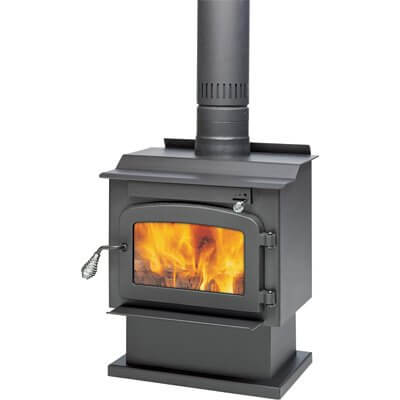
In the photo above you can see our wood stove protected in plastic.
We’re going with the Drolet Pyropak as it’s the smallest wood-stove available that has the all important glass door.
This is a 40,000 BTU wood-stove with a 1000 sq ft capacity.
Our cabin has an overall square footage of 512 sq ft so this will more than do during even our coldest Canadian winters.
Once we get up on the second floor that lake in the distance is going to look amazing!
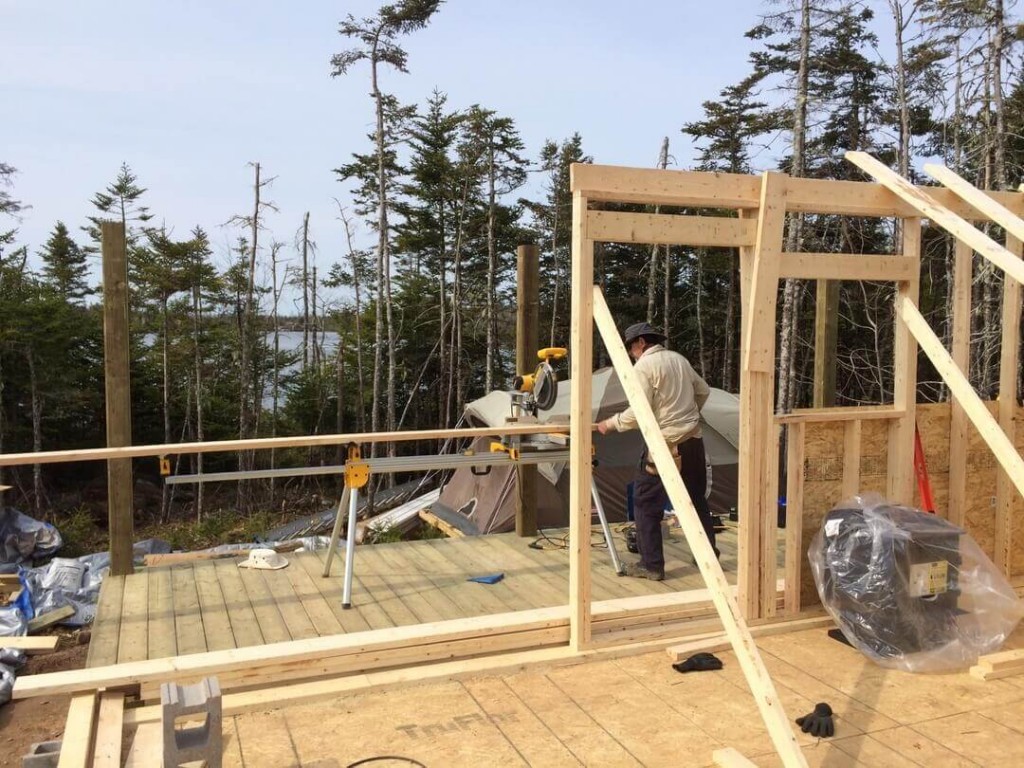
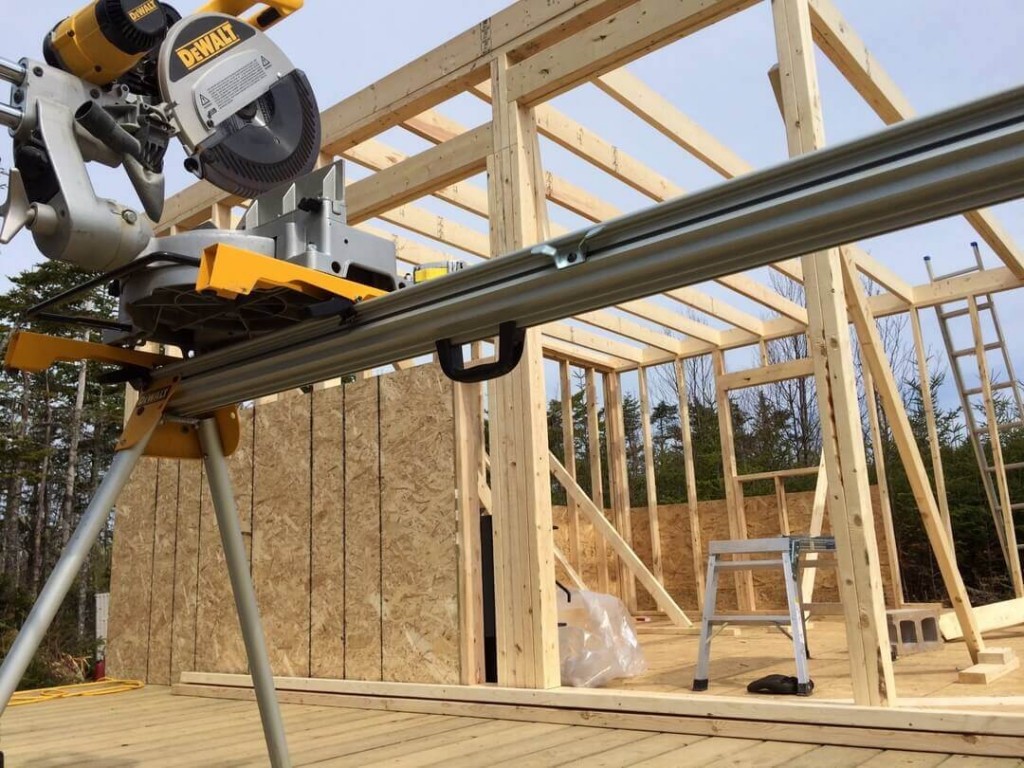
We made full use of our DeWalt 12-Inch Double Bevel Sliding Compound Miter Saw and this heavy duty miter stand made cutting the 16 foot joists a snap. Highly recommended during a project like this and easy to run of of a generator.
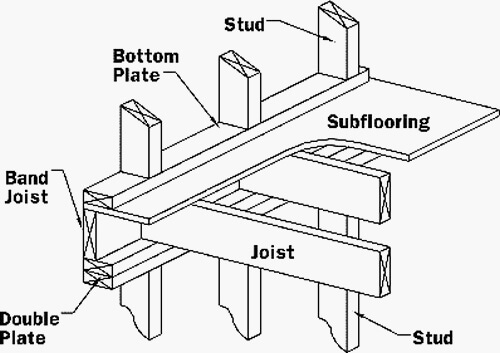
TIP: We used a 2″ x 6″ as a Band Joist. See the photo below.
We are not creating a Double Plate on top of the main walls because the transition (along the top of the wall) from the loft to the framing around the main living-room space will involve a height change. Details are further down on the page.
Putting up the first of the loft joists.
We’ll be leaving a gap between these two floor joists for now to create the opening for the folding stairs.
Framing The Main Floor Rear & Side Walls
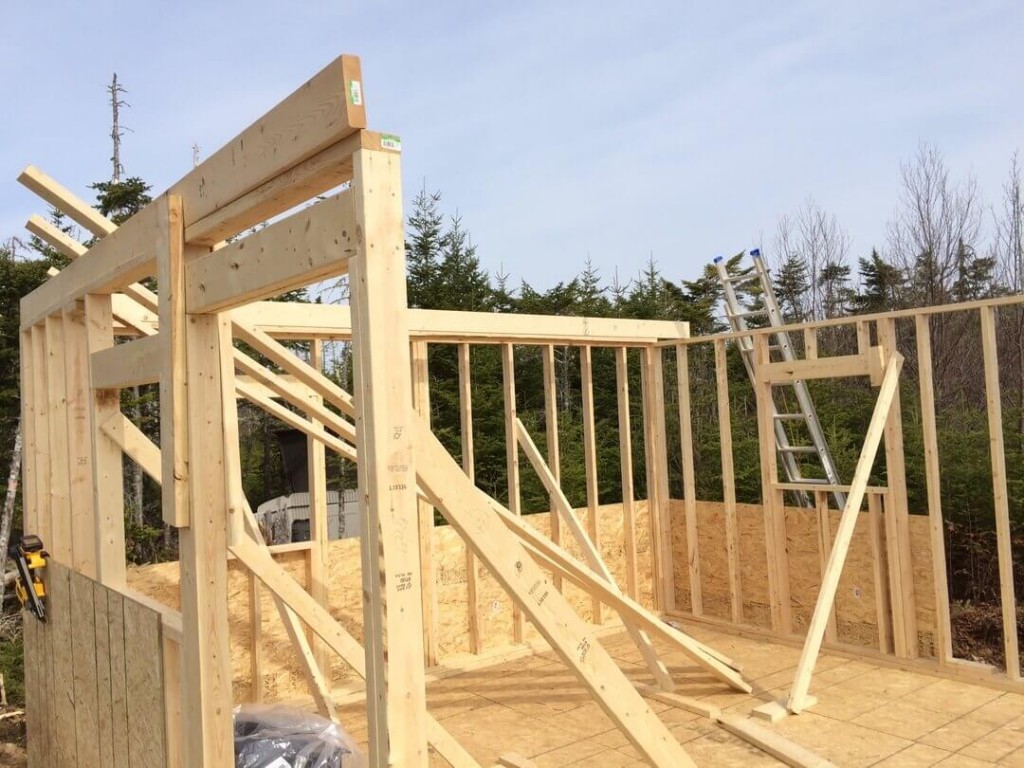
The rear wall is framed but we still have to finish up the window framing.
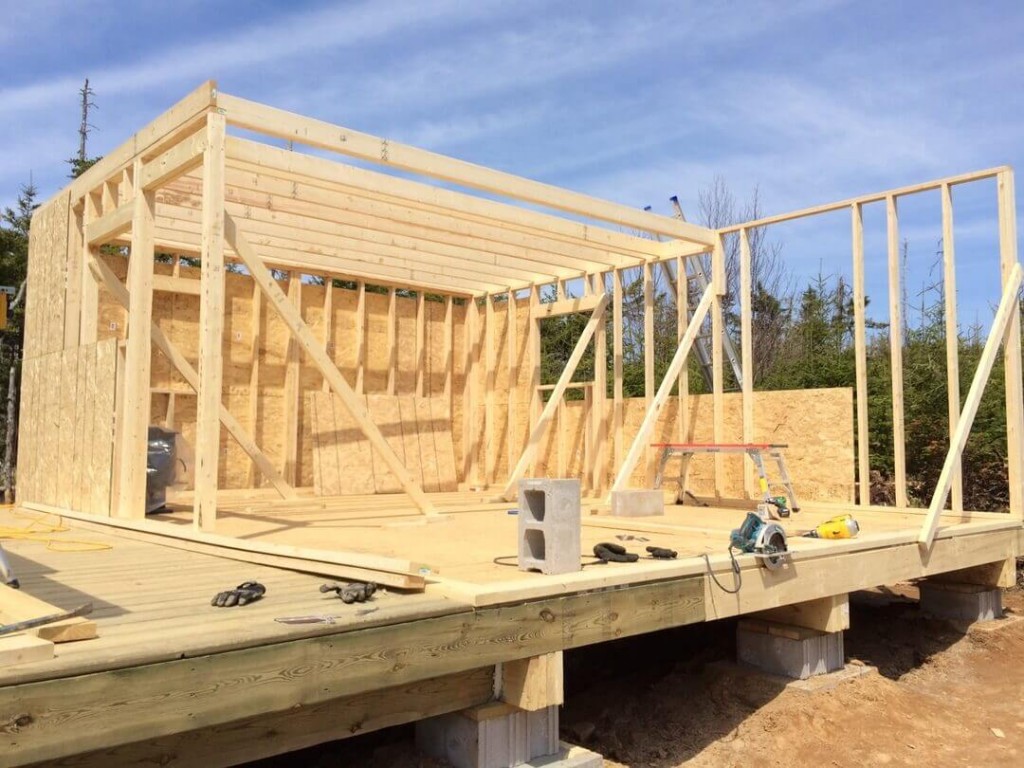
You’ll see our trusty DeWalt cordless framing nail gun. This build would easily have taken twice as long without that one tool!
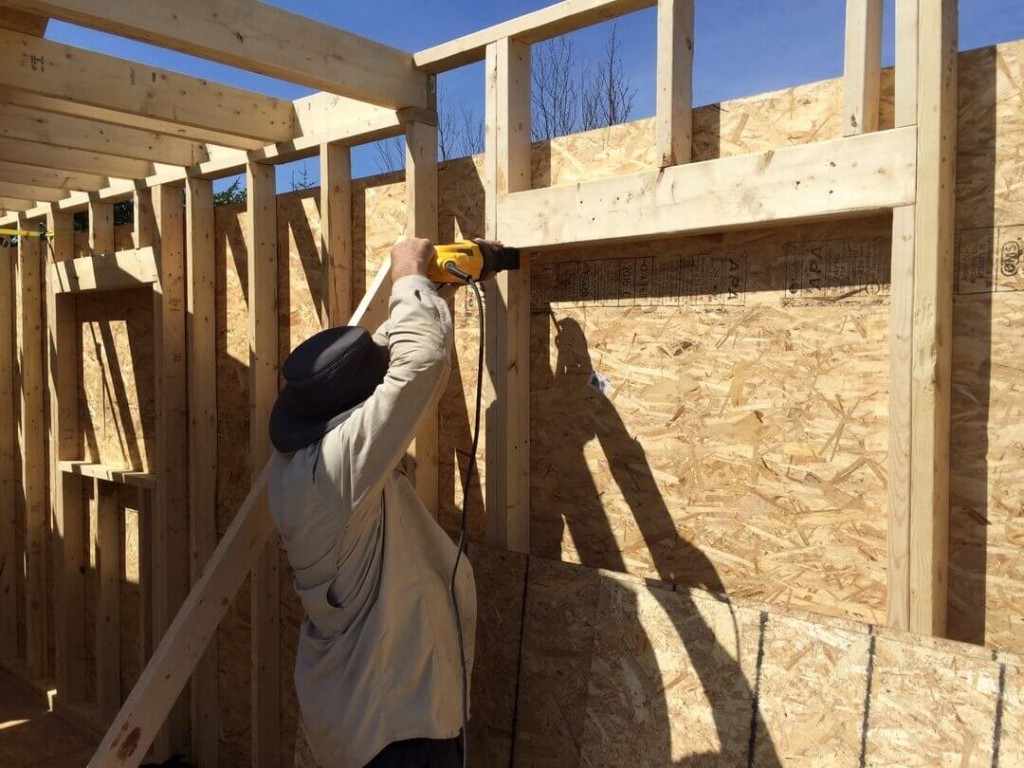
The main living room rear window is framed and we’ve started to put up some OSB sheathing to help keep everything rigid.
TIP: Drill a 2″ hole at all the four corners of the sheathed window opening and use a reciprocating saw to cut out the excess plywood. You can also drive a nail through all four corners, connect them with a chalk line and use a skill saw from the outside.
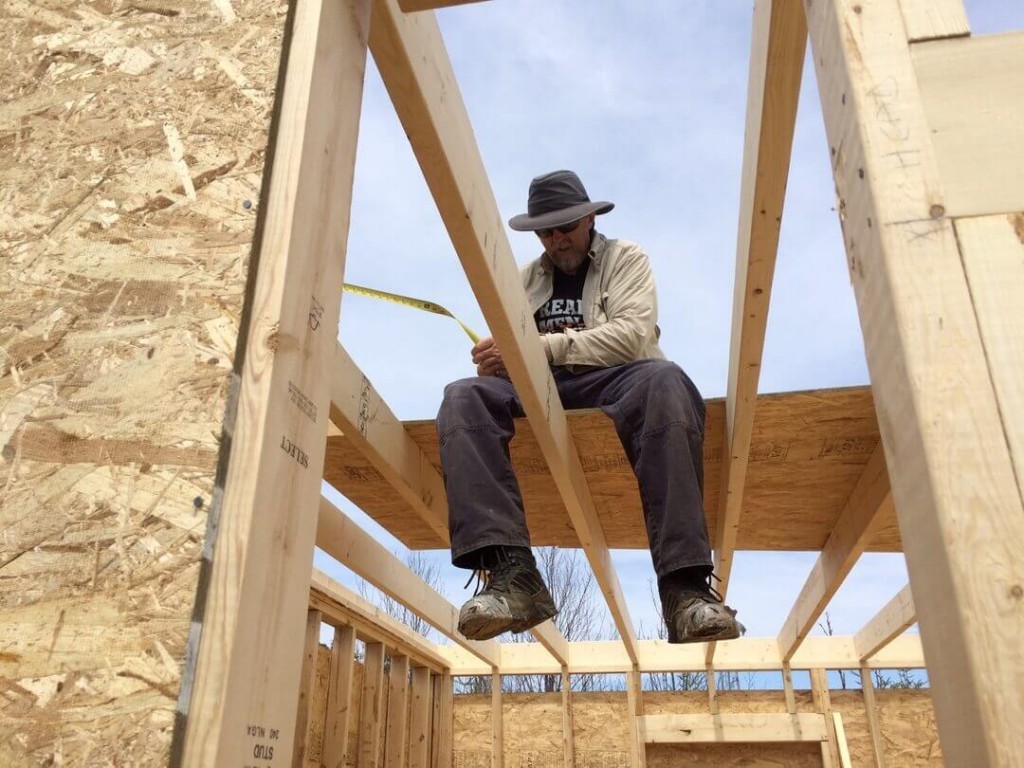
Notice the height transition from the loft joists to the top of the main living room wall.
Now everything is at the same height all the way around.
Completing The Loft Sub-floor
We used 7/16″ 4′ X 8′ OSB Plywood for the sub-floor.
We will be installing the same laminate flooring used on the main floor.
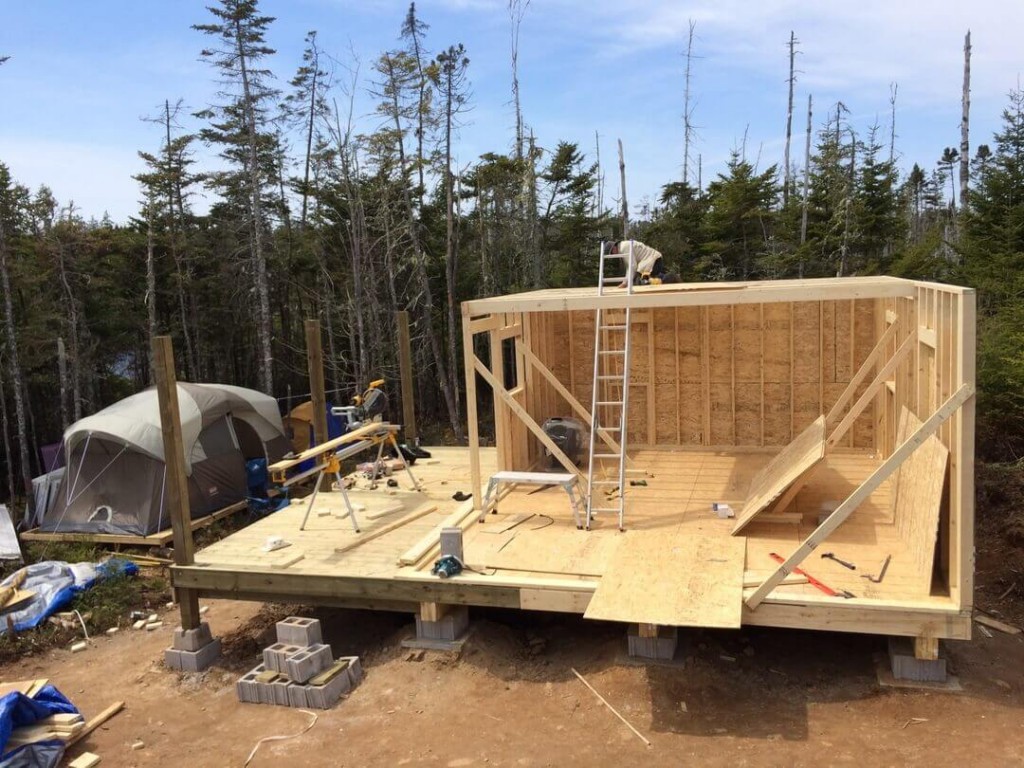
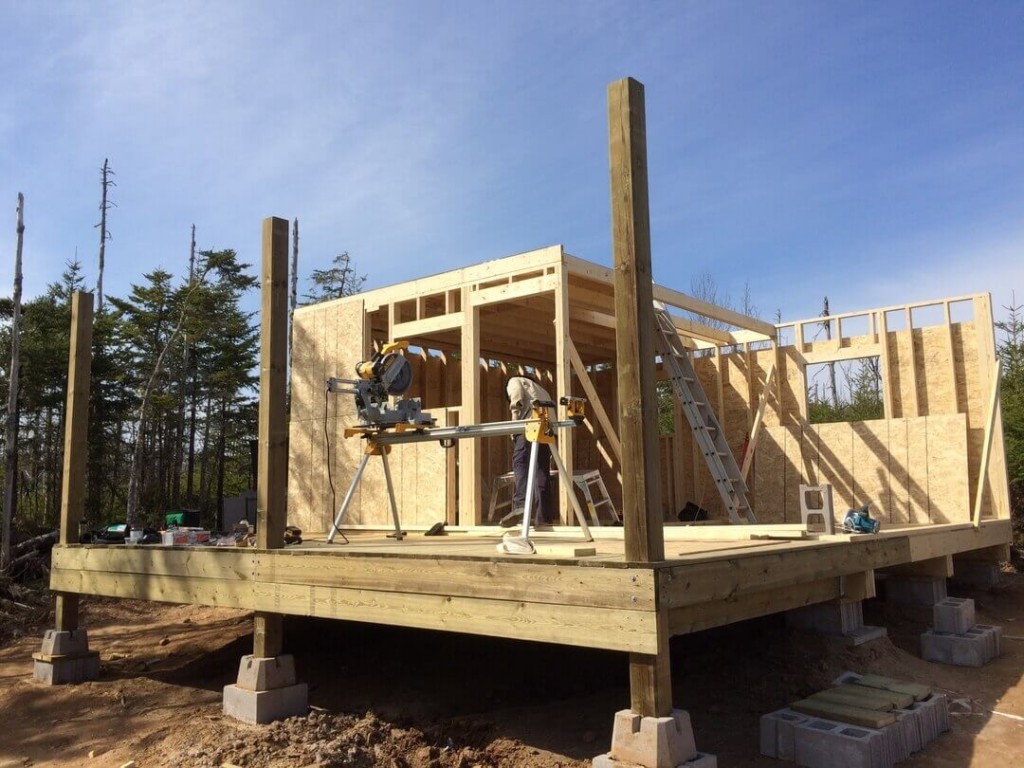
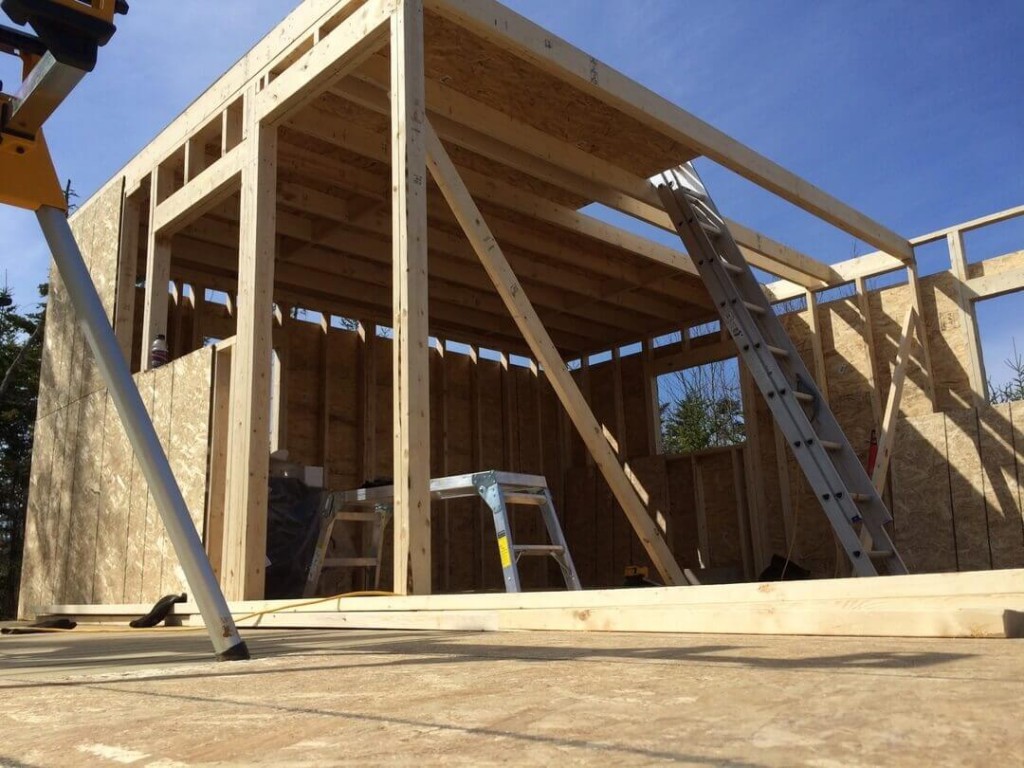
At this point today we’ve…
- installed the loft sub-floor
- completed the framing of the rear wall
- completed the framing of the side walls
- installed exterior sheathing on the framing we’ve completed
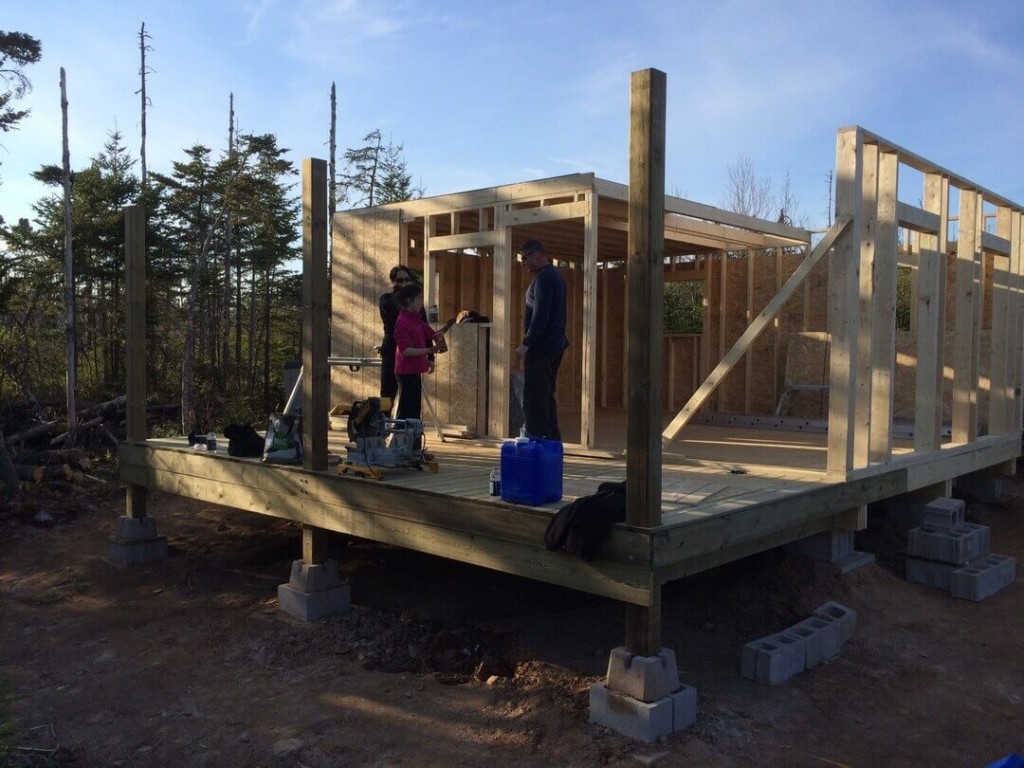
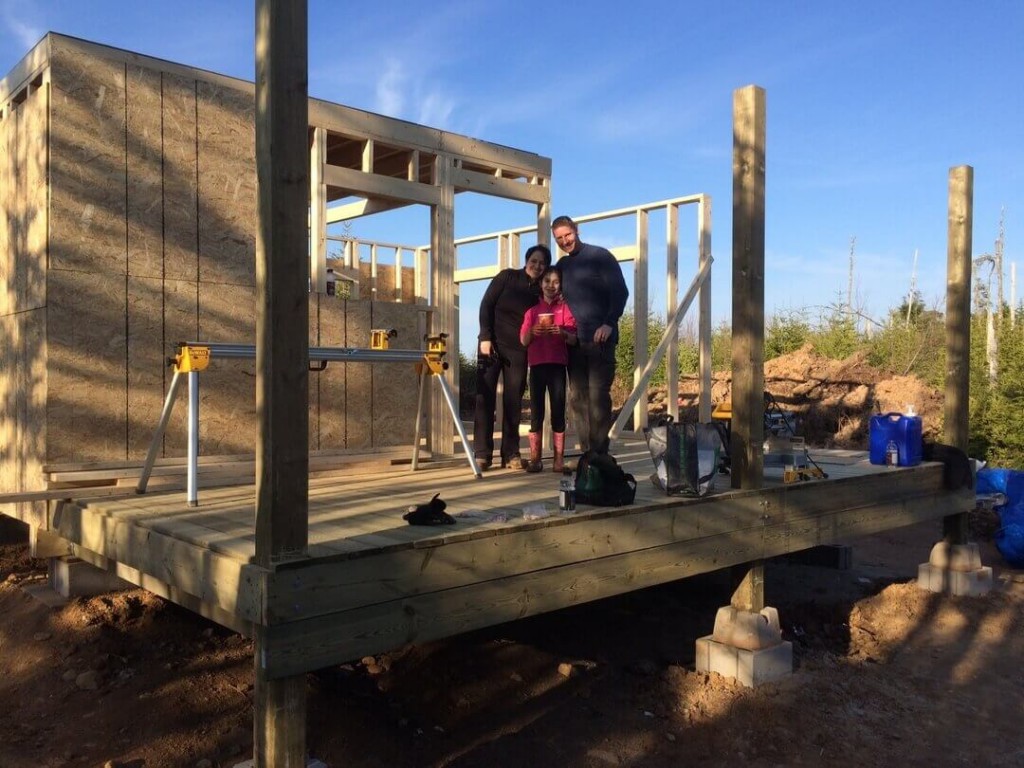
Then the “inspection team” arrived with Tim Hortons :)
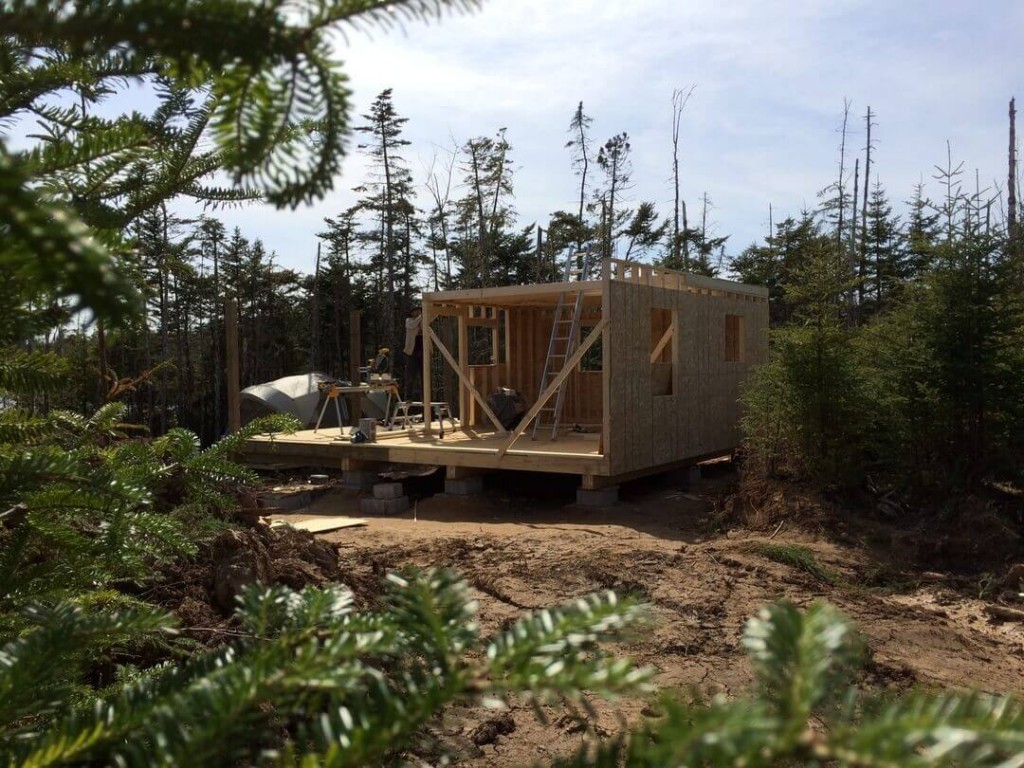
Ready To Check Out The Next Step Of The Build?
Day Three Of Framing The Walls
Your Turn…
Comment below and let us know what YOUR #1 Favorite Tool would be that would help YOU speed up your building and make YOUR life easier.
We’ve already put together a list of the 63 Must Have Off Grid Tools which you can check out here!
If you’ve enjoyed this post do us a solid and share it.
Your sharing is the only way it gets out there!
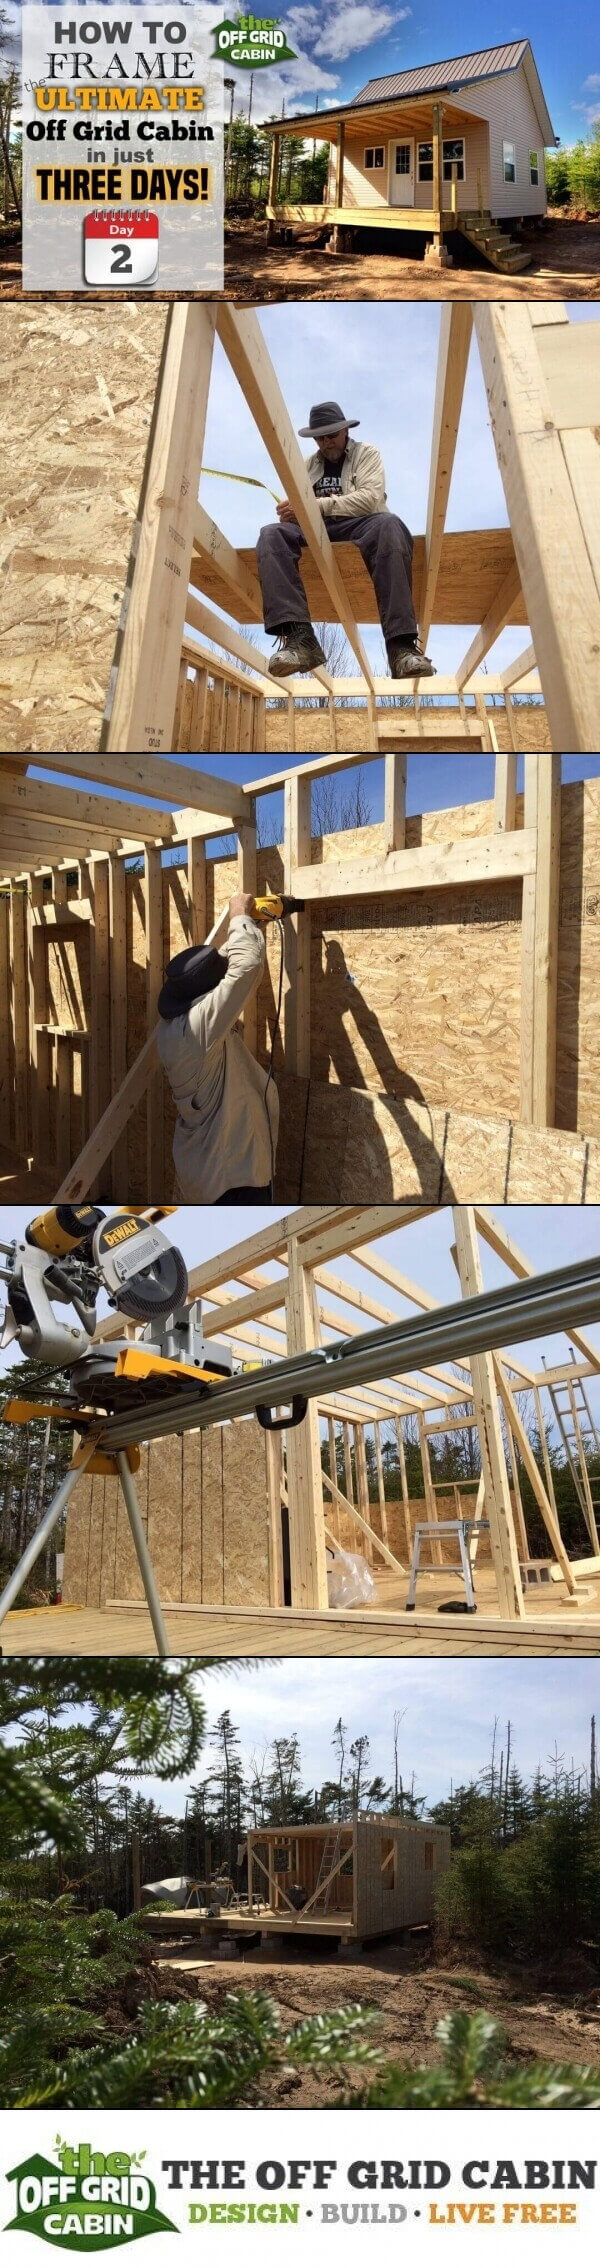
We also always make a Pinterest photo for those avid pinners out there!

I’m buying my first house in Jan or Feb. A new DeWalt miter saw would be a dream come true.
I will need to do some repairs since it is a fixer upper! You are giving someone an awesome gift 💝 God bless you all and your families the rest of this year and all of next!
I’m buying my first house in Jan or Feb. A new DeWalt miter saw would be a dream come true.
I will need to do some repairs since it is a fixer upper! You are giving someone an awesome gift. God bless you all and your families the rest of this year and all of next!
Thank-you for your blog and for an opportunity to win a much needed tool. I would say most useful for this old lady, me lol would be a good generator. Thanks buddy!
I’d have to go with a portable sawmill. Even the Harbor Freight band-saw one would make the dream of self-sufficiency within reach, financially. On a side note, I finally got a pneumatic framing nailer and it has been an amazing addition to my tools. I have a spinal injury and that thing makes it so I don’t need help unless I want the company. I can imagine that the Dewalt 20V makes light work when used on big projects. Thanks for the opportunity and keep yourselves healthy! A cabin won’t build itself.
I’m in hopes of buying a few acres and a small unfinished shed and I would hope my new favorite tool would be a Ryobi 18 volt One+Ones sliding compound miter saw to help me do all of the woodworking planned for the inside and to help with the furniture builds to furnish the inside too ,,,
You guys are awesome! The house looks amazing! I think my favorite tool would be a table saw. I’ve needed one for so many projects! It’s hard to make nice cuts when all you have is a circular saw in some cases lol. Keep up the good work! I enjoy reading your articles.
Your journey building your cabin is inspiring to watch. If I had a choice of tools… a solar generator would be on my wish list.
Merry Christmas to you and yours
Great blog and great pictures! For sure my favorite tool would be the DeWalt 20v cordless nailer! Merry Christmas to everyone on the blog!
What a wonderful thing to do! My favorite tool would be the cordless framing nailer! Wishing you and your family a very merry Christmas!
Abundant blessings!
To finish off my cabin build the tool of my choice would be a 12 1/2″ portable thickness planer for finish cabinetwork, trim & furniture.
Love your thread. I’d have to say a generator capable of using my tools in the woods to build a cabin while be on my list. Keep up the great work.
Looking good! My number 1 tool would be a 20v DeWalt framing nailer.
My favorite tool would be the 20v DeWalt framing nailer. Great job!! Like following your step by step building progress!!
I would have to say a portable generator as well. Having a number of tools that would work in a remote area the greatest need for me would be a portable generator.
Thanks for this opportunity and really enjoy your site.
Merry Christmas to you and your family.
Cordless framing nailer or cordless mitre saw. Our last build would’ve been much easier with both of these tools. Thanks for letting us follow along on your journey!
Awesome read. Thanks so much for sharing this..
Great article! Our favorite tool while building our off grid house in Montana is a Porter Cable 20v battery operated impact driver. We are currently putting up some rafters, and it really comes in handy!